
Set Institutional and Personal Vita Template Information and Settings
Once a vita template is created, users will need to set up the template information and settings. Changes to Institutional vitas may be seen if the Linked setting is turned on. In this case, if the source template is edited, any changes will apply to all templates linked to the source template.
For directions on how to edit table columns within a vita template follow this navigation within this article: 2. Make Desired Changes > Edit Sections > Settings > Edit Table Columns
Check out this article on how to Create an Institutional Template for more information on creating institutional templates (this function is only available for administrators with the appropriate permissions).
Set Institutional and Personal Vita Template Settings
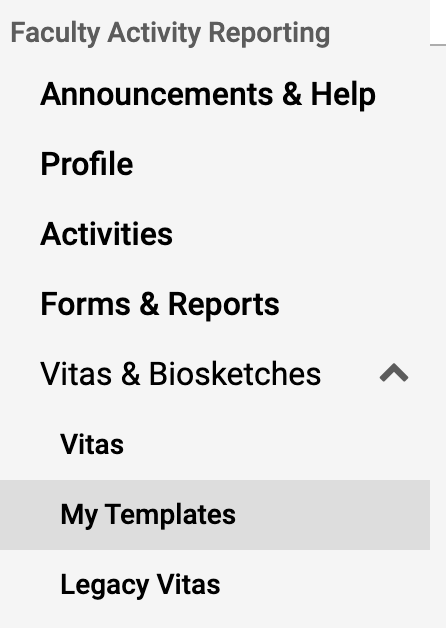
- Click My Templates under the Vitas & Biosketches section of the navigation menu in FAR.
- Click Edit adjacent to the name of the desired template to adjust settings for.
- Make desired changes.
- Click Save to save the vita template.
Detailed Vita Template Changes
| Change | Steps |
|---|---|
| Set Template info/settings |
|
| Reorder/Hide/Duplicate sections |
|
| Edit sections |
|


 - This button opens a drawer where users can:
Preview the template
- Click Preview to view how the base template will look when a vita is created for export.
- Click Save to save the vita template.

View editing history
- Click View Editing History at the top of the page to view a log of changes made to the vita.

- Select the Start and End Date to display the editing history during a particular date range.
- Reports can be downloaded as a .CSV file. This will list the date and time of changes, the user who made the changes, and the number of changes made.
The vita template will be available for selection when creating a vita. The template can be managed from the My Templates page (edited, archived), and will be available when creating a vita.