
Submit Support Tickets in the Client Community
Members of the Client Community are able to submit and manage their support tickets in the Community. This article will go over how to submit a new ticket and review existing tickets.
Support Tickets in the Client Community
Submit New Ticket
- Click the Submit a Support Case tag along the navigation bar,

Or click the Submit a Support Case icon on the right-hand side of the screen.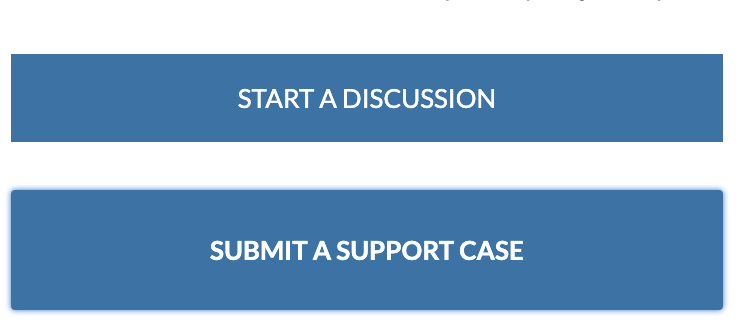
- Complete the required information, and be sure to choose Feature Request as the Request Type of the support ticket being submitted.
- Click Submit when finished.
After submitting a ticket, users will receive an automated confirmation to their email.
Managing Existing Tickets
Click My Tickets from the toolbar at the top of the screen to view the tickets submitted within the account.
Institutional Administrators are also able to view the tickets that have been submitted by other users at their institution to empower them to monitor the friction points that are occurring within the Interfolio system. To change the list view to show all tickets from an institution, click My Tickets > My Open Tickets > My Institution's Open Tickets.
Tickets submitted via the web form in the Help Center and email can potentially be accessed via the Client Community. If a ticket is submitted from an email address associated to a user/institution in the Client Community using one of the aforementioned methods, it should automatically be assigned to the applicable Community account. Scholar Services can also manually assign tickets to a Community user if requested.
Ticket Information
There is a variety of information available when viewing tickets. Immediately after clicking into the list of tickets, community members will see a list of their tickets with general information such as subject, ticket number/type, and open date.
| Status |
The Status field identifies where the ticket is in the support ticket lifecycle. Check out this article on the Overview of Support Ticket Lifecycle and Best Practices for more information. |
|---|---|
| Priority | The Priority field is available to draw attention to the severity of a submitted ticket. Community members can assign a priority when creating a ticket. If this field is left blank, Scholar Services will assess the ticket and assign priority. |
Edit Tickets
Any open ticket can be accessed and edited from within the Client Community. Tickets submitted by other users at the institution can also be edited.
- Click on My Tickets from the toolbar at the top of the screen.
- Click on the Case Number to open the ticket details.
- Click the Edit button in the upper right hand corner.

- Make the desired changes.
- Click Save when finished.
Although the ticket description is modifiable via the Client Community, it is not possible to submit new replies to the same ticket. To reply to Scholar Services or request an update, please respond via email.