
Add/Modify Data After Configuring Sections and Uploading Data
This article will review how to add/modify data after configuration.
Initial Steps
- Configure the Upload Form.
- Create a new Bulk Data Upload with the new configuration.
Note that it is important that all required fields remain; this allows us to identify the existing record that any new data should be tied to.
Add/Modify Data
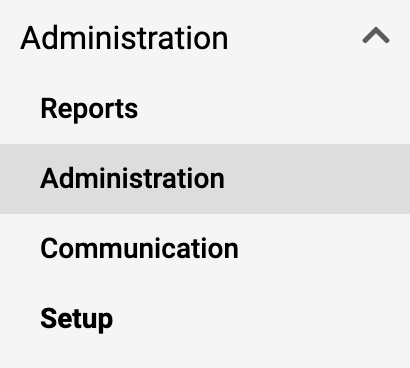
Navigation: Administration > Administration > Upload Data
- Click Administration under the Administration section of the navigation menu.
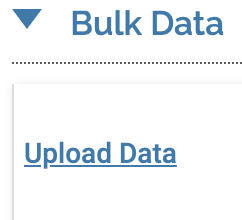
- Click Upload Data under the Bulk Data section.
The Upload Data page will display a list of the 50 most recent previous data loads including the time generated, load type, semester, unit, number added, duplicates, and errors. The listed results can be narrowed down by using the filters at the top of the page.
- Locate the applicable entry and click the Edit (pencil) icon.
- To help narrow down the list of records displayed, use the filter options (unit, upload type, and/or semester).
- The list can also be sorted by clicking on the relevant column header.
- Click on the hyperlinked number under the Added, Duplicates, or Errors column to review the records for that disposition.
Disposition Types and Available Actions
| Disposition Type | Description | Available Action |
|---|---|---|
| Added | New records which were uploaded successfully. |
Download file Returns a .CSV file of all new entries in the original upload. View Views the details of a specific records. |
| Duplicates | Duplicate records which already existed in the system. Please note that existing records which which were updated during the upload will still appear under Duplicates and not under Added. |
Download file Returns a .CSV file of all duplicate entries in the original upload. Edit Allows the administrator to make changes to the details of a specific record. Resubmit records Submits any changes made by the administrator using the Edit function. This allows the administrator to make changes without uploading a new file. |
| Errors | Records which were not able to be added to the system. The cause of the error will be listed in the Reason column, and more details about these error reasons can be found below. |
Download file Returns a .CSV file of all entries resulting in an error from the original upload. Edit Allows the administrator to make changes to the details of a specific record. Resubmit records Submits any changes made by the administrator using the Edit function. This allows the administrator to make changes and resolve errors without uploading a new file. Delete Removes the record of the entry and error from the logs. Deleted entries can not be restored or modified in the future, and a new upload will be required if the entry is needed. |