About Forms and Sections
This article will go over the different types of forms in Faculty Activity Reporting (FAR, Faculty180); Profile, Activities, Activity Input, and Faculty Classification Input.
Types of forms in FAR
| Form | Details |
|---|---|
| Profile Form | Allows faculty members to input current, static data such as the name, contact information, position titles, previous work experience, education, and more. |
| Activity Input Form |
Allows faculty members to report dynamic activities that change over time through term or annual Activity Input Forms. These forms determine which sections are shown to faculty members, helping them prepare for their annual reviews. The forms can be customized based on the unit (e.g., College of Fine Arts, School of Medicine) or specific use cases, such as collecting data for review cycles or reporting purposes.
A software administrator can initiate a period of activity input' based on a per use case for various purposes, such as preparing for annual reviews, regular term activity updates, or updating activities for accreditation. Once initiated, a link to the relevant Activity Input Form—specific to the term, year, and template—appears in the faculty member's Action Items on their Dashboard. Faculty members can complete and submit the form, which triggers the following actions:
|
| Faculty Classification Input Form | A selection of Faculty Classifications that can be pushed as an Action Item. Faculty can respond by providing the data requested and submitting the form. The data is stored in the database when the submission occurs. |
Profile/Activity Form Components
Overview
Profile/Activity forms contain sections and sections contain fields and activity classifications to collect additional metadata. Fields are used to collect specific data points for the intended purpose of the section. For example, in Membership the fields could be Organizational Name, Organizational Location, and more.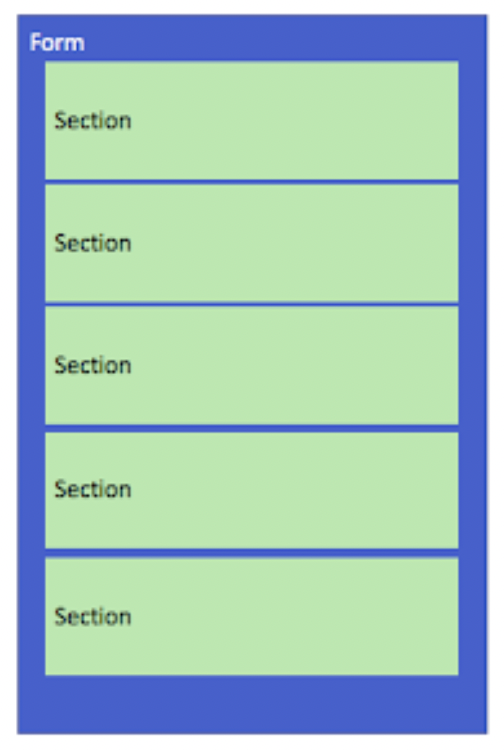
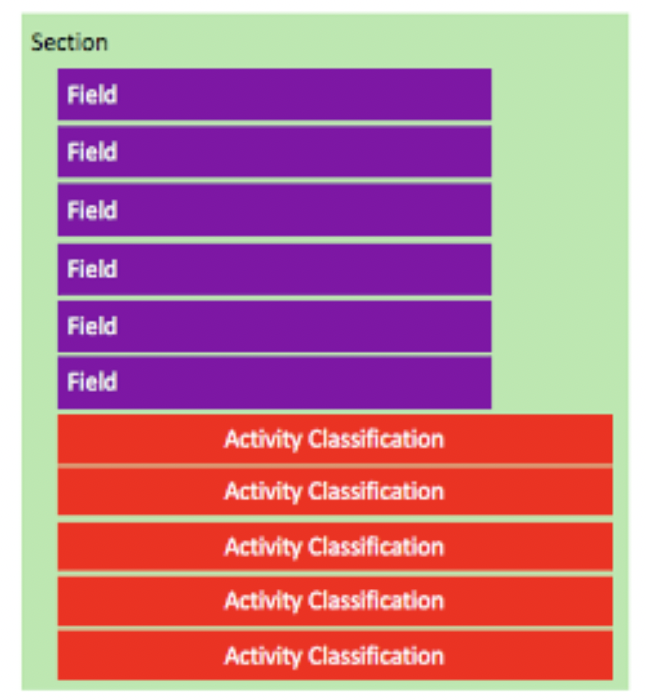
Default Sections
Have limited configuration options as they are standard fields that cannot be added, modified, or removed from this section. They are easily distinguishable in the form and within the section.
- Section Settings are editable for section behavior, but cannot be changed based on where the section is used.
- Activity Classifications can be added or modified based on units.
Non-Default Sections
Allow for more configuration options as they are fields that can be added, modified, or removed from the section. They are easily distinguishable in the form and within the section.
- Section Settings are editable for section behavior, but cannot be changed based on where the section is used.
- Activity Classifications can be added or modified based on units.
Hierarchy Level 1
There is one form that exists at the highest level in the hierarchy that regulates the sections that are shown or not shown from the Profile and Activities sections on the navigation menu. The information below summarizes the characteristics of the Level 1 form for the Profile and Activities section.
Both
- The form is managed by a Level 1 Administrator.
- Sections can be set to show or not to show on a form.
- This form will be the repository of all sections created at Level 1.
- The same is true for lower-level unit forms and sections created at the lower level. That form will be the repository for sections created at that unit and below.
- Any section that is set to show on these forms is shown to faculty regardless of the faculty's unit affiliation. This means that a section at Level 1 (University) will be shown to faculty at a lower level (department).
- A form will need to be created at the lower level unit to allow for modifications.
- Modifications to the forms, for the user experience, will not be visible to the Level 1 Administrator.
- The administrator will emulate a user at the unit level where the change was made in order to see the impact of the change.
- A user has to be either primarily or secondarily assigned to the unit to have access to the form.
Profile Form
There can only be one Profile Form per unit, regardless of level
Activities Form
There can be multiple Activity Forms per unit.
- Only one regulates the sections shown to faculty when clicking on the Activities section on the navigation menu.
- Other forms can be created for specific use cases (for example, the annual review). These additional forms are only shown to faculty using the Initiated Faculty Input feature (Administration > Administration > Initiate Faculty Input)
Modifying forms for lower units
Profile Form
The modification process is similar to a parent/child relationship in which the child unit will inherit the parent unit Profile Form.
- There is no option to have different child forms
- The sections on the inherited form cannot be set to Not Shown nor can the section be modified at the field level. This means fields cannot be added or removed
- A lower level unit can make additional sections available to their faculty by changing Not Shown sections to be Shown or by adding a new section that will only be available to the lower level unit.
Activities Form
The modification process is similar to a parent/child relationship that is dependent on how the lower level form is created. Options for adding a new form include:
| Option | Details |
|---|---|
| Modify |
Note that the Activity Input Form which determines which sections faculty will see when clicking on the Activities link on the menu must be cloned from the Level 1 form using the Modify option. |
| Add |
When an admin “adds a new” activity input form the section instructions and help text will not copy from a previous activity input form.
When an admin “adds a new” activity input form the section settings will not copy from a previous activity input form.
|
Forms, Sections, and the Unit Hierarchy
 |
Diagram key:
|
If a section is set to display at a unit level, it will display for all units below it on all modified forms (both Profile and Activities). A best practice is to add sections at the top level making it accessible for the lower units (rather than making it at a lower unit). Refer to the diagram above in the following examples.
| Example | Details |
|---|---|
| Section Visibility Rules | Sections listed as Show that are visible to all units, must be used by all units. For example, A and B. Sections set to Do Not Show at university level are available to be shown at lower unit levels. For example D is not shown at L1 University or L2 College, but is shown at L3 Department. On added Activities forms, sections do not respect the inherited show/do not show. This ONLY applies to forms created through the "add" process. This is to allow a different combination of sections to be pushed out for initiated periods of input. |
| Section Configuration Best Practices |
|
| Data in Sections | Sections are made up of both fields and Activity Classifications. Fields are consistent across units while Activity Classifications can be unit-specific. |
| Exclude Units | Within Activity Classification specific units can be excluded. This can be done by checking units. It will automatically select all units below but an administrator can un-select as needed. |
| Options to Associate Activity Classifications to Sections | Rather than manually add an activity classification to a section, this can be done via the Activity Classification itself. This will still respect the excluded units set in Exclude These Units. |
| Reporting | In order to report across units, the same section must be used.Unit-specific reporting can be done by adding activity classifications to the section. The Activity Input Report allows reports on the same section/fields across the institution to be created. For example, report on section B across all units or report on section C for college A's additional Activity Classification across the college. |
| Section Field Type |
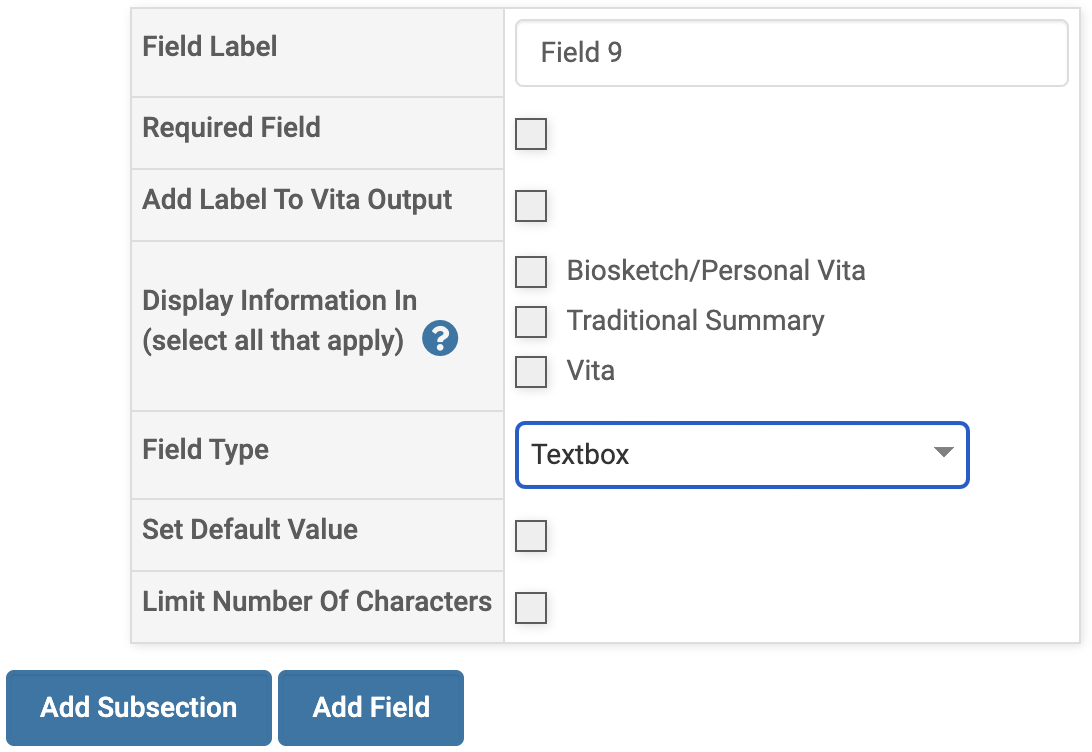
When adding a field to a custom section, you are given the option to select a Field Type. Examples of Field Type options include: Text Fields
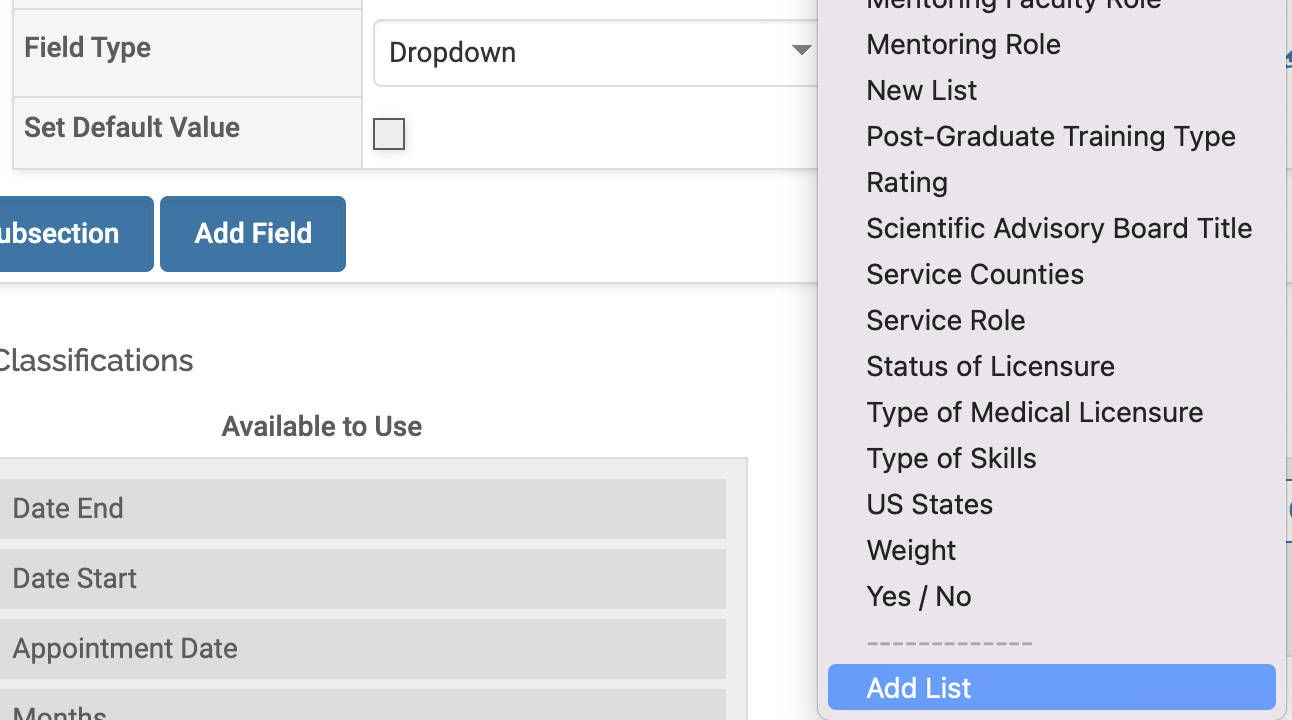
List Fields
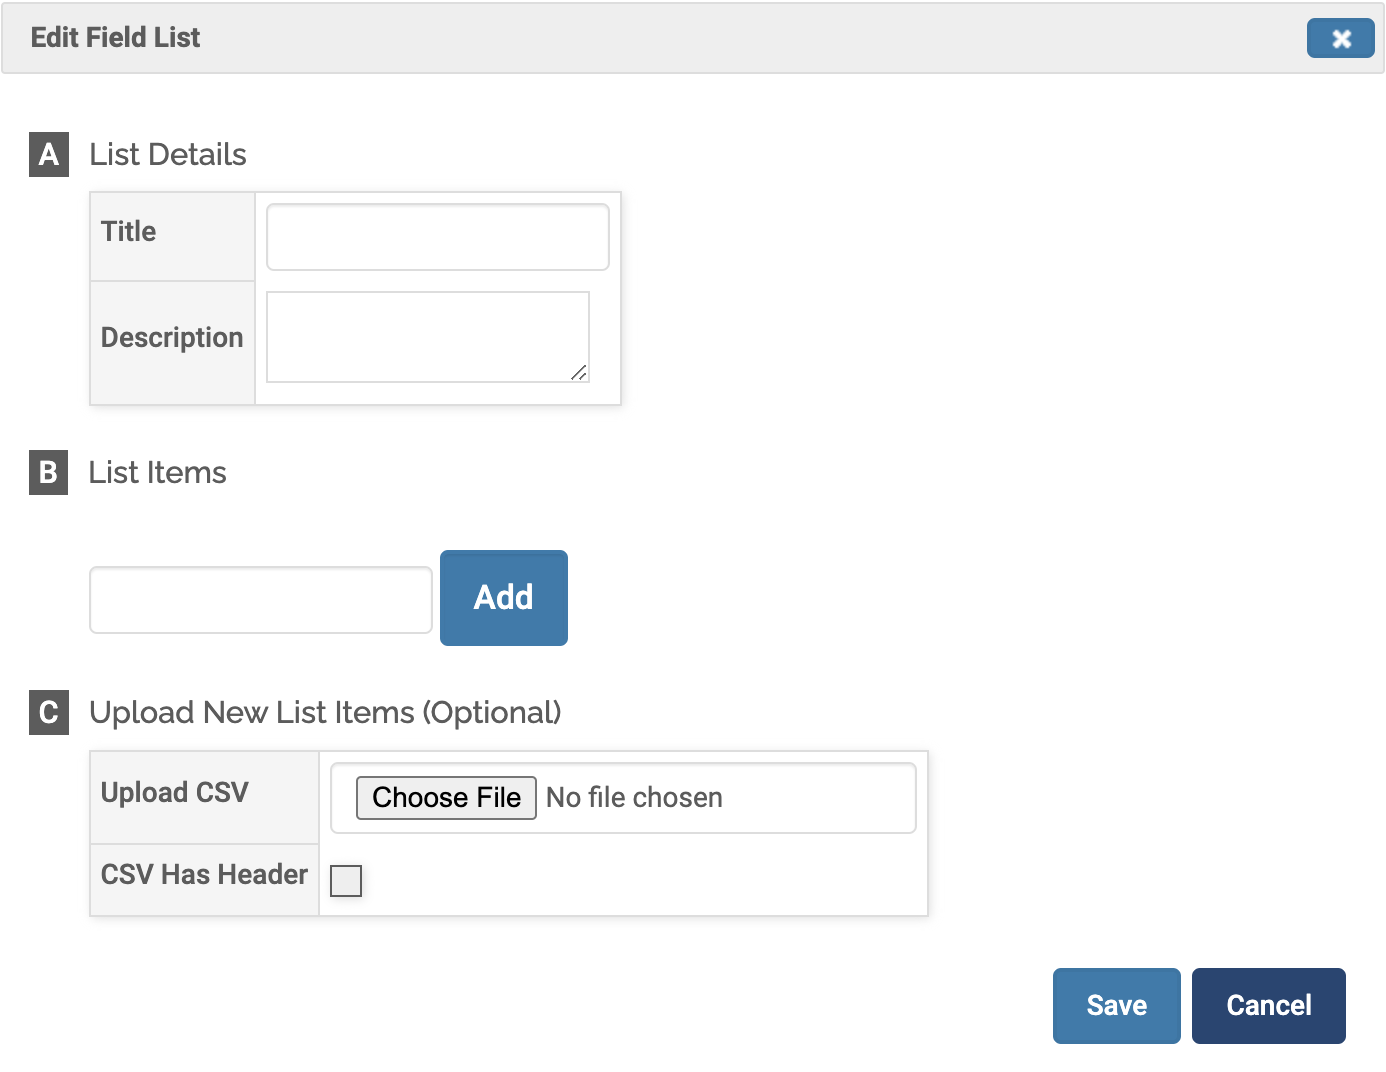
Add ListTo add a new list, follow the steps below:
Date Fields
Numeric Fields
|

