
Customize Scholarly Outlet Data and Metrics
This article reviews how administrators, with the necessary permissions, can use the Scholarly Outlet List in Faculty Activity Reporting (FAR, Faculty180) to manage scholarly data and metrics for entering scholarly activities. When adding a Scholarly Contribution and Creative Production entry to the Activity Input Form, scholarly outlets can be set up to dynamically display when entering a scholarly outlet name, and metrics can be viewed for individual scholarly outlets.
Configure Scholarly Outlets Lists and Metrics
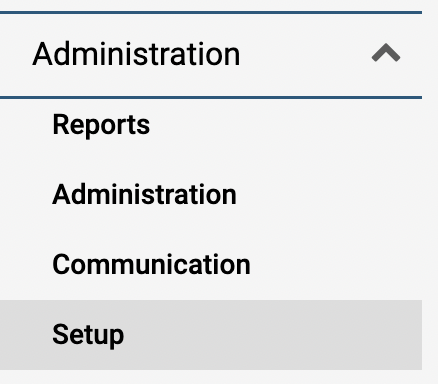
- Click Setup under the Administration section of the navigation menu
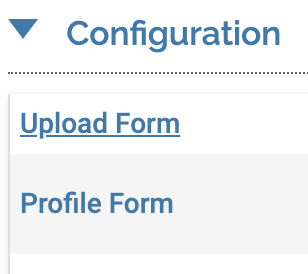
- Click Upload Form under the Configuration section.
- Select Scholarly Outlets or Scholarly Outlet Metrics In the Upload dropdown depending on the type of data being configured.
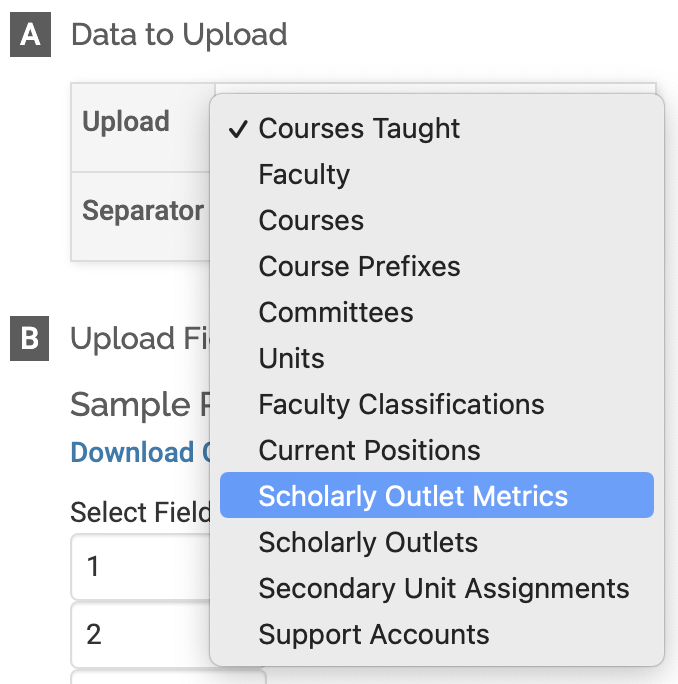
- Select the Separator that is used (comma or tab) in the data being uploaded from the institutional system.
- Select the fields to be displayed and the order in which they are displayed by using the dropdowns in the Upload Fields section, under Sample Record.
- Click Go Back when finished.
Upload the files containing the Scholarly Outlet Lists and Metrics
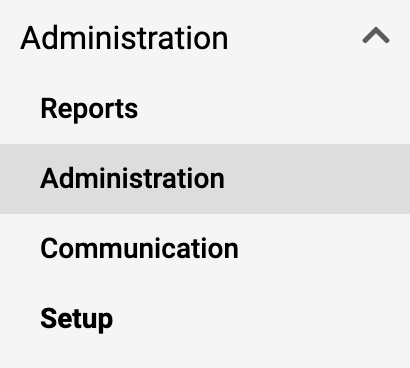
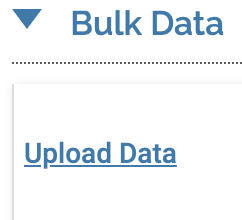
- Click Administration under the Administration section in the navigation menu.
- Click Upload Data under the Bulk Data section.
- Scroll to the bottom of the page and click New Upload.
- Select Scholarly Outlets or Scholarly Outlet Metrics from the dropdown adjacent to Type.
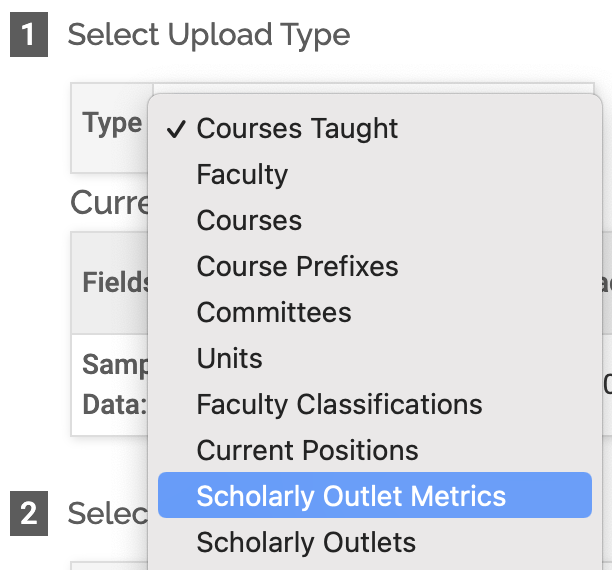
Scholarly Outlet Lists must be uploaded prior to uploading scholarly outlet metrics.
- Fill out the remaining sections in this form.
- Select the semester
- Indicate whether or not to update existing records
- Select unit
- Choose the file to upload
- Click Validate once the file is added. This is required.
- Click Upload to upload the data.
Manage individual Scholarly Outlet Lists and Metrics after upload
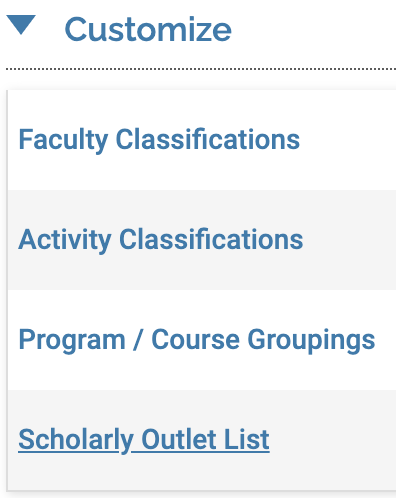
- Click Setup under the Administration section of the navigation menu.
- Click Scholarly Outlet List under the Customize section.
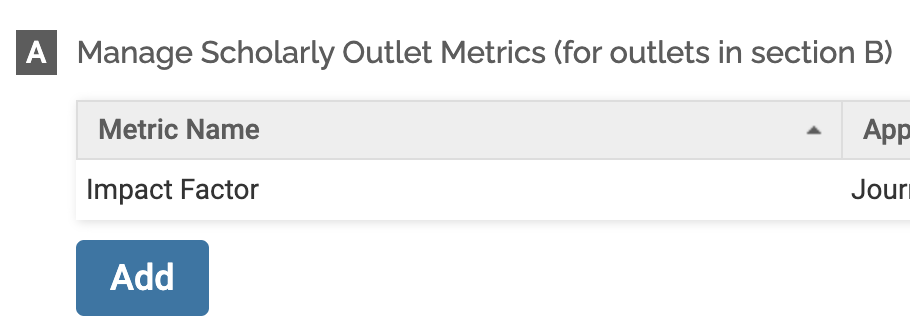
- Make desired Change
| Change | Directions |
|---|---|
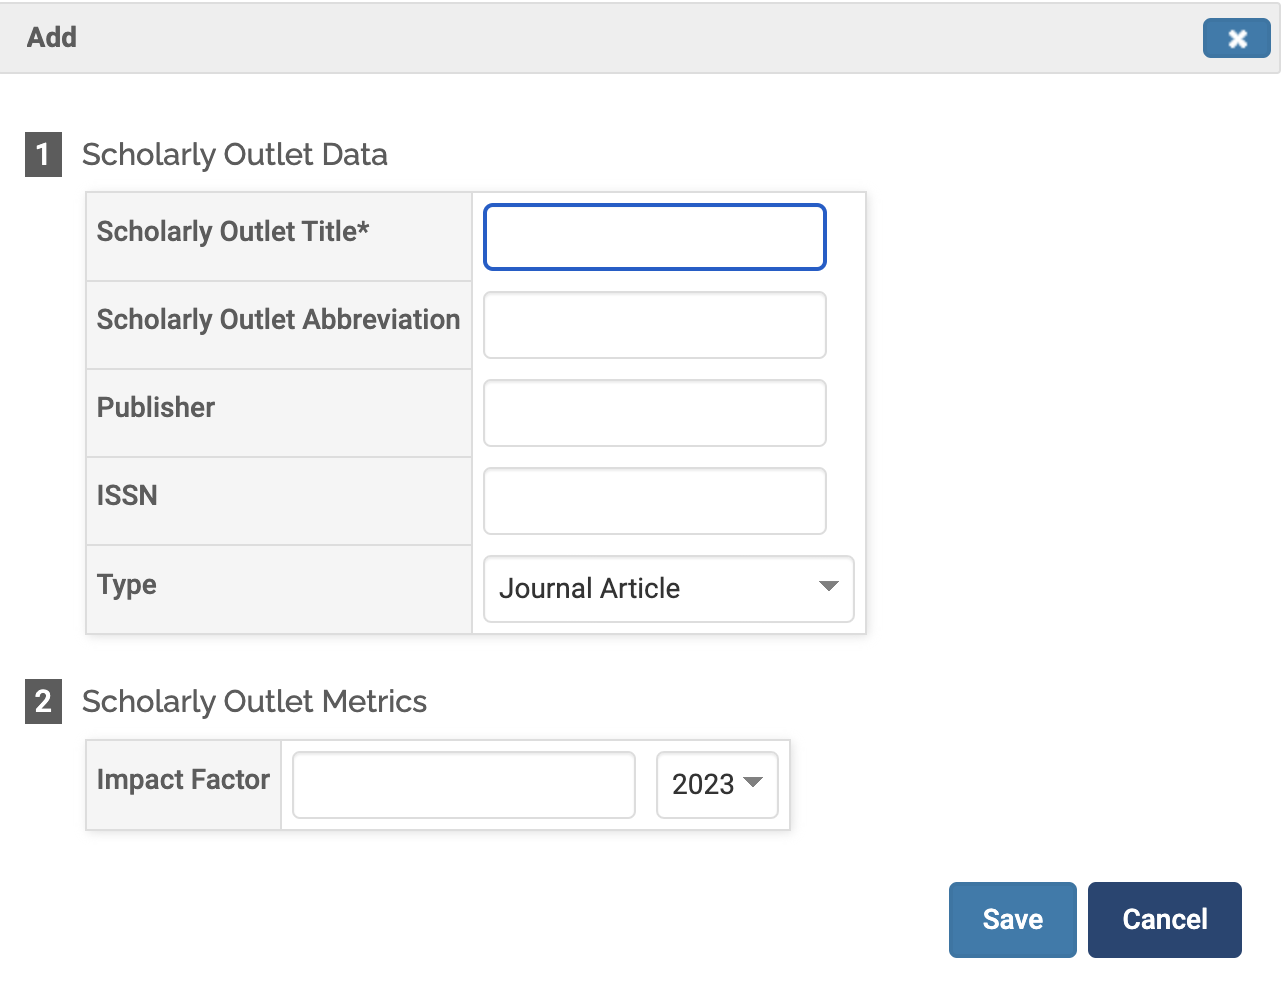
| Edit Scholarly Outlet |
|
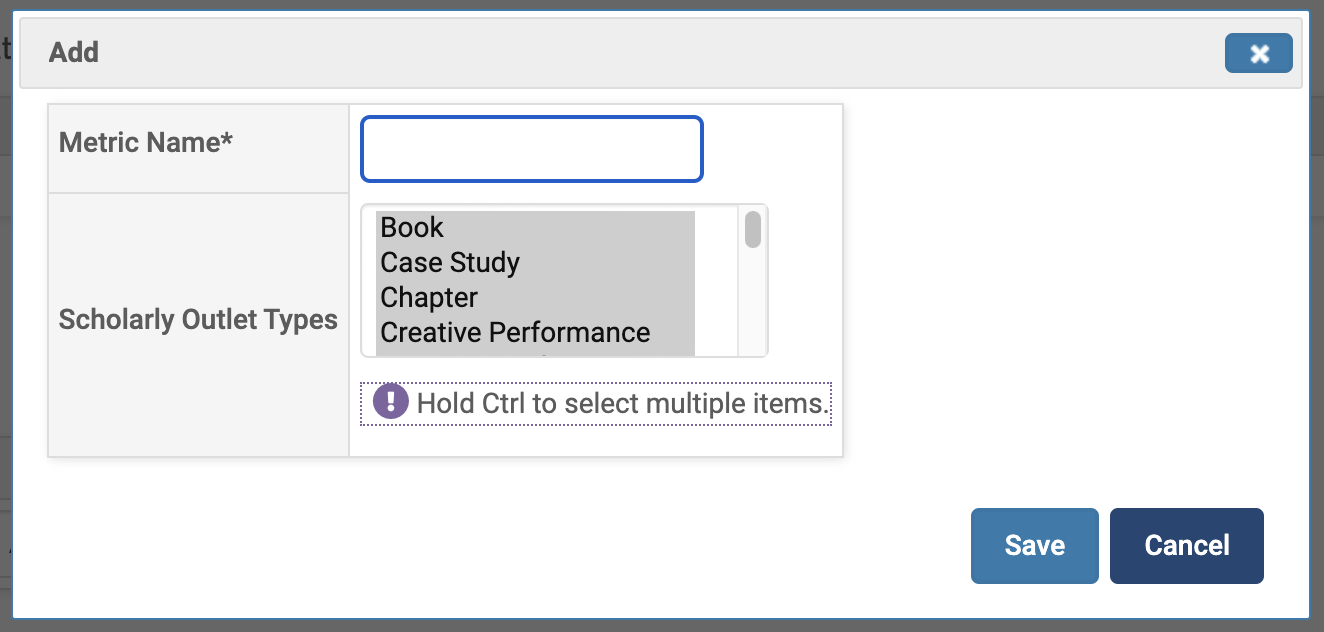
| Add Metric Field |
|
| Add New Scholarly Outlet |
|
Scholarly Outlet Files that can be uploaded into FAR
Each institution is responsible for uploading their own scholarly outlet data, but Interfolio provides the following scholarly outlet files that can be uploaded into FAR:
- journal_abbreviation_ISSN.csv (contains a list of scholarly outlets, the scholarly outlet abbreviations, and the ISSNs)
- journal_and_metrics.csv (contains a list of scholarly outlets and corresponding metrics)
- proceeding_conference_abbreviation_ISSN.csv (contains a list of conference proceedings, the abbreviations, and the ISSNs)
- proceeding_conference_and_metrics.csv (contains a list of conference proceedings and corresponding metrics)
Files to download
Note that this is a complimentary service, and therefore the accuracy of the data in these files is not guaranteed. In addition, it is not guaranteed that the data in these files will be maintained; therefore, institutions are responsible for the maintenance of their own scholarly outlet data.
Uploading Scholarly outlet lists and metrics to FAR is a two-part process. Note that Scholarly Outlet Lists and Metrics must be uploaded as separate files, and Scholarly Outlet Lists must be uploaded prior to uploading Scholarly Outlet Metrics.