
Join Groups in the Client Community
The groups tool in the Interfolio Client Community was created to offer a place for smaller communities with commonalities to breakout and talk about, potentially private, relevant topics specific to their common-held scenario or perspective (such as Small institution, System perspective, Medical Institution, and more). In groups, users can post a discussion post, poll, or question that is relevant to the smaller group within the community. This article goes over how to join groups in the client community.
This guide is only for users in the Interfolio Client Community. This guide is not relevant to the general use of the Interfolio product (such as Dossier, Faculty Search (FS), Faculty Activity Reporting (FAR, Faculty180), Review, Promotion & Tenure (RPT)).
Create Groups
1. Navigate to New group under Groups
- Select the Groups button in the toolbar within the Interfolio Client Community.

Select the desired group Name from the list to open their page. The information of groups that are marked Private is only available per invite by group manager or owner. Groups that are set to Private are restricted to those who have been invited to join. Refrain from asking to join groups that are not relevant.
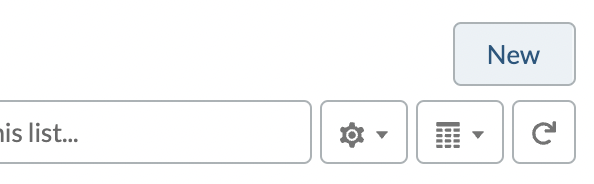
- Click the New button in the top right corner to create a group.
2. Fill out information.
- Fill out information on the form.
- Select an Access Type: Public if anyone can join; Private if users can join by invite only.
- Click Save & Next when finished.
- Click Upload Image to upload a group photo.
- Click Next when finished.
- Search for and add members to the group.
- Click Add adjacent to the desired user to add them as a member to the group.
- Select the dropdown that appears to choose whether the user has member or manager privileges.
- Click Done when finished.
3. Manage Updates and Notifications
Click the Notifications dropdown to select how frequently to receive updates regarding a group.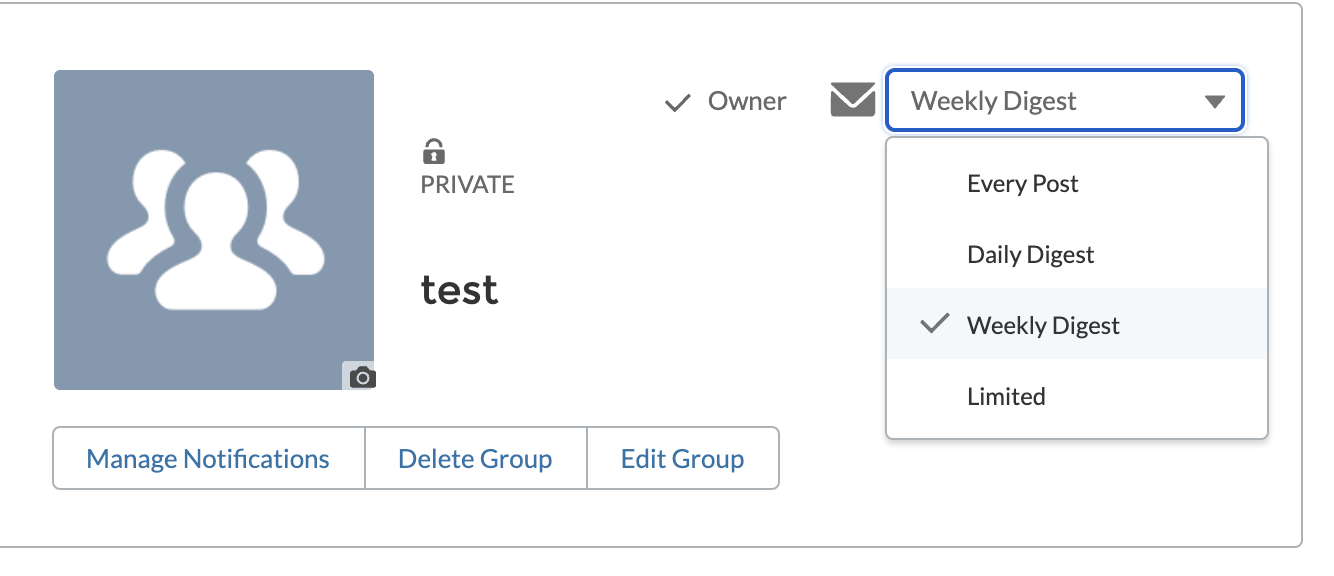
Features only available to Managers and Owners of a Group
The following features are only available to group Managers and Owners.
Add/Manage Member Privileges in Interfolio Client Community's Groups Tool.
Admins and owners can use the Manage Members pane in the right hand side.
Edit Group Details of an Existing Group
- Select the Groups button in the toolbar within the Interfolio Client Community.
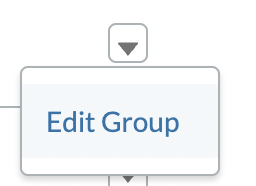
- Select Edit Group from the Arrow dropdown adjacent to the desired group to edit.
- Make desired changes.
- Click Save when finished.