Set Custom Branding and Product Labels for Lifecycle Management
The visual brand of Lifecycle Management (LM) can be set to match the branding of an institution. This includes adding your institution's logo and personalizing the color scheme for both the platform and email headers. Additionally, the name (label) of the product can be customized to reflect your institution's branding. This will change the name of the labels within the navigation menu, emails, and places within the product where the name appears.
Perfecting Your Platform Logo Display
To update the platform logo, ensure the institution's logo image file is downloaded on your computer. Follow these guidelines to ensure the logo is clear and legible:
- Layout: Horizontal/landscape preferred; square also acceptable
- Type: Transparent .png
- Height: Maximum 50px
- Width: Maximum 400px
- Text Color: Ensure sufficient contrast with the selected background color (e.g., light blue text for a dark blue background). You can enter a color hex code number in the field provided or use the sliders to select a color.
Set Custom Branding and Product Labels
- Navigate to the Administration page and click the Branding tile.

- The Institution Settings page will display where you can manage the:
-
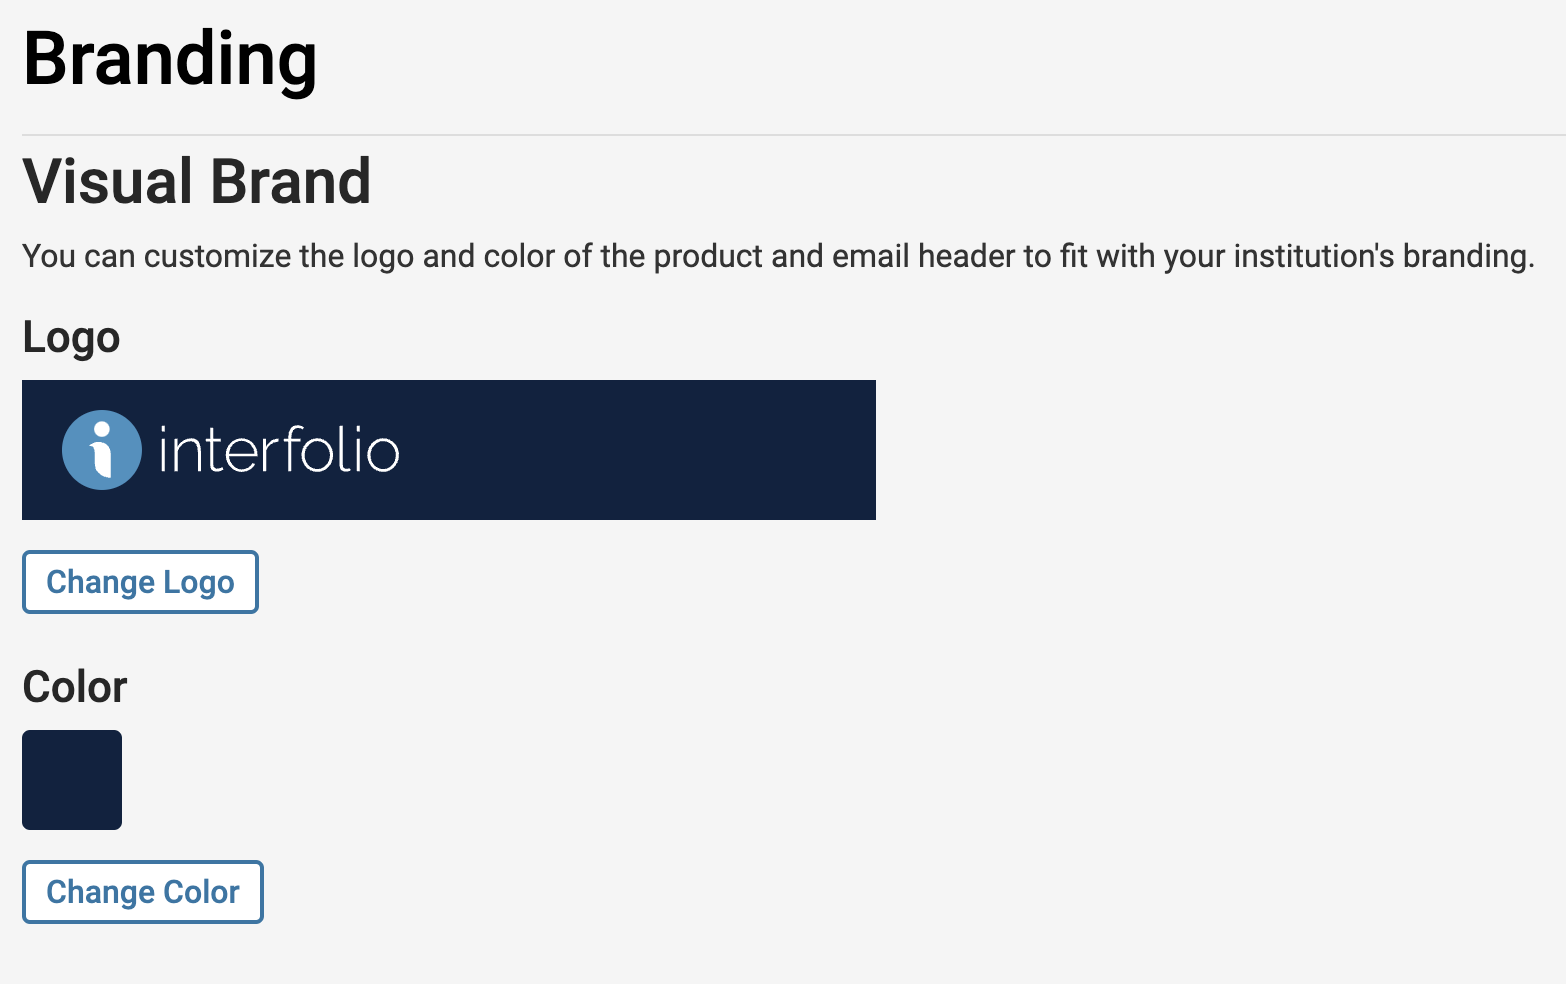
Visual Brand: Customize the platform by adding your institution's logo and updating the header colors in both the product and emails sent from the system.

-
Product Labels: Customize the platform's name, which will update the product labels throughout the navigation menu, emails, and any other areas within the product where the name appears.

-
Visual Brand: Customize the platform by adding your institution's logo and updating the header colors in both the product and emails sent from the system.
- Be sure to scroll to the bottom and click Save when finished. You can also choose to Reset Branding to the default settings here.
