
Add and Manage Faculty Search and RPT Users with SSO
Institutional Administrators now have the ability to manage Single Sign-On (SSO) credentials directly within Interfolio’s Faculty Search (FS) and Review, Promotion & Tenure (RPT) modules. This feature allows admins to troubleshoot login issues by viewing and updating the SSO ID field for individual users—without needing to leave the application. Essentially the SSO ID is simply revealing an existing field within the User Interface (UI).
This functionality is available when adding or editing users and is designed to help institutions quickly verify that the correct SSO ID has been passed. If needed, admins can update the SSO ID to resolve access issues. These updates can be made in-product by any user with the Institutional Administrator role, providing greater flexibility and faster resolution of login problems. This article will cover adding new users and managing existing users with SSO.
Add Users with SSO
1. Navigate to Add User under Users & Groups
Navigation: Users & Groups > Add User
- Click Users & Groups on the navigation menu.
- Ensure the Users tab is selected at the top of the page.

- Click the Add User button in the top right corner.
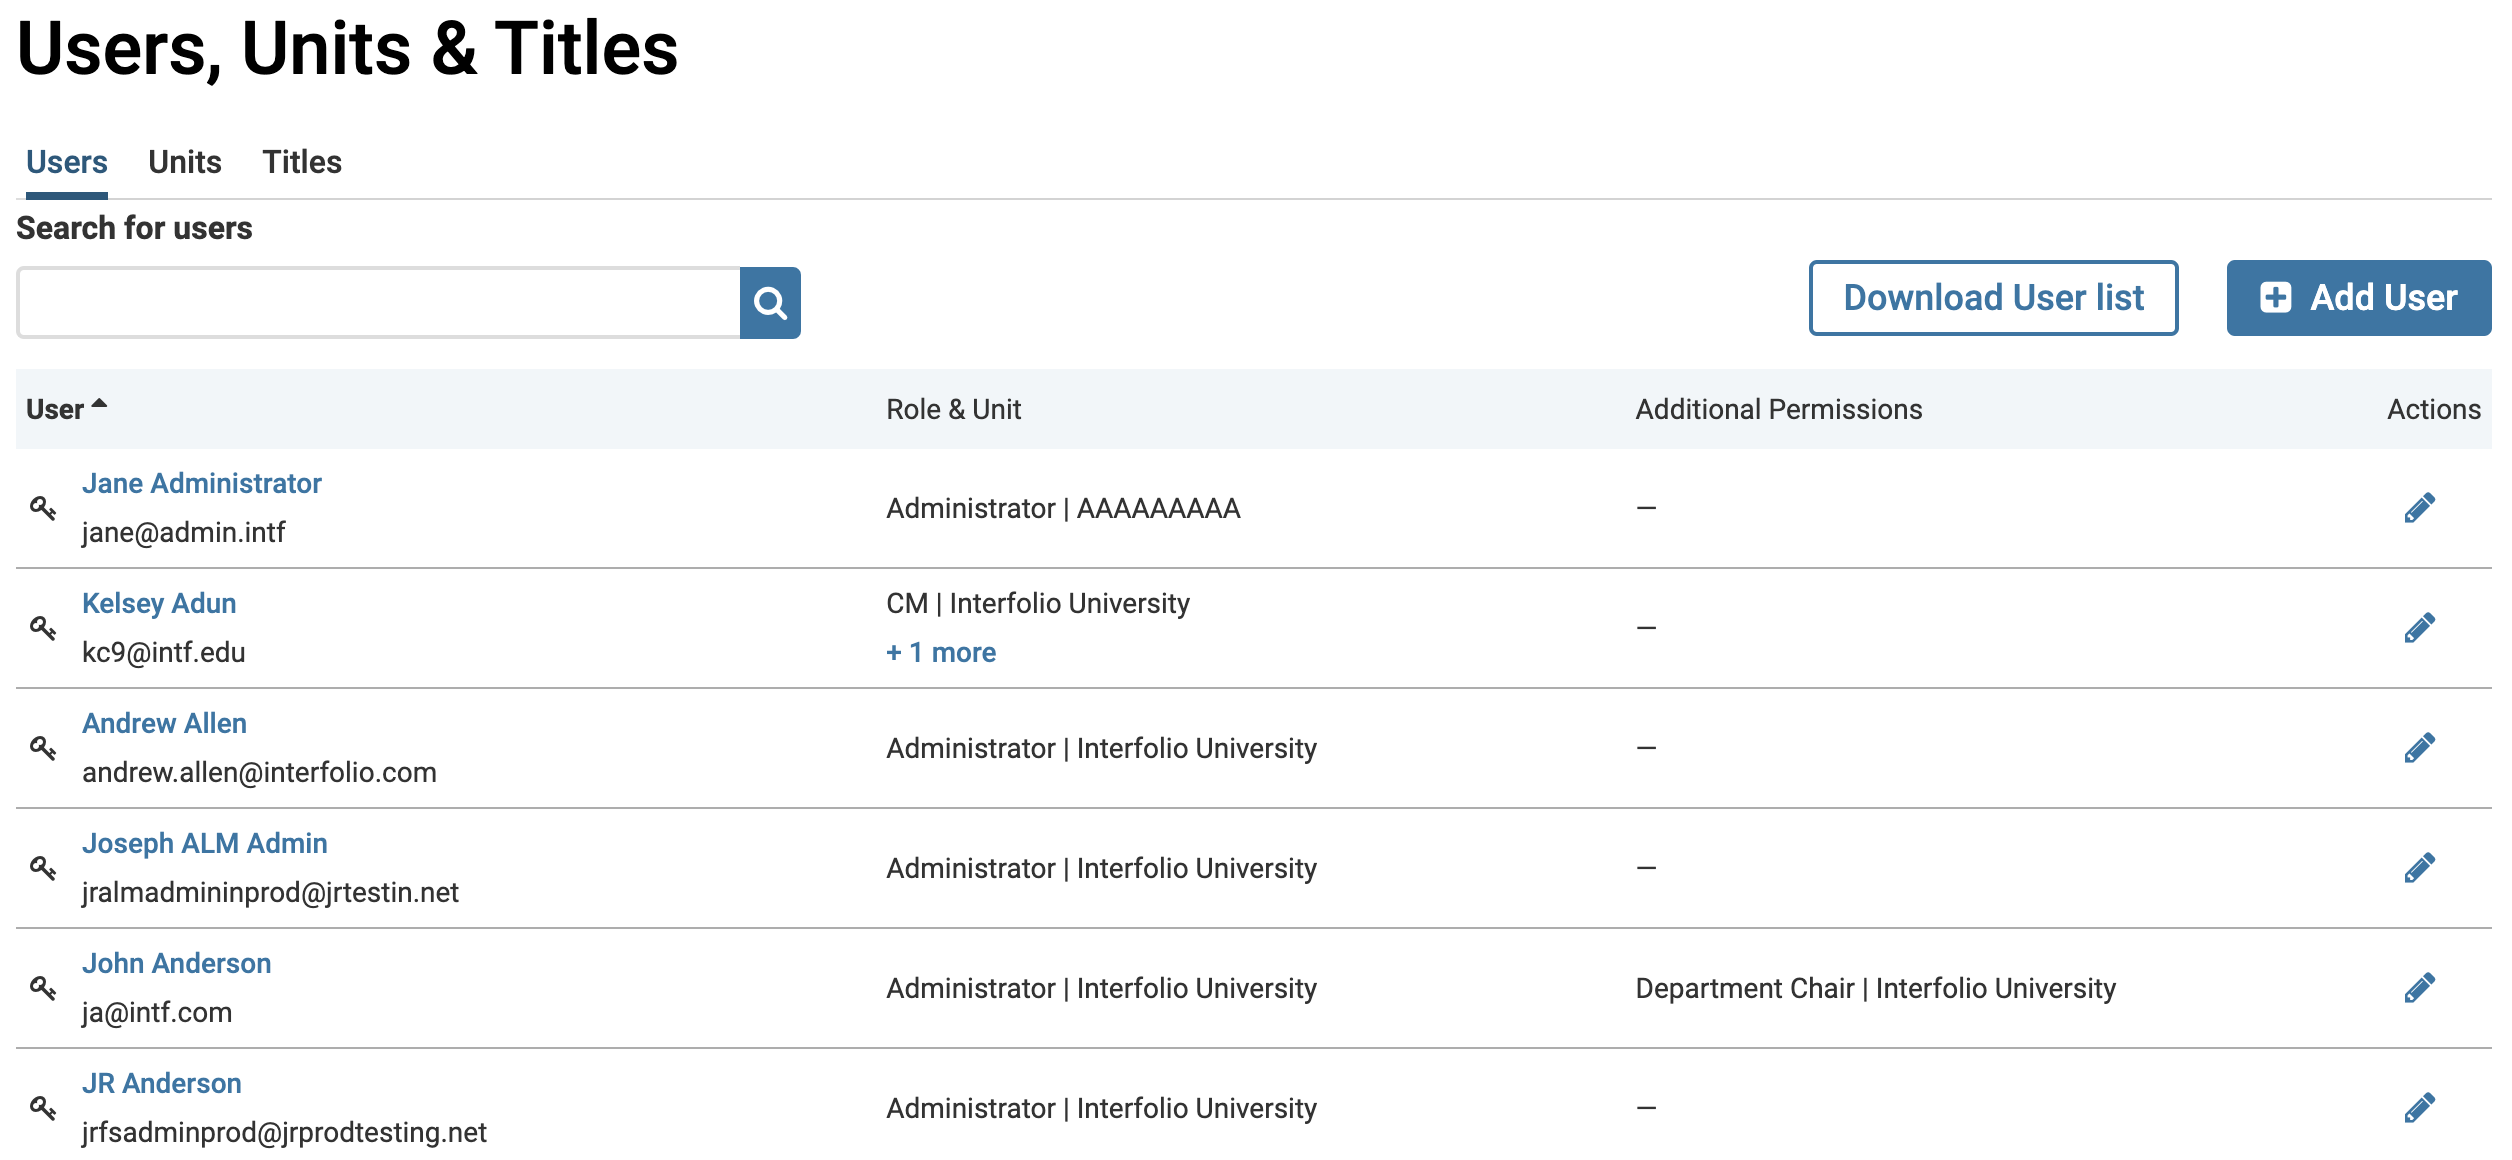
Users with an SSO login are identified by the Key icon to the left of their name.
2. Fill out information
- Enter the First Name, Last Name, and Email.

- If the institution uses UIDs, indicate whether the User Type will be Internal or External.
- To enforce SSO, click the checkbox adjacent to If checked, this user will need to sign on using their institutional credentials.
This will only appear for institutions with the appropriate SSO settings turned on.
- Check the Send new user a welcome message box if desired. You will also have the option to Send a copy of the message to yourself.

- Click Preview to view how the message will appear to the recipient or click Save to add the user and send the message.
Manage Users with SSO
1. Navigate to Edit under Users & Groups
Navigation: Users & Groups > Search > Edit
- Click Users & Groups on the navigation bar.
- Ensure the Users tab is selected at the top of the page.
-
Search for users to locate the user whose SSO needs updating.
Users with an SSO login are identified by the Key icon to the left of their name.
- Click the Edit (pencil) icon adjacent to the desired user's name.
2. Edit User Permissions and SSO Information
- The checkbox adjacent to If checked, this user will need to sign on using their institutional credentials on the User Details tab will enforce SSO if selected.

This will only appear for institutions with the appropriate SSO settings turned on.
- Select the SSO Identifier tab to view SSO ID information

- Click Remove SSO ID to remove the SSO ID for the user. Click Remove SSO ID again to confirm the decision.
Note that removing an SSO ID is not recommended and may result in the user losing access to the program. If an SSO ID is removed by mistake, it can always be updated again via the SSO Identifier tab.
Administrators and Committee Managers can Resend the Invitation Email to Interfolio Faculty Search to help their faculty access their account. That email will prompt faculty members to create a new password and allow them to access their account. If Committee Members are experiencing any trouble, they can Recover their Password from the Interfolio home page.