

Create, Manage, and Export a Vita with the Vita Builder
Creating and exporting a vita is easier with our system's scholarly activity data. All vitas follow a template—personal or institutional—and the vita builder allows for custom text, diverse citation styles, and enhanced text styling.
Create/Manage Vitas
- Navigate to the Vitas page and click Add New Vita or click the hyperlinked Vita Name of an existing vita.
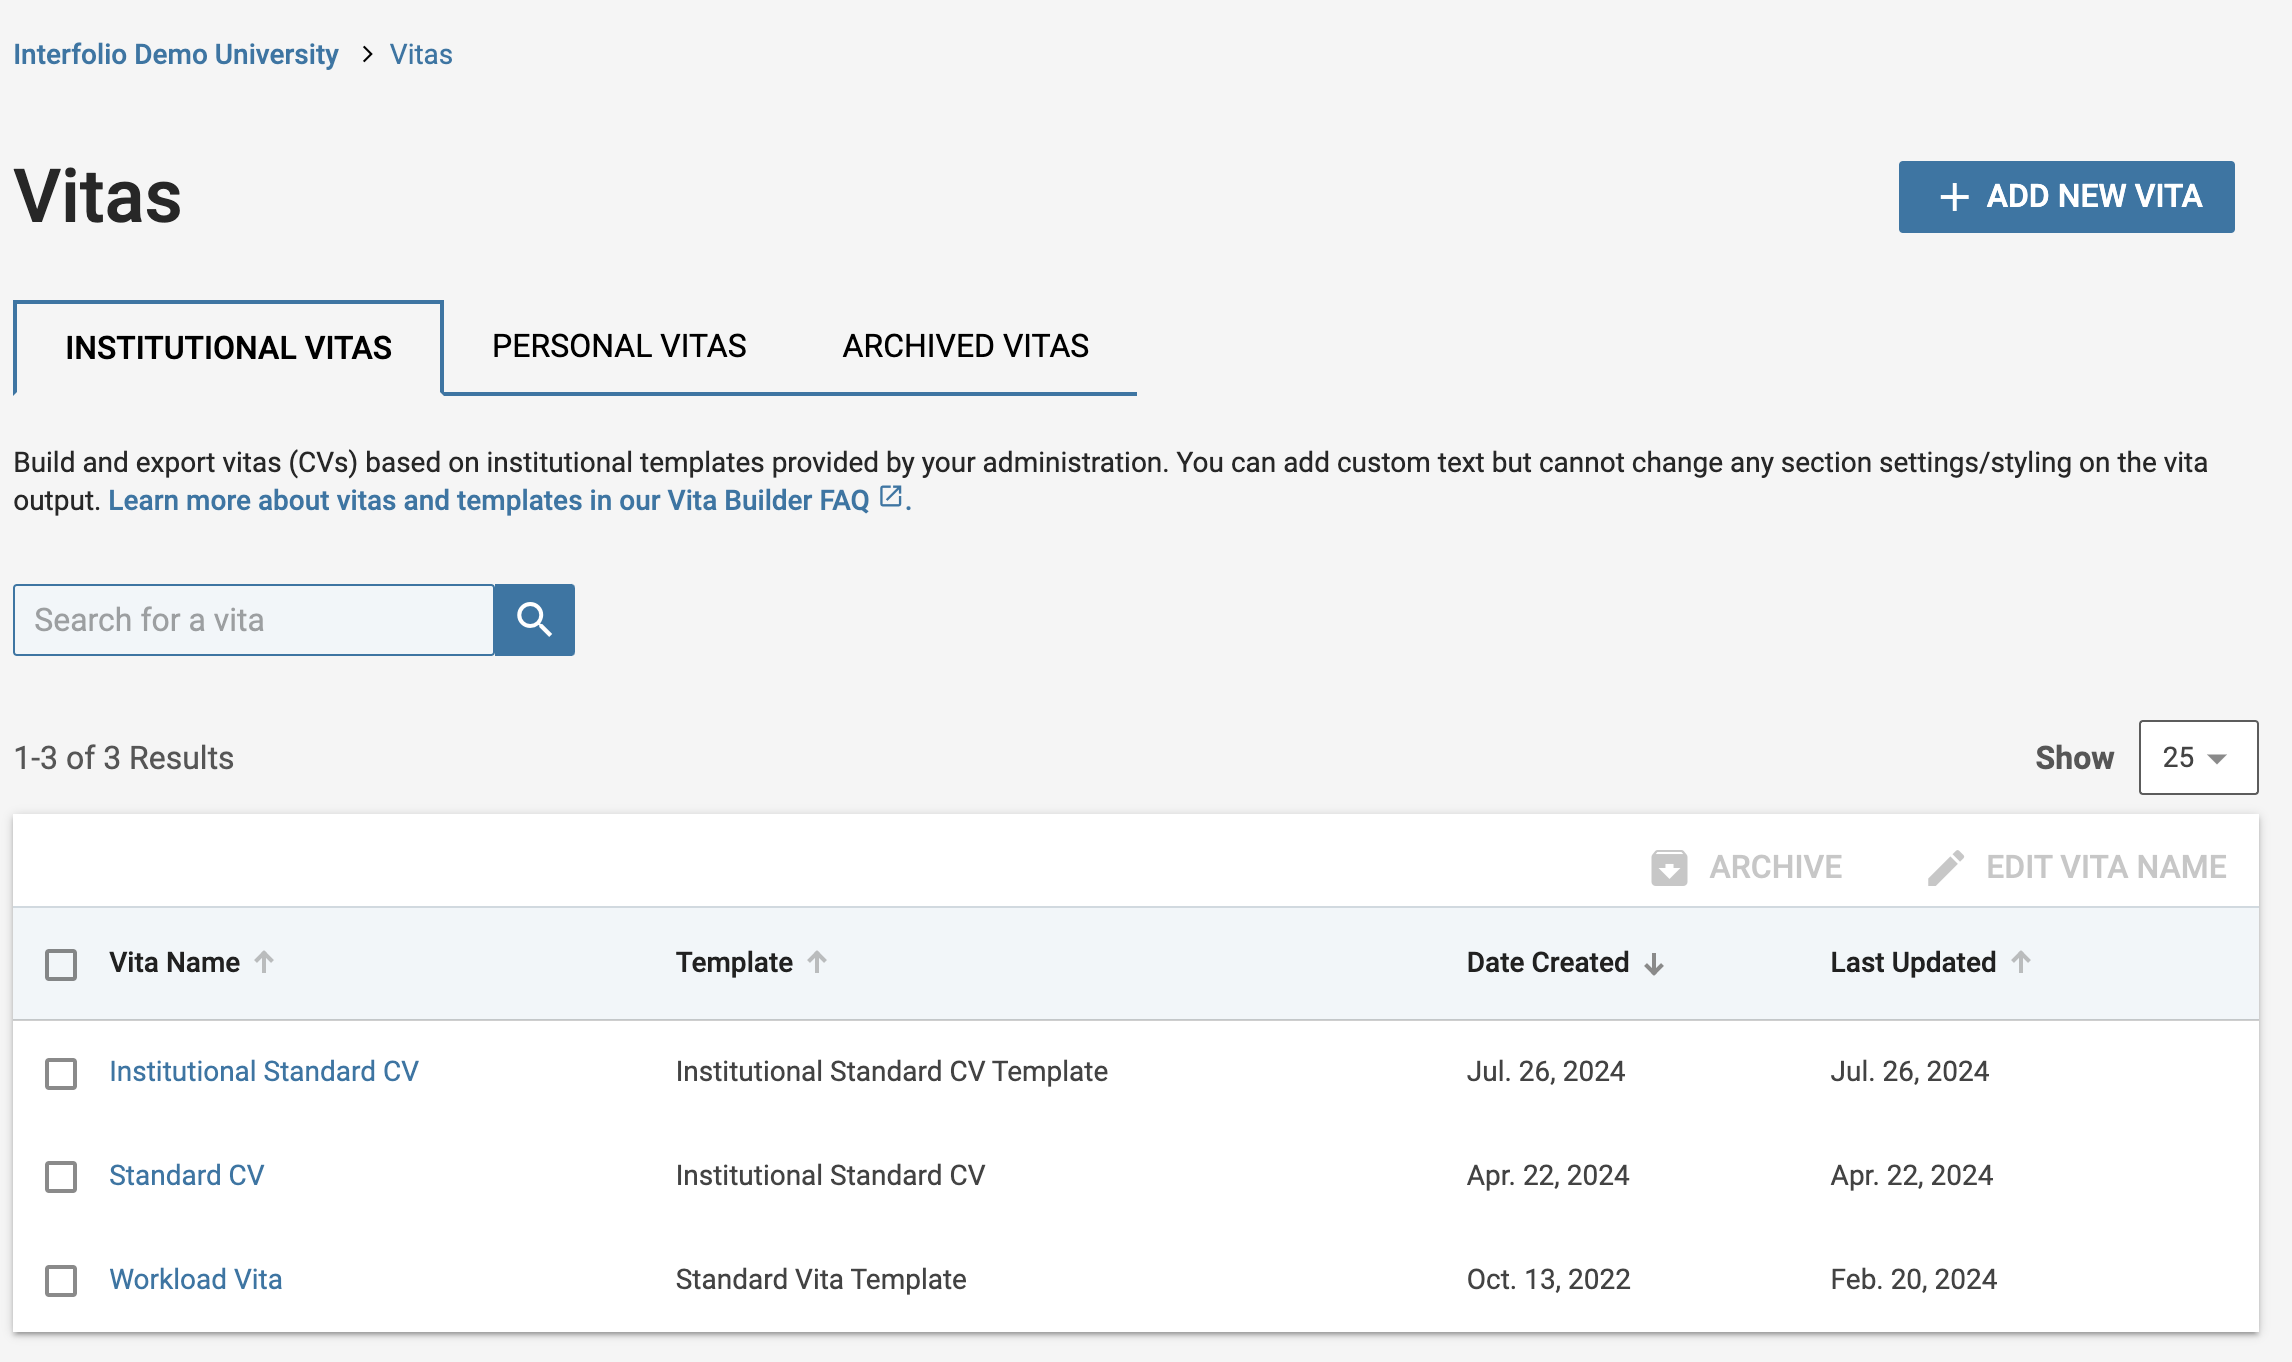
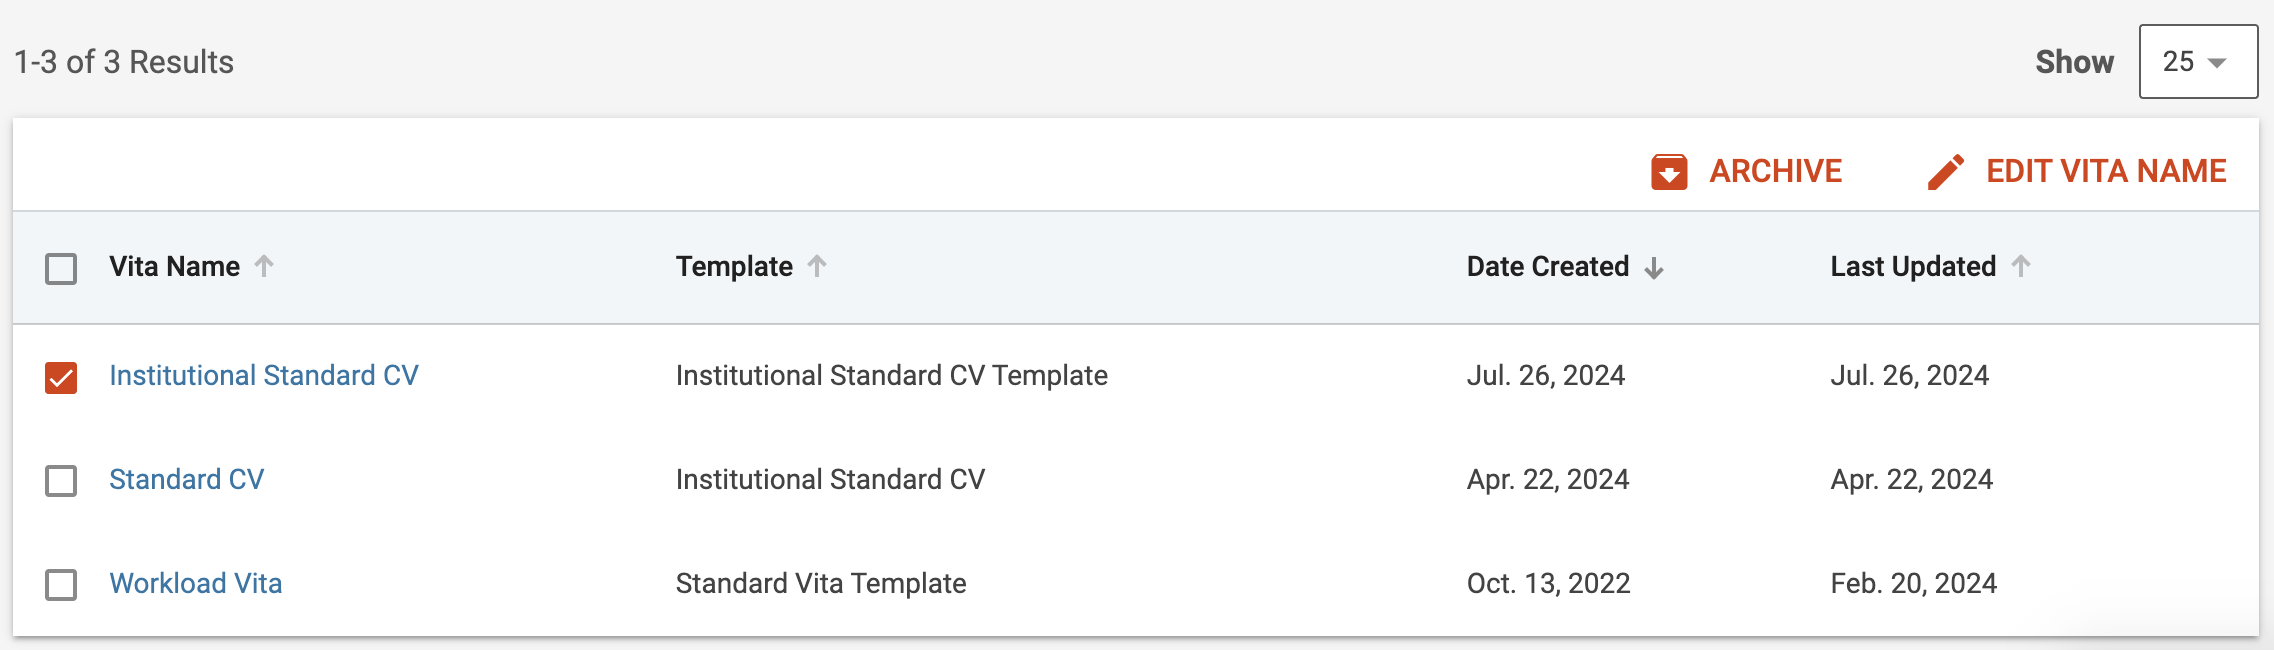
- Check the boxes next to the applicable Vitas to display options to Archive or Edit Vita Name.
- Select the 'Archived Vitas' tab to view archived vitas as well as Restore or permanently Delete, them.
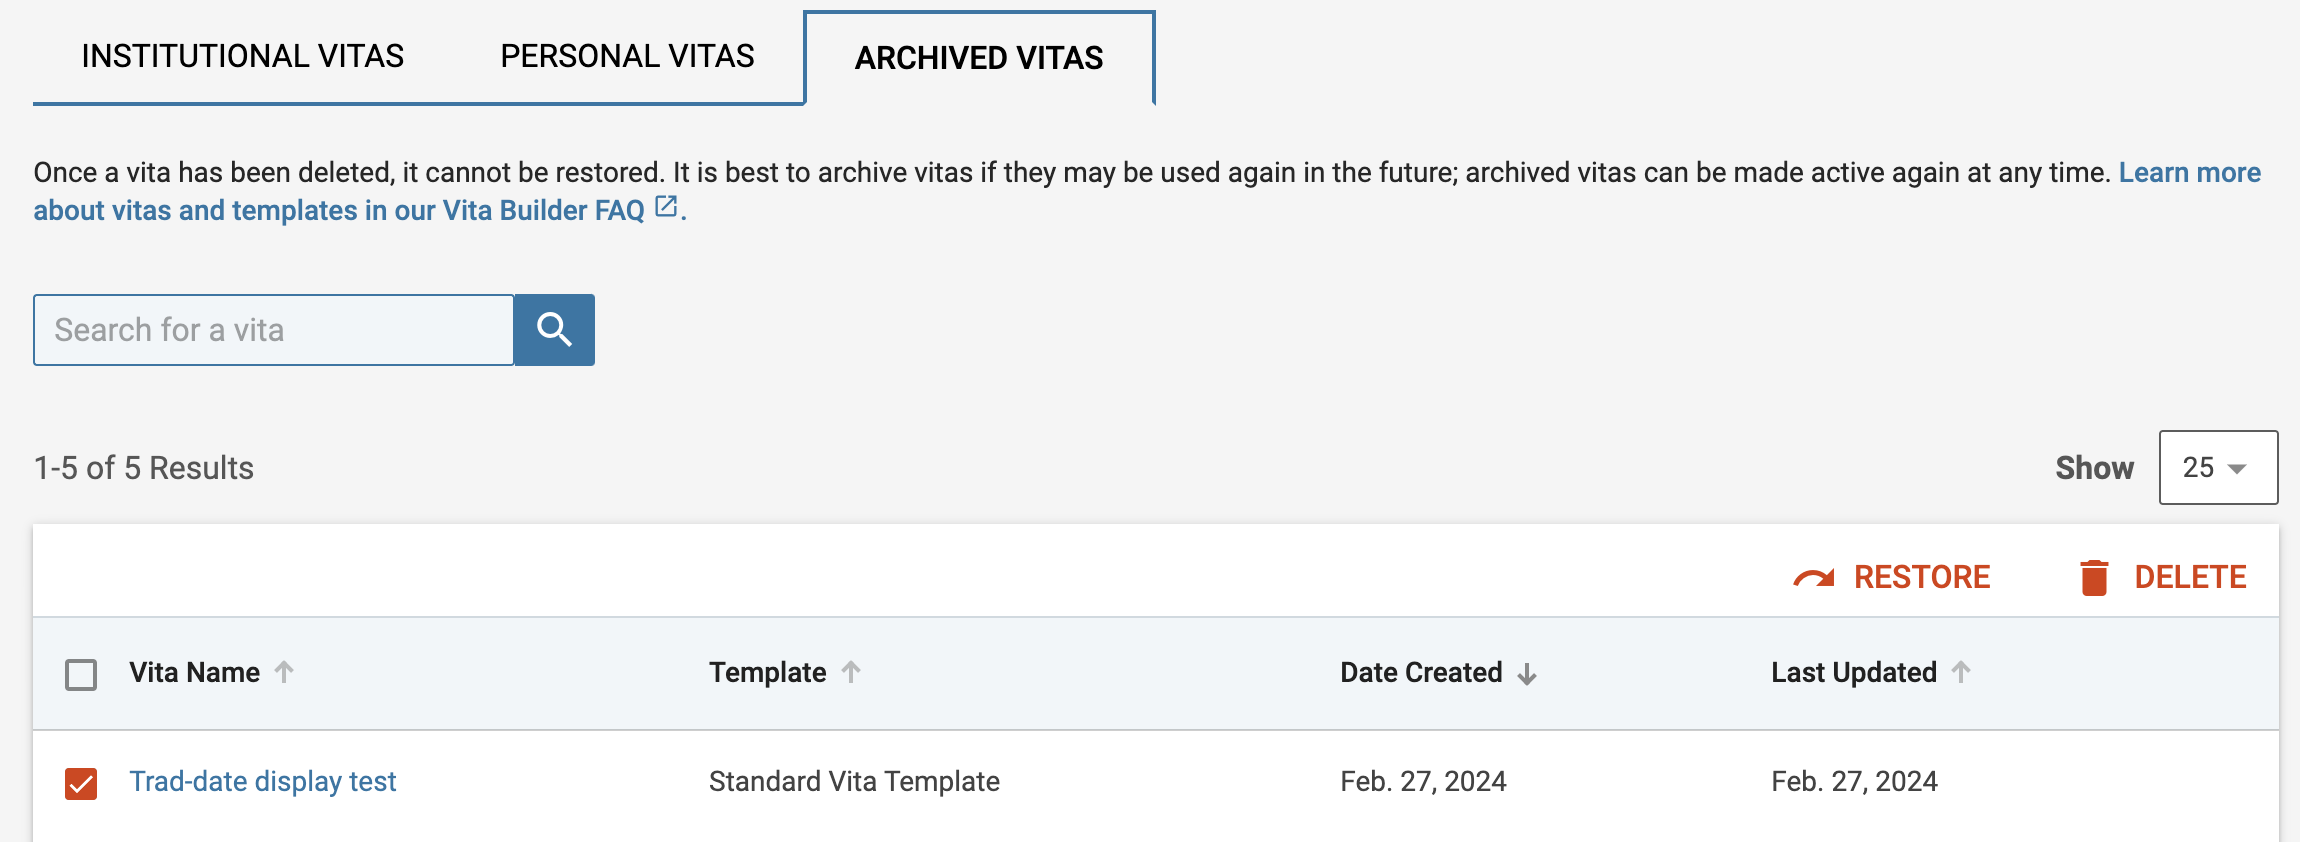
Once a vita is deleted, it cannot be recovered. To preserve it for potential future use, we recommend archiving the vita instead. Archived vitas can be reactivated at any time.
- Check the boxes next to the applicable Vitas to display options to Archive or Edit Vita Name.
- Make desired changes to the new or existing vita once it displays.
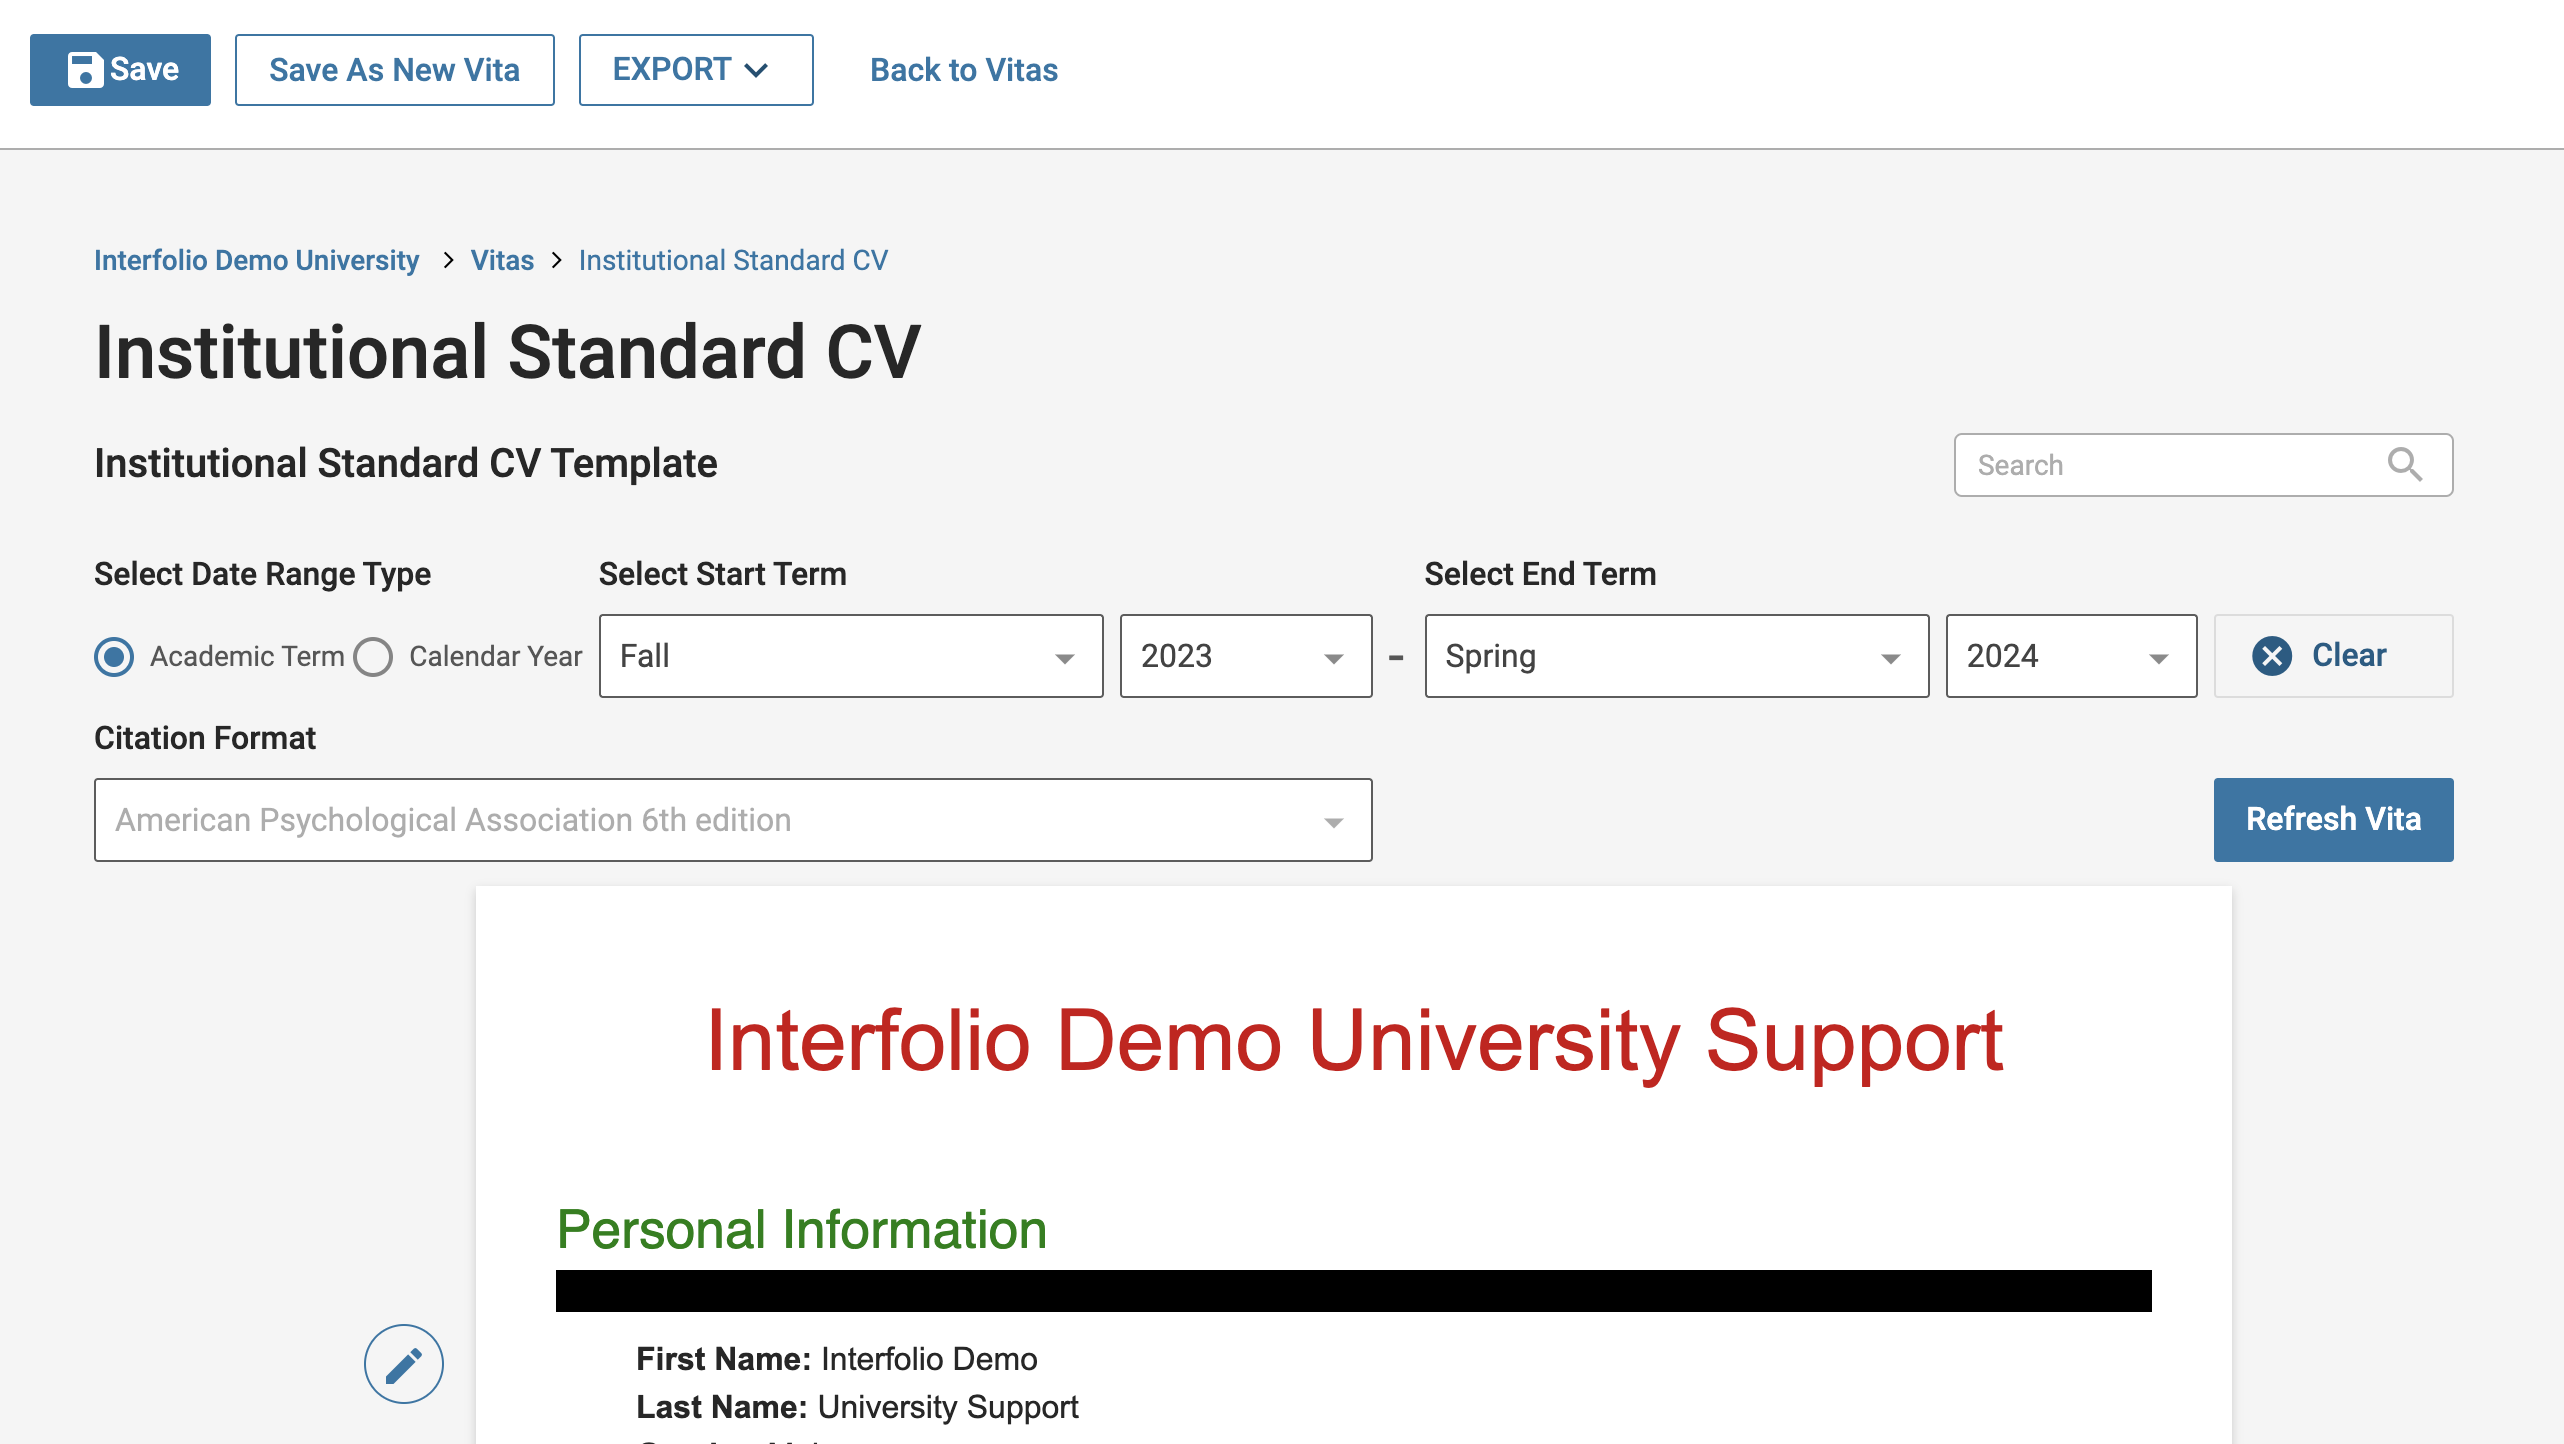
- Click the Refresh Vita button after the date range and citation format is set to update the data in the CV.
- Click the Pencil (Edit) icon next to the applicable section to open up the ‘Add Custom Text’ window where you can enter freeform text, select font styling, add borders, and more.
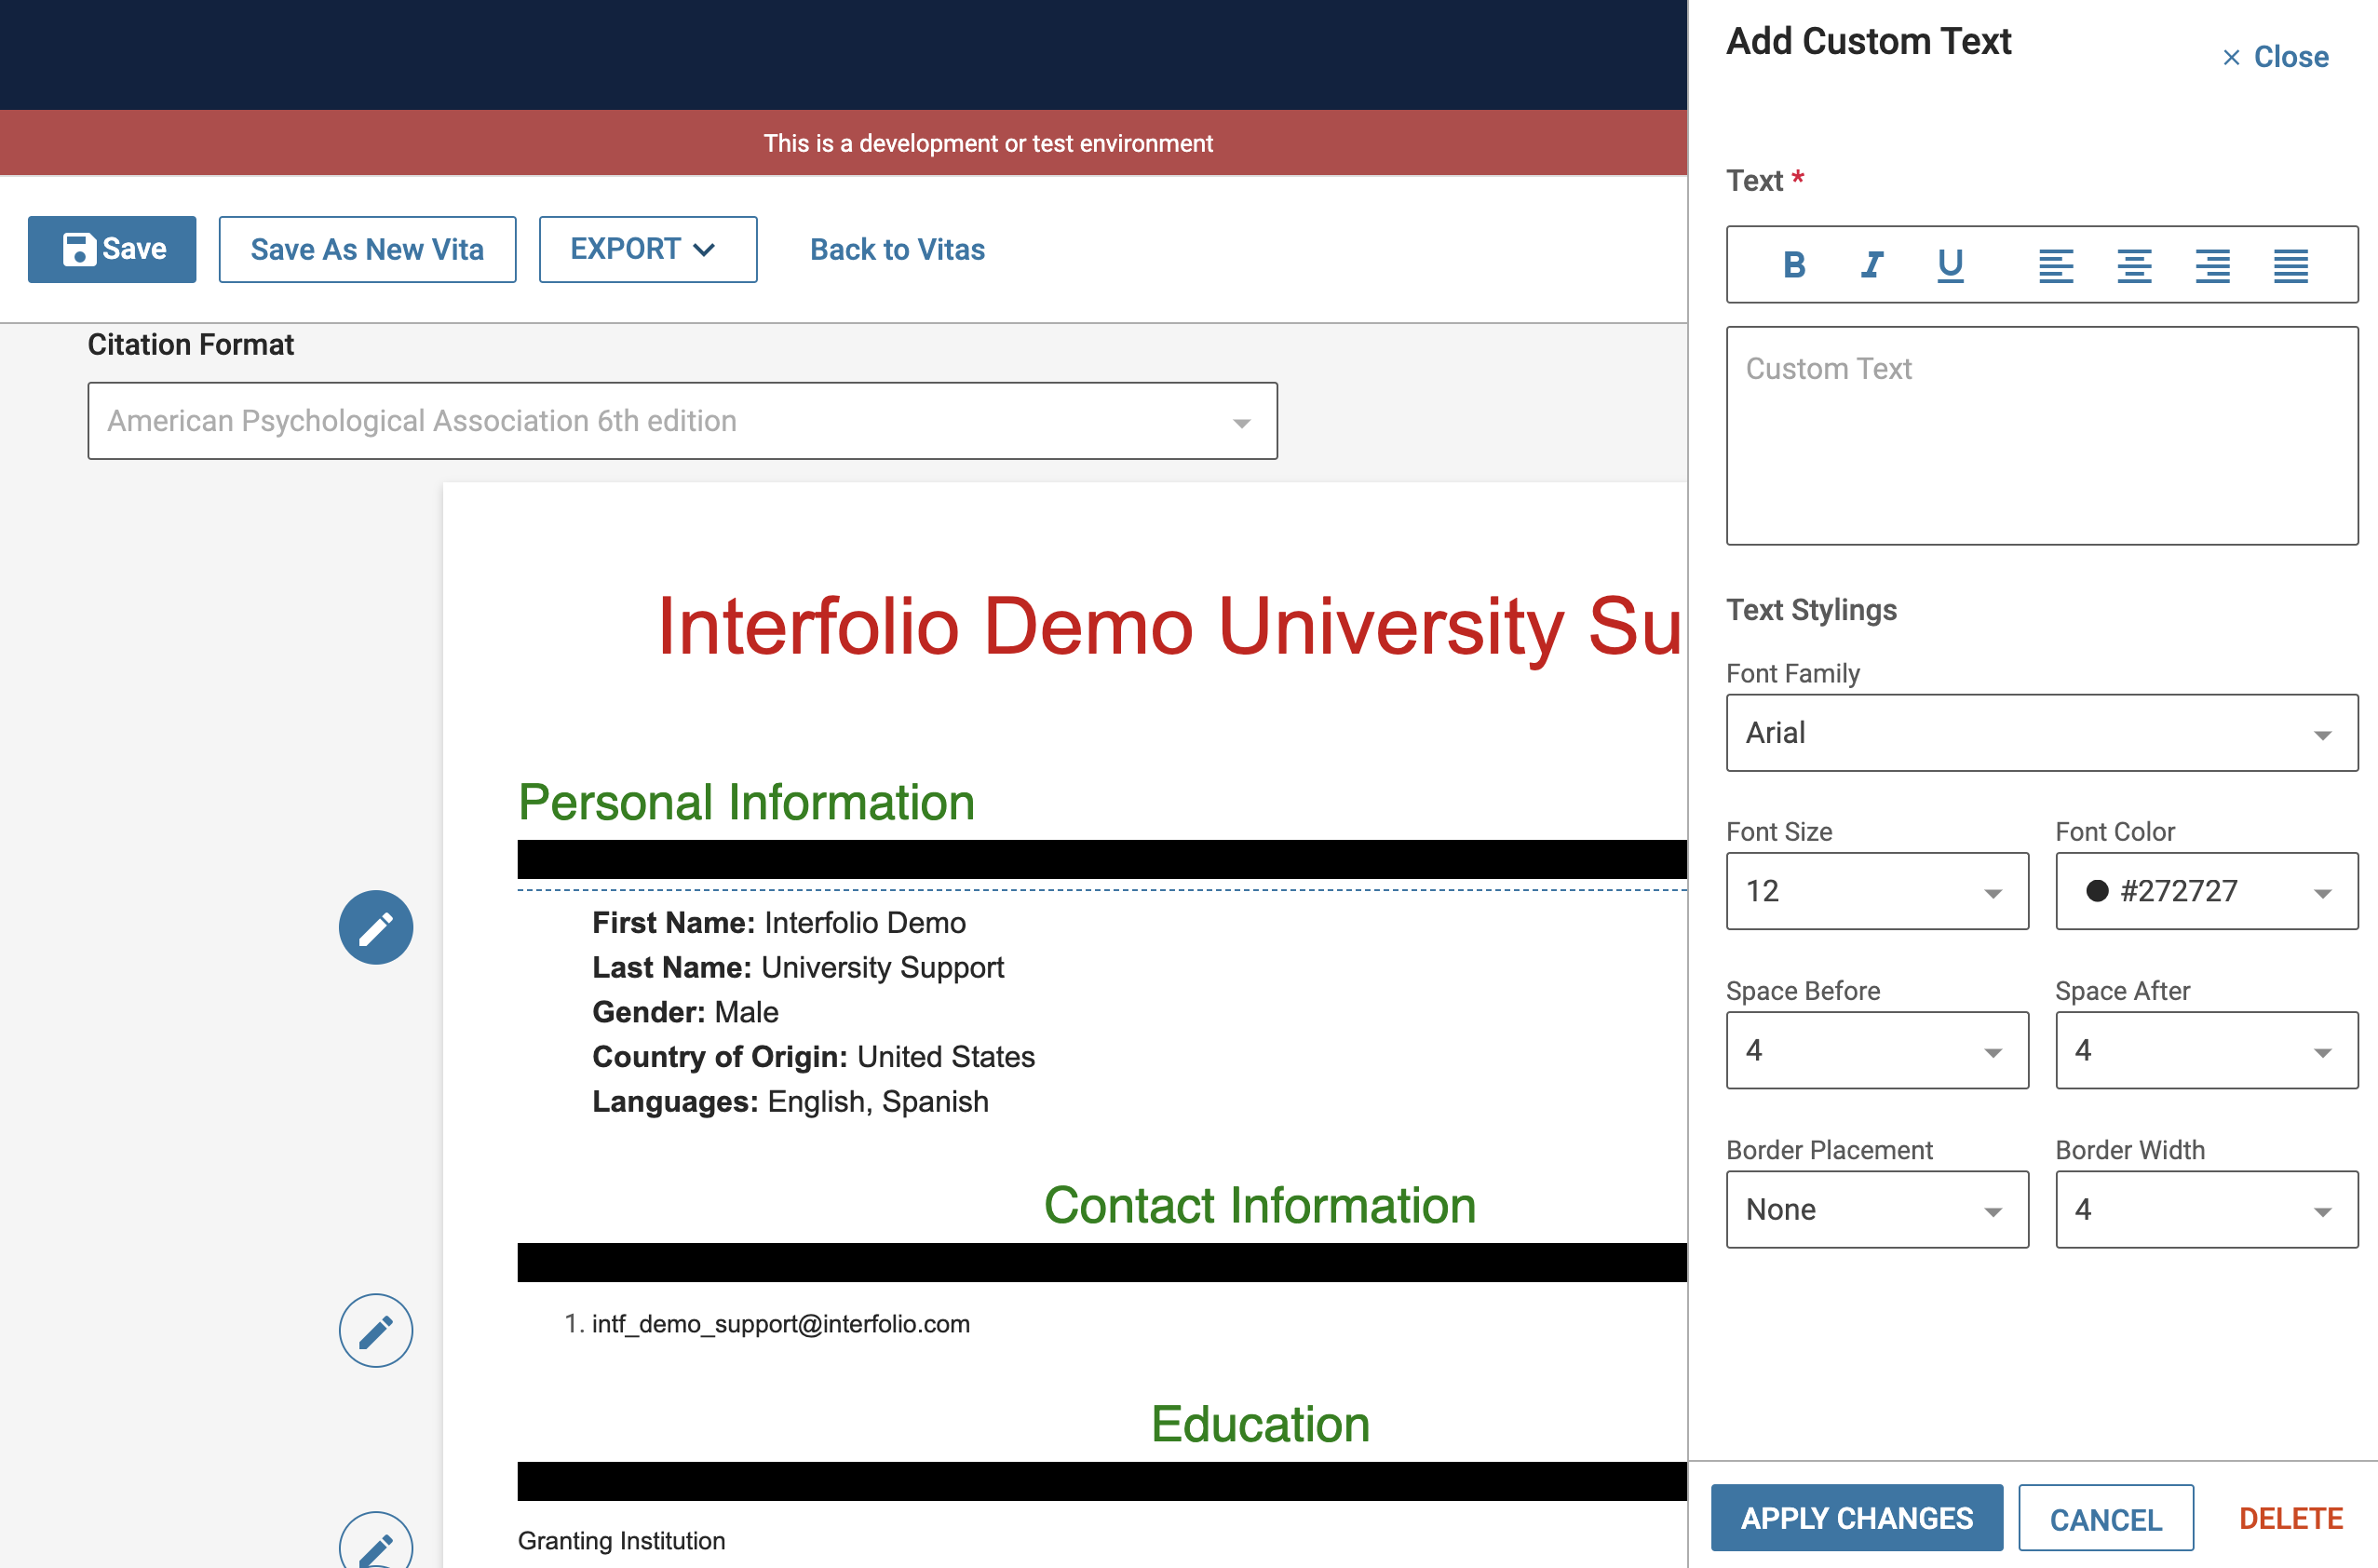
Note that the 'Add Custom Text' feature is not supported with FAR to RPT integration, which generates a Vita in real-time based on a template, not a personalized one from the user's account.
- After applying changes, click any Save button at the top of the page to save your work.

Save as New Vita creates a new vita that inherits all the settings of the current vita and gives the new vita a name and description.
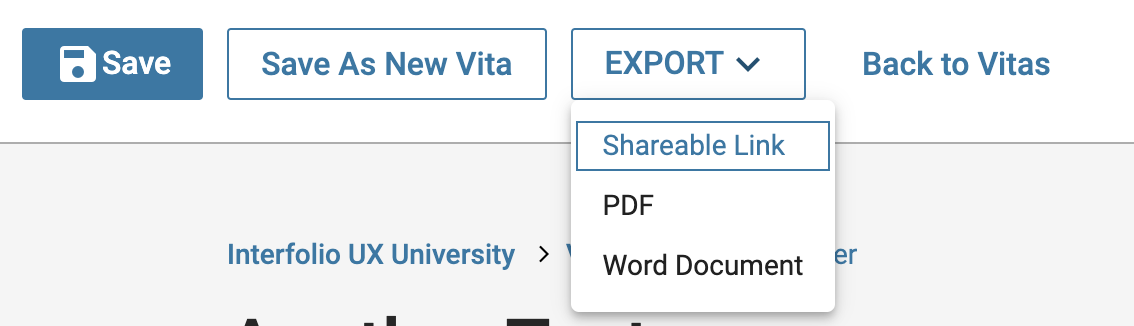
- Click the Export button to choose between creating a shareable link, a PDF, or a Microsoft Word Document.
Note that when a faculty member shares a link to their vita, the link remains valid indefinitely, unless the associated vita template is deleted. The link is designed to reflect a dynamic version of the vita, meaning updates made to the template will be reflected in the shared link. If a static snapshot is preferred, the vita should be exported to PDF or Word. If a template link needs to be disabled after sharing, the only options are to delete the personal vita template or, if not previously shared without it, apply password protection.
Downloading attachments stored in FAR is not currently supported through the UI. Attachment retrieval is handled by the Data Team and is a one-time ad hoc request. To request a download, submit a ticket through Tech Services and include the faculty ID(s) for the users whose attachments you need. Depending on the request, the Data Team can provide attachments for a single faculty member or for all faculty users. The exported folder will contain a subfolder for each faculty member.