Create a Case Based on a Template
A template is a predesigned case that can be used for creating new cases quickly. Administrators can create templates and make them available as a starting point for new Interfolio Review, Promotion, and Tenure cases that are created within a particular unit. Templates can be created for use by any unit in the hierarchy of an organization. Editing a template will change it for all future uses. This article explains how to create a case based on a template.
Cases can be created for any unit in the hierarchy of an organization (university, college, school, department, etc.)

You will see a list of templates available for cases created within your unit.
Click "Preview" to view a summary of the template.


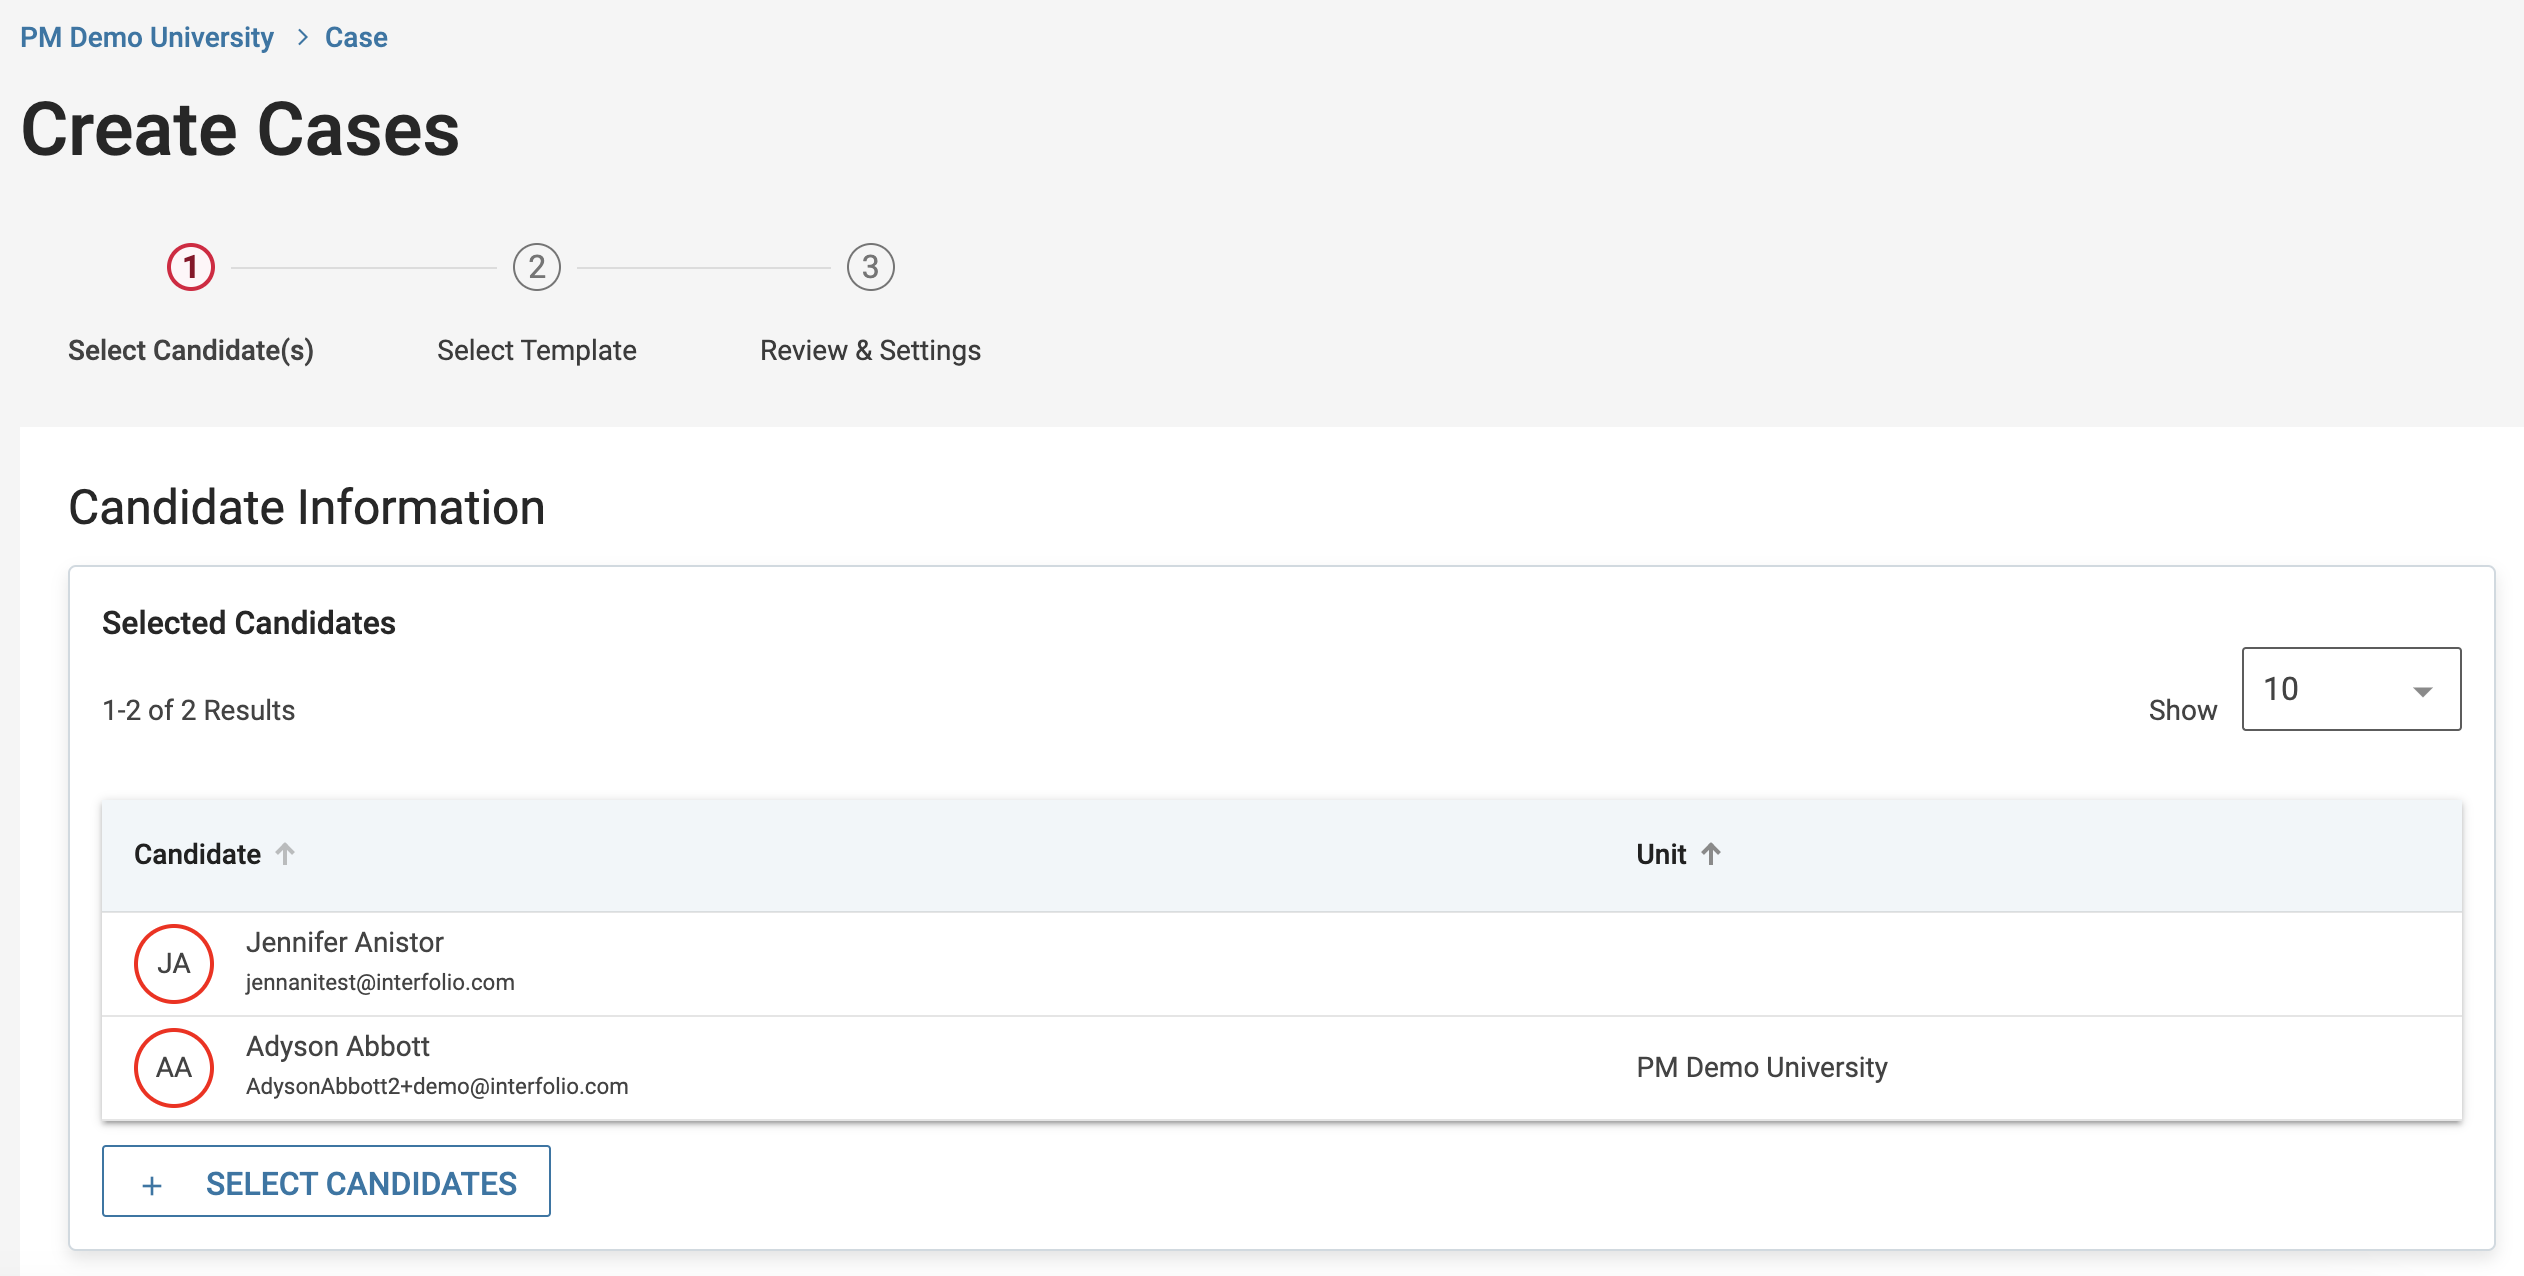
Start typing the candidate's name in the box labeled "Search for Candidate." If the candidate exists in the system, the name will appear. Select the candidate, and the name and email address will auto-populate.
If the candidate is not already in the system, or the candidate's name does not appear, type the candidate's name and email address to add them to the program.

For the question "Will the candidate be involved in this evaluation?" choose "Yes" if the candidate will be submitting materials online through Interfolio. This setting cannot be changed after this step.

The forms you add here can only be filled out by an Administrator. Candidates will never see the questions or answers of a case data form.
Note that case data forms are created from the Administration page and attached when creating or editing a template or case. See here for more information on how to create a new case data form.

1.4.1. Select a form to add and click "Save"

1.4.2. Click "Answer" to fill out the case data form

1.4.3. Answer the questions and click "Save" to submit the form

1.4.4. Click continue to move to the next step of creating the case


2.1. Set a due date for the candidate's packet

2.2. Add instructions to the candidate
Include specific instructions to the candidate about assembling their packet and any other procedures, policies, or deadlines at your institution. You can also include links to required forms and online resources such a handbook outlining your policies.

2.3. Create a packet of required candidate documents and forms
A single packet section labeled "Candidate Documents" appears by default.
Note that you can also add new custom sections to the packet, each with specific required documents, forms and due dates.
You can also allow candidates to add their own packet sections.

Click the edit pencil to change the name of a section, add a description, set a due date, and indicate if candidates will be allowed to add additional documents (beyond the requirements) to the section.

2.4. Add Faculty180 Vita
If your institution has elected to use the integration between Faculty180 and RPT, you can choose whether or not to add a Faculty180 Vita.
See here for more instructions on how to Add a Built-in Faculty180 Vita Section to a Review, Promotion & Tenure Template or Case.


2.5.1. Enter the name, description, and due date for the packet section, and indicate whether or not candidates can add additional documents to the section

2.5.2. The new section will appear with the information you added

2.5.3. To change the order in which the packet sections will appear to the candidate, put your cursor over the section name and drag and drop

2.5.4. You can also allow candidates to add additional sections to their packet

2.6. Click "Add Requirement" to add a document or form requirement to a packet section

2.6.1. If the requirement you want to create is a document:
- Enter the name
- Add any notes about the requirement
- Indicate if the document is required or optional
- Enter a number of documents. This can be a specific number, a range, or have no limit.

2.6.1.1. If the requirement you want to add is a form, click the "Form" button at the top of the window

Forms are created from the Administration page. For more information see this article on how to Create a New Form.
Internal case sections help committee members or individual users organize documents that will be added during the process of reviewing a case. If you are creating a case from a template, there will probably already be internal case sections added when the template was created. You can add more internal case sections, and edit or remove the sections as necessary.
Note that internal case sections will not be visible to the candidate.
Note: With internal case sections, you are creating a space for documents added to the case by committees and reviewers. You can create specific document requirements for reviewers of the case when adding case review steps. For more information see this article on setting up document requirements for a review step.
3.1. Set whether internal case sections will appear above or below the candidate packet
This setting determines where, on the case page, the internal sections will appear. You can set the internal case sections to appear either above or below the candidate packet section, where the candidate's materials will display and can be accessed by reviewers.

3.2. Click "Add Section" to add an internal case section, "Edit" to change the section name and description, or "Remove" to remove the section fro the case

3.3. Choose whether or not to include a special internal facing section for external evaluations
By default, we include an internal facing section for requesting and collecting external evaluations through the system.
Click "Remove" if you want to remove the external evaluation section from the template or case.
See the article Requesting External Evaluations to learn more about the process.

The template may include some or all of the case review steps that are part of the workflow for cases created using the template.
You may need to add case review steps that are specific to the case you are creating based on the template.
Each step you add must have at least one committee or individual assigned to it. You can assign additional committees or individuals if multiple committees or individuals require access to the packet at the same step.
You should end up with a workflow that includes all of the steps (in sequential order) that will be part of the promotion and/or tenure review for the case.
Your workflow will look something like this:

4.1. Click "Add Step"

4.2. Name the case review step, set a due date for when the step must be completed

4.3. Select who will review the case at each step; a standing committee, ad-hoc committee, or individual user
- Standing committees are created at the unit level (i.e. university, school, college etc.) and can be reused for cases in that unit.
- Ad-hoc committees are created on a per case basis. An admin will need to add members to this committee before a case can be initiated.
- An individual user can review the case, but will not be able to collaborate with others. To allow multiple members to review together, create a standing or ad-hoc committee.

5.1. Click "Edit" to the right of the step you created

5.2. Click "Add Committee" to give another committee or individual access when cases reach this step

5.3. Select who will review the case at this step; a standing committee, ad-hoc committee, or individual user, and click "Add"

5.4. Click "Settings" to set whether or not each committee or individual can move the case forward or backward

Click "Edit Settings":

Check or uncheck the box to allow the committee to move the case. If checked, the Committee Manager of that committee can move the case forward or backward in the workflow of case review steps.

When editing the step details, you can also manage Administrators" who will have access to the case at this step.
Certain Administrators who should not have access to cases built on the template at a particular workflow step may have already been recused during the process of creating the template on which you are building your case.
6.1. Click "Manage" in the box at the top right of the "Step Details" page

6.2. Click to recuse the Administrator
If editing a standing committee, you can also recuse committee members.

From the Manage Members tab you can click to Add Members to the committee, make a member a manager, or recuse a committee member from the case.

Open the Instructions tab and click Edit Instructions to add instructions ot the committee.

Open the Required Documents tab and click Add Required Documents.

Add Requirement: Enter documents you want completed as part of the work for this committee. All documents must be uploaded before the case can advance to the next step.

Open the Required Forms tab and click to Add Required Form.

- Form Name: Select a committee form from the drop down. Remember that committee forms are created on the Administration page.
- Internal Section for Responses: Select the section where you want the response to go on the case page when it comes in.
-
Response Visibility: Indicate whether the form will be accessible by
- Administrators Only
- Administrators & Committee Managers
- Administrators & Entire Committee
- Who submits the form? Only Committee Managers or All Committee Members

Open the Settings tab and click the Edit Settings button.

From here you can indicate whether or not the committee can move the case forward or backward.

Under the Options button you can edit the name of the committee or remove the committee from the step.