
Create Cases
Unit Administrators and Case Managers can streamline the creation of multiple cases of the same type (e.g., ‘Promotion’ or ‘Tenure’) with an intuitive setup wizard. This tool ensures all cases share a consistent template and provides options to specify whether candidates will submit packets for all cases, set common due dates, and select candidates from the institution's existing Interfolio RPT user list.This article explains how Institutional Administrators, Unit Administrators, and Case Managers can create new cases in Review, Promotion, and Tenure.
Users cannot create cases for themselves in RPT. If a candidate requires review committee access to their own case, another individual must create the case on their behalf and add the candidate to the review committee.
Create Case(s)
- Navigate to the Cases page and click the Create Case button in at the top of the page.

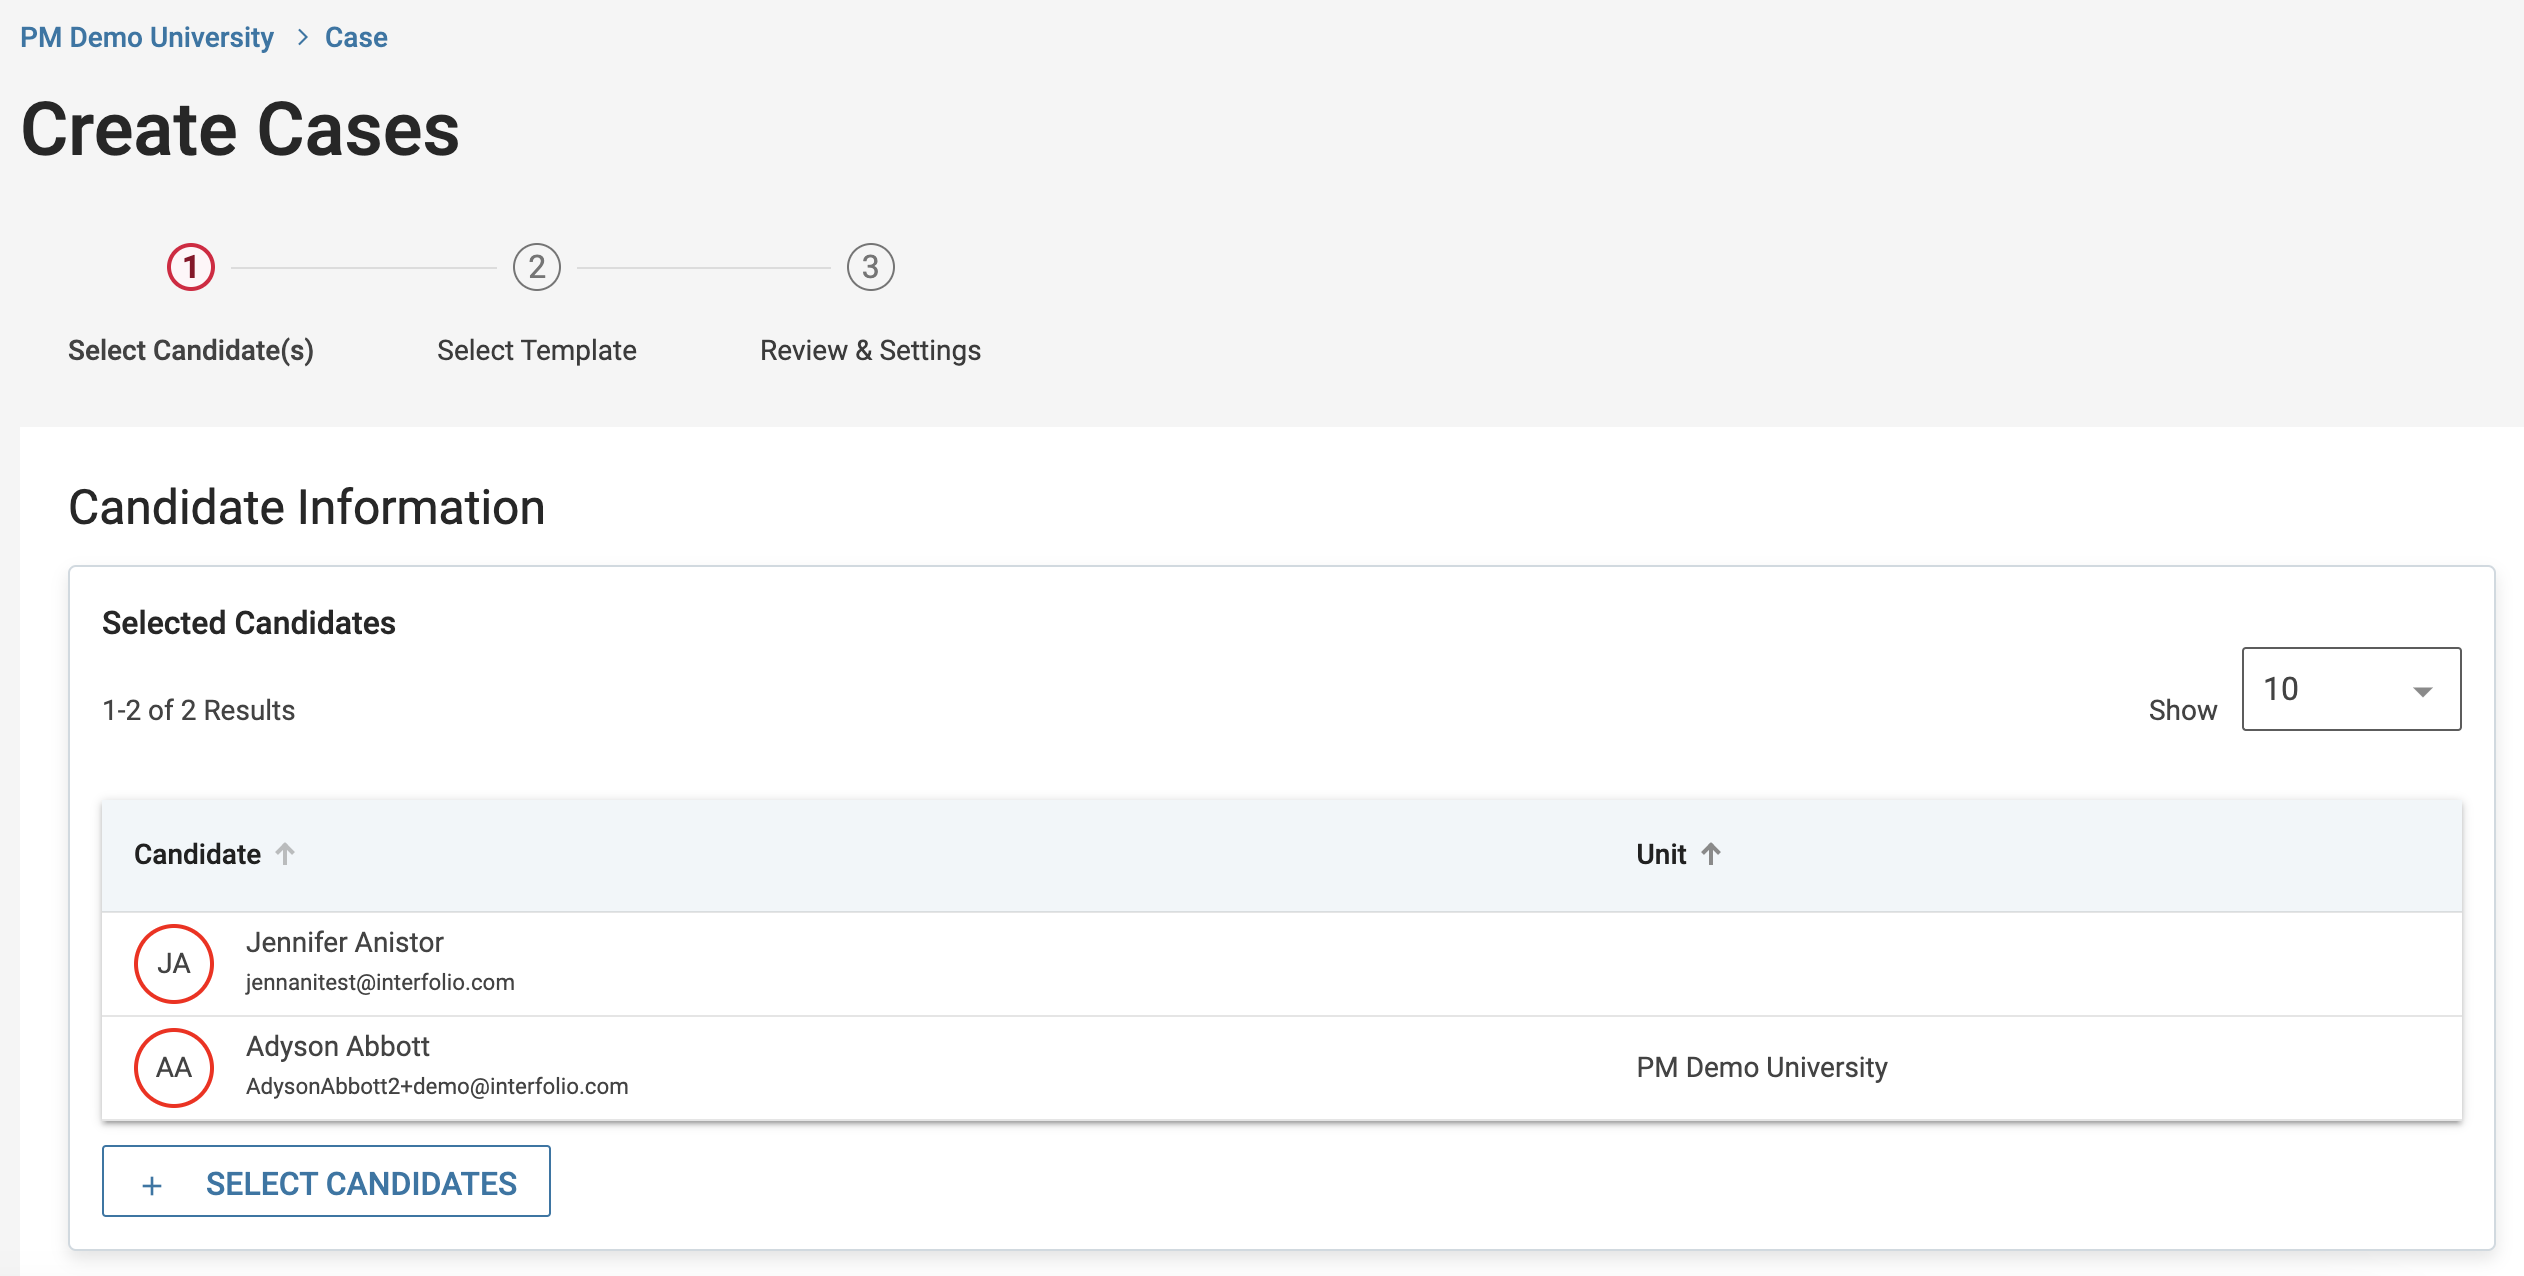
- Click +Select Candidates on the first step of the case creation process to identify the candidates involved in the case. When the window closes, click Continue to move on to the next step.
- Click +Select Candidates on the first step of the case creation process to identify the candidates involved in the case. When the window closes, click Continue to move on to the next step.

If you cannot find the candidate you may need to add them as a user first. If creating a case for a user that is not part of the institution (such as an appointment action), it is recommended to add the user with their current personal/professional email.
Once a case has been created, candidate information cannot be edited.
- Select the Template to be used in the case. Use the 'Unit' and 'Type' dropdowns to filter the template list. Click Continue when finished to continue onto the final step.
If only one candidate has been selected for case creation, the Custom Case option will appear in the list of templates. If selected, you will create a new case from scratch. This option is not available if multiple candidates are selected.

It is recommended to preview each template by clicking its name to ensure it contains the correct information, as templates cannot be modified during this process. Any necessary changes must be made beforehand when creating or editing a template.
- Review and confirm case details, forms, and requirements, then set deadlines for candidate submissions and committee work on the third step.
If a hard deadline has been indicated for the template, the candidate's packet will be automatically submitted and locked on this date. Due dates for individual sections are always soft deadlines.

A 'Faculty Activity Reporting Vita' section will pull a vita from FAR. Refer to this article on how to Add a Built-in FAR Vita Section to a Case for guidance.
- Confirm the candidates for case creation, specify their evaluation involvement, and indicate if they should be notified about their case availability.

Will the candidate be involved in this evaluation? Select ‘Yes’ if the candidate will need to participate in this evaluation at any stage of the process, such as by uploading their own materials. This setting cannot be changed after the case is created.
Would you like to notify the candidate now? If choosing not to notify candidates, a message can still be sent to candidates with the notification.
- Scroll to the bottom and click Create [#] Cases. If a single case is created, you'll be directed to its page; if cases are created in bulk, you'll return to the Cases page, where you can search for and edit individual cases.
FAQ
Why am I unable to create a case for a candidate with the same primary email address for two accounts in Super?
If you see the error "We're sorry, we were unable to create this account. Please make sure you are using the correct information and try again." when creating a case, it is because the candidate has the same primary email on two accounts in Super. The system does not allow duplicate primary email addresses across multiple accounts. To resolve this, merge the two accounts with the same primary email address.
I created a case for a candidate, why can't they see it?
There are two possible scenarios for this:
- The candidate needs to be notified again.
- Their accounts need to be merged.