

Configure Scholarly Activities Report
The Scholarly Activities Report provides reporting on the Scholarly Activities section, such as publications and creative productions.
The Scholarly Activities Report can be run to provide answers to such questions as:
- How many entries exist (by College) for each Scholarly Activity sub-type for Spring 2016?
- How many Journal Articles (in Completed/Published or Accepted status) does a particular faculty member have for Spring 2015 to Spring 2016?
- How many Scholarly Activities (in Completed/Published or Accepted status) have an Activity Classification specified as Contributes to Engagement for Spring 2016?
Configure Scholarly Activities Report
Report access is based upon a user's permissions. For example, a provost might have permissions to access all reports at the university level and below, while deans might only have access to reports for their colleges.
1. Navigate to Scholarly Activities Report under Reports
Navigation: Administration > Reports > Scholarly Activities
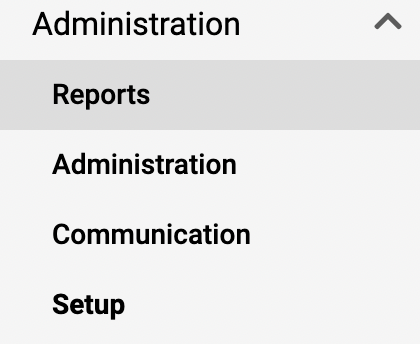
- Navigate to Reports under the Administration section of the navigation menu.
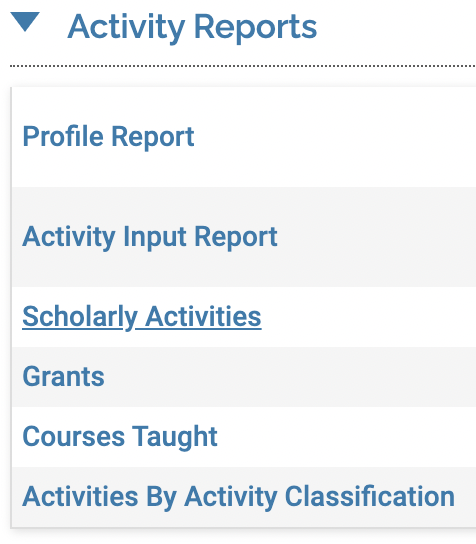
- Click Scholarly Activities under the Activity Reports section.
2. Fill out information
- Fill out information under the General section.
| Section | Details |
|---|---|
| Activity |
Select the Activity for the report. Select All to include all activities. |
| By Term or By Category | Select the grouping option (either term or category). |
| Status | Select the Status options to include in the report. More than one status may be selected. To modify the status selections, click the Change button. |
| Begin and End | Select the academic terms for the data to be reported. |
| Display Mode | Select the appropriate option regarding the data display (i.e. Count Only, Rows - %Total of Rows, Columns - %Total of Columns, %Total of Grand Total). |
ii. Fill out information under the Faculty section.
- Click the Select Faculty button to use the faculty selection tool to select faculty to include in the report.
iii. Fill out information under the Details section.
- To filter on an activity classification, select the Activity Classification from the drop down.
- Select the criteria for the activity classification.
iv. Click Apply when finished.
3. Adding Additional Activity Classifications
- Click the Delete ("X") icon next to the filter under Activity Classifications in the Details section to clear and Activity Classification.
- Choose a different Activity Classification to add additional filters.
4. View data
- Click on any hyperlinks that are available to see a different view of the data.
- Click the column heading to sort the data in the report by a particular column.
- Click the number hyperlink associated with the faculty member to drill down further and view the details for a specific faculty member.
- To view the report grouped by faculty:
- Click By Term or By Category under the General section.
- Click Refresh Report to view the updated report.
For those sections that can have more than one record per faculty member, such as Journal Articles, Books, Chapters, the report can be grouped by faculty.
- To add a column to the report:
- Click View.
- Select the columns to be displayed in the report.
- Click Update.
5. Export/Print
Click the Actions button at the top of the page to view a dropdown of actions. Click the desired action to Print Page, Export to Word, Export to Excel, or Export to PDF.
Note that sorting the data applies only to the display the sort will not be reflected in the export options. If a different sort order is desired, the data should be exported to Excel, where the sort order can then be modified.
6. Create a Quicklink
Click the Quicklinks button at the page to view a dropdown of options. Click Add This Page as a Quicklink.
FAQ
Can an administrator run a report to find publications with multiple Completed/Published statuses?
Administrators can run reports that include multiple statuses (e.g. Completed, Published, or Accepted) by selecting more than one status in the Scholarly Activities report. However, the exported report does not display the status of each item, and the status column is not available to add to the report view.
Workaround: It is recommended to run separate reports for each status (e.g., one for Completed/Published, another for Accepted) and compare the results manually to identify which publications fall under each status. This method ensures accurate tracking, even though the system doesn’t currently support displaying multiple statuses in a single report view.