
Manage Faculty Profile
Lifecycle Management (LM) provides a centralized, filterable, and sortable view of all faculty members, allowing administrators to quickly access profile details, appointment information, and upcoming events. Click into any faculty member to view their profile page with detailed data pulled from multiple sources, such as current appointments, human resources records, profile data, and contract agreements. This article walks you through the full functionality of the Faculty Profile experience from navigating the faculty list to managing individual profiles.
Any changes made on the faculty's profile (e.g. adding events or changing workload allocation) will only apply to that individual, not to the entire series.
Manage Faculty Profile
- Navigate to the Faculty page and click the name of the desired faculty member to edit to navigate to their profile page. You may also click the Create Profile button in the upper right-hand corner to add a new faculty profile.

If the faculty member has uploaded a profile image this will appear in the circle next to their name. Otherwise, their initials will display. You can also Send Messages and Export Faculty Records from this page.
You can create a new profile by clicking the 'Create Profile' button in the upper right-hand corner.
- On the faculty profile page you can view faculty contact information (name, date hired, office address, and CV, if attached), send an email, manage appointment information, view current and upcoming events on the Professional Journey timeline, add exception events for faculty in unique circumstances, view historical events, and perform additional actions described below.

Historical events are automatically moved to the ‘History’ tab once the assigned time period passes.
- To view available actions, click the Actions dropdown. From here you can edit their profile details, add new appointments, view message/activity logs, view appointment history, and delete/deactivate profi

-
View Message Logs: Users can easily access a searchable record of all messages sent to an individual faculty member including the date and message subject. The list of messages can be filtered in the log by a date or date range, or by entering keywords to search for messages. The log can also be sorted by date, recipient last name (alphabetical), sender name, and delivery status.

“The recipient has unsubscribed from all Interfolio-generated emails” will display when they select the unsubscribe option in any Interfolio email. Administrators cannot fix this directly. The recipient must contact Product Support to manage their email preferences, similar to how it's handled in other Interfolio modules.
-
View Appointment History: Appointment details can be found by clicking the blue caret next to the appointment to expand the section. This displays the dates and institution of the appointment and an event history including the type of appointment (promotion, reappointment, and others), its title, the time period, and any outcome of the event (promoted, completed, and others).

To load past events, follow the steps outlined in the Load Data in Bulk article.
To review or add more appointment information, including notes or files, select the hyperlinked appointment title. Although core event details can’t be edited once an event has ended, you can still attach files and add notes to capture updates or provide important context. When you need to clarify something about a past event, simply add a note directly to that event while viewing it
-
View Message Logs: Users can easily access a searchable record of all messages sent to an individual faculty member including the date and message subject. The list of messages can be filtered in the log by a date or date range, or by entering keywords to search for messages. The log can also be sorted by date, recipient last name (alphabetical), sender name, and delivery status.
-
Deactivate/Delete Profile: Faculty must be deactivated first for the delete option to appear. Only deactivated faculty members can be permanently deleted. Deleting a faculty profile permanently removes the user along with their events and appointment data.
You can also deactivate profiles in bulk from the faculty list page.

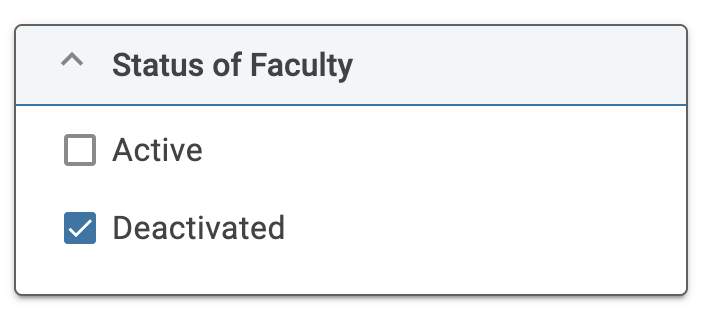
Filter the faculty list to narrow down the list and only show deactivated profiles.
FAQs
How can I add more options to the Workload Model dropdown?
Check out this article on how to Add the Workload Models Used by Your Institution to add more options to the Workload Model dropdown.
How can extensions and international numbers be captured on the Faculty Profile file?
The phone number file will accept values in the following formats: "(XXX-XXX-XXXX)", 555-333-4444 EXT. 233 as well as +44 20 8673 5497
What is a best practice when a faculty member leaves the institution and they are no longer desired to be shown on the faculty roster?
The best option is to add an exception event and manually delete/cancel all of the faculty member's remaining future events. The faculty member will always show up in the faculty roster, but will not have any upcoming events.
It is recommended to insert a new event to note termination/terminal year so the record could be sorted out if necessary.
How do I manage the "View CV" content on a faculty member's profile?
The "View CV" button appears on a faculty profile when the CV link field in the faculty file upload is populated. This field allows the school to provide a link to a single CV file that they host. To update the link, re-upload the faculty file with the corrected CV data. To remove the button entirely, re-upload the faculty file with the CV link field left blank.
Is this link the same as documents in the "File" section?
No. Documents in the "File" section can be added through the UI, while the CV linked to the "View CV" button can only be added via the faculty file upload.