

A Candidate's Guide to Populating and Submitting a Packet Using Interfolio RPT
When you are up for review, such as reappointment, promotion, tenure, or a periodic evaluation, your institution may ask you to assemble and submit a packet of materials using Interfolio Review, Promotion & Tenure (RPT.) This packet becomes the formal set of documents committees will review at each stage of your evaluation.
New to Interfolio Review, Promotion & Tenure?
Take the free, self-paced eLearning course for RPT Candidates before diving in.
5 things to know before you start
- Your requirements and deadlines come from your institution, not Interfolio.
- Submitting even one section immediately notifies your review committee and moves the case forward.
- Submitted sections lock instantly. Only an administrator can unlock them, Interfolio support cannot.
- You will not receive a confirmation email after submitting. Check your packet status in your account instead.
- If you have a hard deadline, all sections are automatically submitted and locked at the due date, even if incomplete. You’ll receive reminder emails 7 days and 1 day before.
How RPT Relates to Your Dossier
- Dossier: Your private, personal workspace for storing and organizing academic materials. Files in your Dossier can be reused across multiple reviews and applications, including RPT packets.
- RPT Packet: A structured collection of materials submitted for a specific review process. Candidates can upload files directly or import materials from their Dossier. Materials added to a packet are also saved to the candidate’s Dossier. Packet requirements, deadlines, visibility, and review stages are determined by the institution. Once submitted, packet sections lock and require administrator assistance to edit.
You can pull materials from your Dossier into your RPT packet, but changes made inside the packet do not affect your Dossier copies. Removing a file from your packet does not delete it from your Dossier.
Populate and submit your packet for review
Step 1: Access your packets
There are two ways to open your packet:
-
From your Interfolio account: Select ‘Your Packets’ from the navigation menu and then click the hyperlinked name of the active packet. Past packets can be viewed under the ‘Completed’ section.

If your case does not appear on Your Packets page, it may have not yet been initiated.
-
From the case initiation email: Click View Case in the email.

If you already have an Interfolio account, you’ll be taken directly to the Packet Overview, where you can see each section and your progress toward completing requirements. If you do not have an account, you will be prompted to create a password to complete your registration. After creating your password, you’ll be taken to your packet.

Step 2: Review your requirements
Before uploading anything, take a few minutes to understand what’s expected. Requirements and deadlines are set by your institution.
- Click View Instructions (upper right corner) to read the Candidate Instructions for your case. These include required materials, institutional policies, and any department-specific expectations.

- From the Packet tab, expand each section to see the number of required files, files already added, and any forms you must complete.

If your institution has enabled Dossier Guidelines for your upcoming review, you may also see recommended categories or tags in your Dossier to help you organize collections of your materials before adding them to your packet here.
Step 3: Add and organize your materials
Upload Materials
- In the Packet tab, expand the section you want to populate.
- Click Add next to the requirement. You can upload documents, add video links, or add webpage links.
- Click Edit next to any uploaded file to rename it or replace it with a new version.
Tip: Name your files clearly. Reviewers see your uploaded document titles as bookmarks in the document reader, so descriptive names (e.g., “Teaching Statement” rather than “scan001.pdf”) make a real difference.
Rearrange files
Drag and drop files to reorder them or move them between sections while a section is unlocked. Note: responses to committee files cannot be deleted.
Complete forms
If a section includes a form, click “Fill Out Form” (or “Edit Form” if you’ve already started). The form shows as completed once filled out, but it isn’t officially submitted until you submit the section itself.
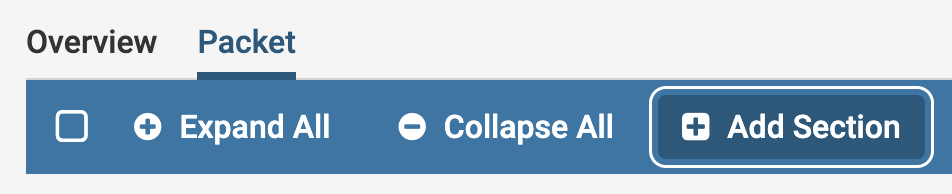
Add optional sections
If your institution has enabled it, you can add new sections to your packet using the “Add Section” button at the top of the Packet tab.
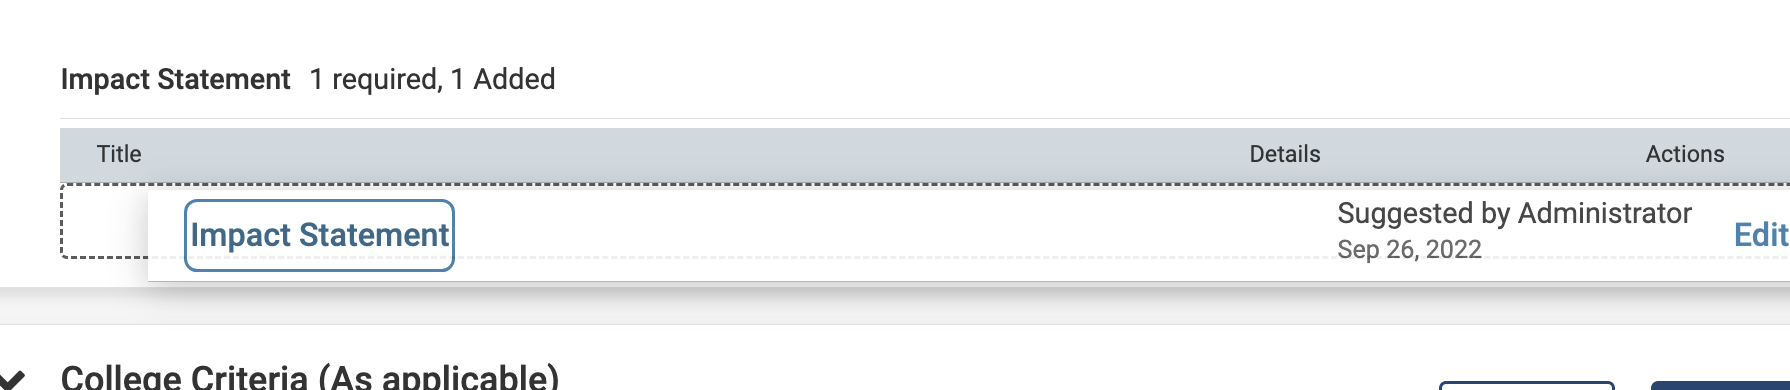
Review files shared by your institution
Administrators or case managers may add files to your packet. These appear as “Suggested by [Name].” You can keep them or remove them.
For details on how to view, download, or respond to shared materials, see the article on View and Respond to Files Shared in RPT.
Complete FAR Vita Section
Manage and Submit a FAR Vita as part of your packet.
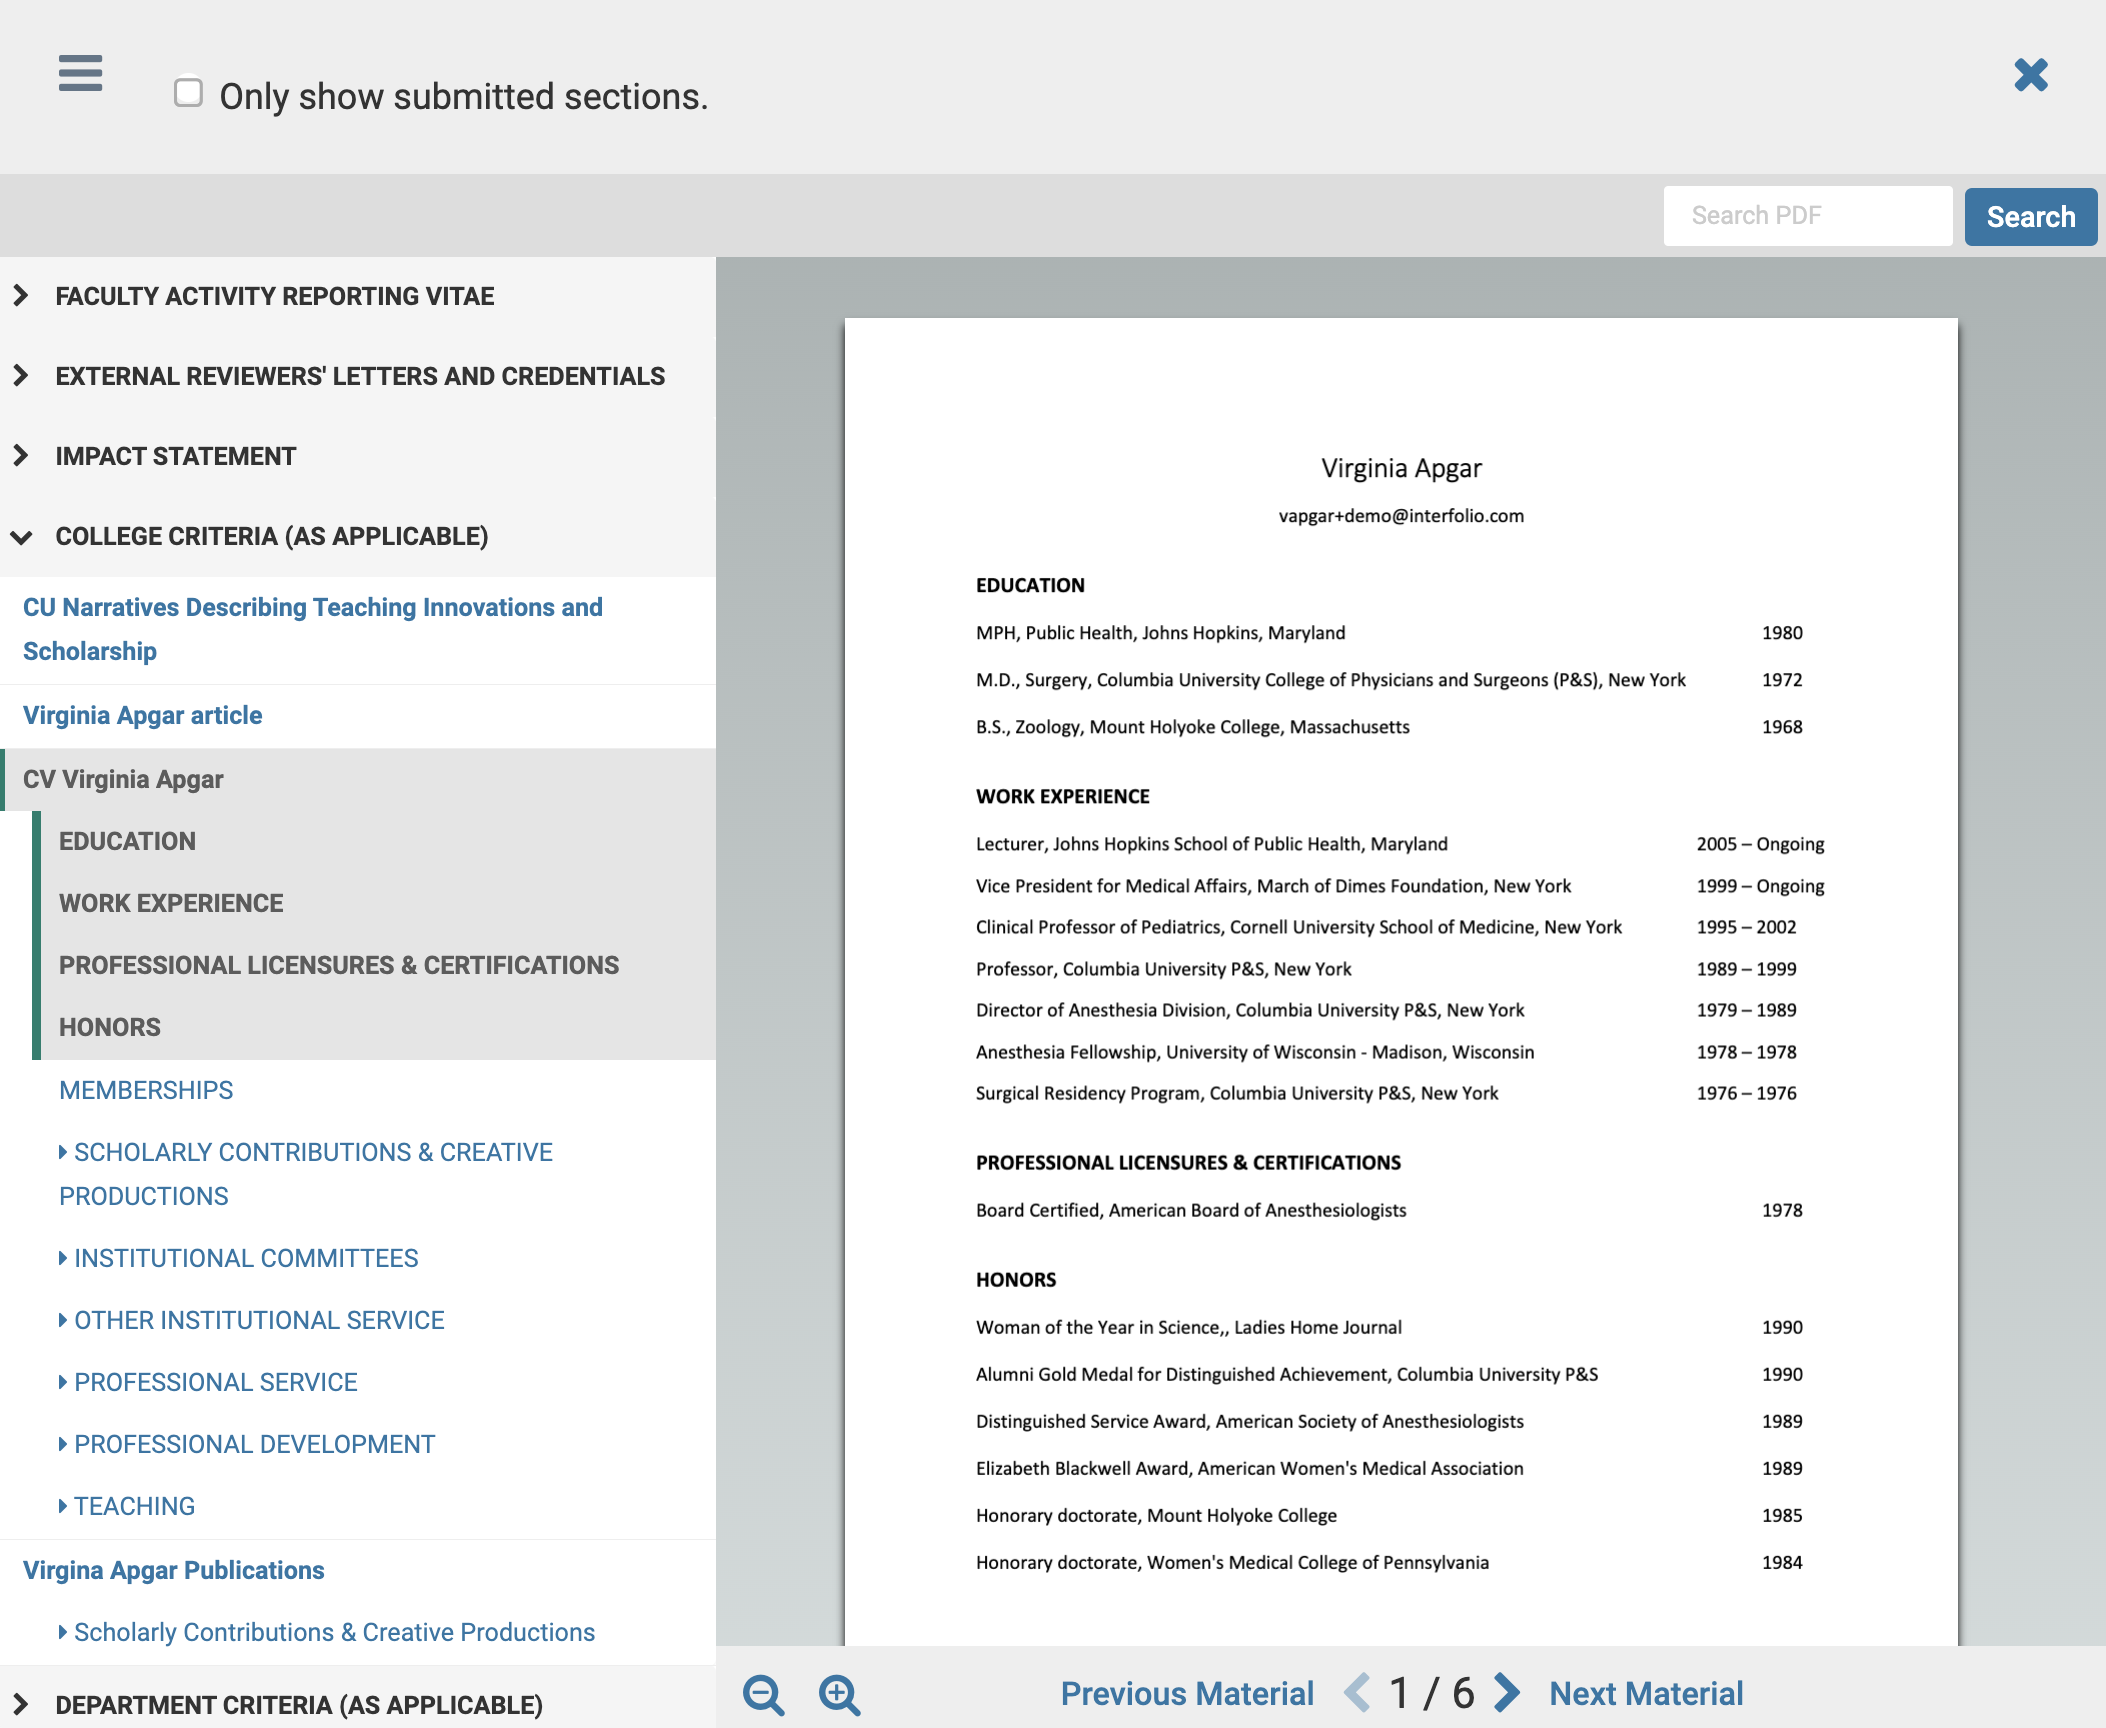
Step 4: Preview your packet
Before submitting, click “Preview Packet” (upper right corner). The preview shows your materials exactly as the review committee will see them in the document reader, including file order and document bookmarks. You can also preview individual documents by clicking their title within a section
Step 5: Submit your packet
How Do I Submit My Packet for Review?
Submitting your packet on time is an important step in the review process. Be sure to submit all packet sections by the due date. Submit all sections by the due date to ensure your full packet is reviewed. A section can only be submitted once all required items in that section have been completed. As soon as you submit the first section of your packet, your case will move to the first workflow step, and the assigned review committee will receive an automatic email notifying them that materials are ready for review.
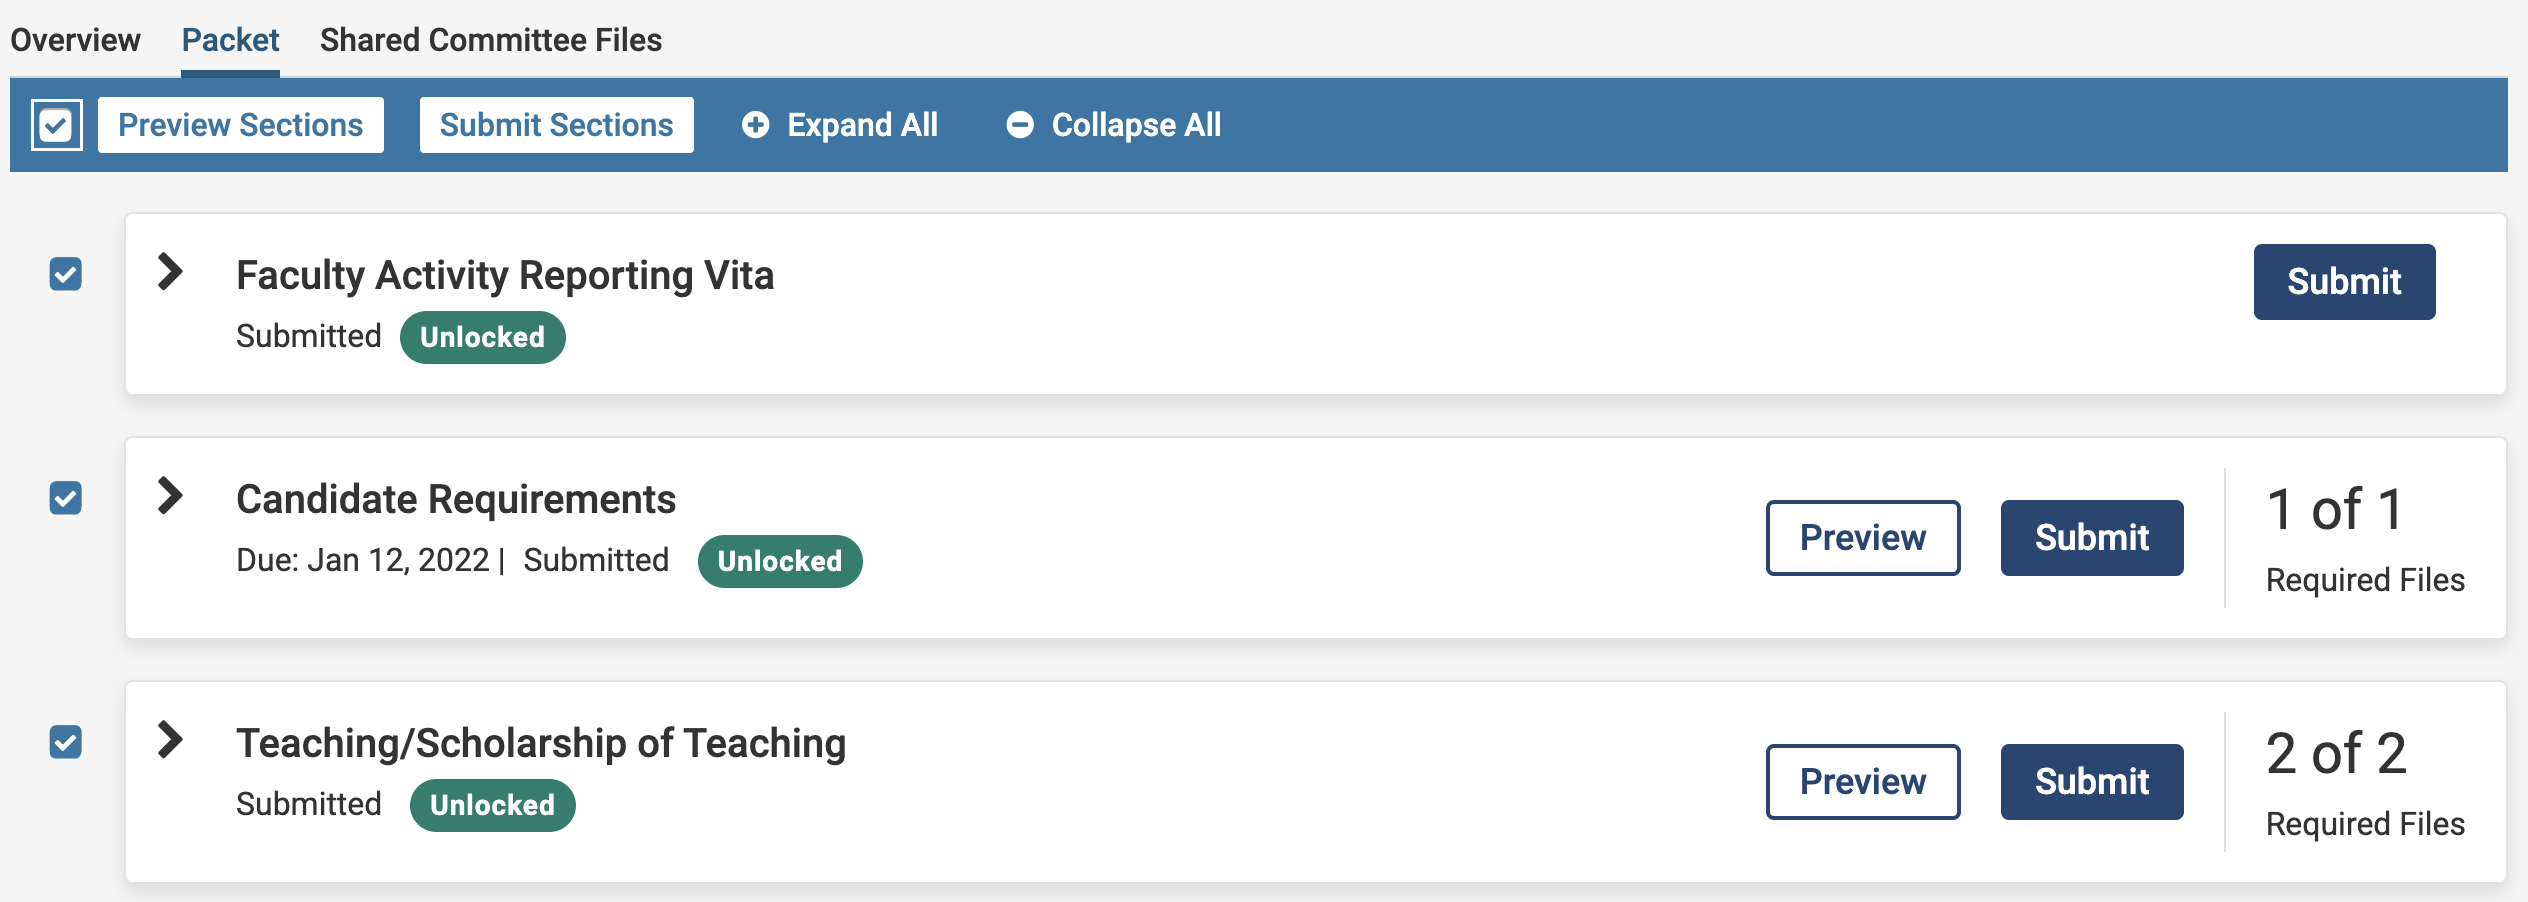
- Submit one section: Click the blue Submit button inside that section.
-
Submit all sections at once: Check the checkbox at the top of the screen to select all sections, then click Submit Sections.
Important: once you submit a section, it locks immediately. Only your institution’s administrator can unlock it. If you need to make changes after submitting, contact your Case Manager or Unit Administrator.
Hard deadlines: if your packet has one, all materials are automatically submitted and locked at the due date, even if some requirements are incomplete. You’ll receive reminder emails 7 days and 1 day before the deadline.
After Submission: What to Expect
- No confirmation email is sent when all sections are submitted. Instead, your packet’s status updates to “Submitted” in your account. This status serves as confirmation that your materials were successfully submitted for review.
- As soon as you submit the first section, your case moves to the first workflow step and the assigned committee receives an email that materials are ready for review.
- The committee can begin reviewing even while you’re still completing other sections.
- After full submission, you cannot download or print your RPT packet. Access to materials depends on your institution’s policies.
FAQs
Why doesn’t my packet section show a checkmark even though I uploaded documents?
This usually happens when too many documents were uploaded to a requirement. If a requirement is configured with a specific file limit and the candidate uploads more than allowed, the system does not mark the requirement as complete, and the section will not display a checkmark.
To resolve this, edit the packet section and remove the extra file(s) from the requirement.
You may upload them to the Additional Documents section (if enabled for your packet) instead. Once the required field contains only the allowed number of documents, the requirement will be marked complete.
How do I update a file after I submit a section?
Once a section is submitted, it becomes locked, and only an administrator can unlock it for changes. Contact your department administrator, Case Manager, or Unit Administrator to request that the section be unlocked.
If an institution locks a packet before the candidate submits it, will the packet show as “Past Due”?
Yes. The Past Due status checks whether all packet sections have been submitted. If a candidate did not submit a section before it was locked by the institution, the system still treats that section as incomplete, and the packet will display as Past Due. To resolve this, the institution must unlock the section so the candidate can submit it. Once all sections are submitted, the packet will show as Submitted.
Why does my PDF look different for Mac vs. PC users?
Files containing form fields, embedded signatures, or digital signature layers may not display correctly in the RPT document reader. To ensure compatibility open the original PDF, use ‘Print to PDF’ using your system dialog, then upload the flattened version. This removes unsupported elements.
Why won’t my file upload?
Confirm that your file meets Interfolio’s accepted file type requirements. If you continue to experience issues, try saving or exporting a fresh version of the file.
What time zone do timestamps use?
Packet timestamps display in UTC, and are not adjusted to your local time zone.
Is there a size limit for RPT packets?
Yes, there is a 5GB limit.
Can I see who reviewed my case or view the committee’s evaluations?
Access to evaluation results depends on your institution’s policies. Candidates do not automatically receive committee feedback in RPT. Contact your department administrator if you have questions about review results or access rights.
How do I review a previous cycle's packet?
Navigate to Your Packets from the navigation menu and scroll down to the ‘Completed’ section. Select the desired previous packet to review.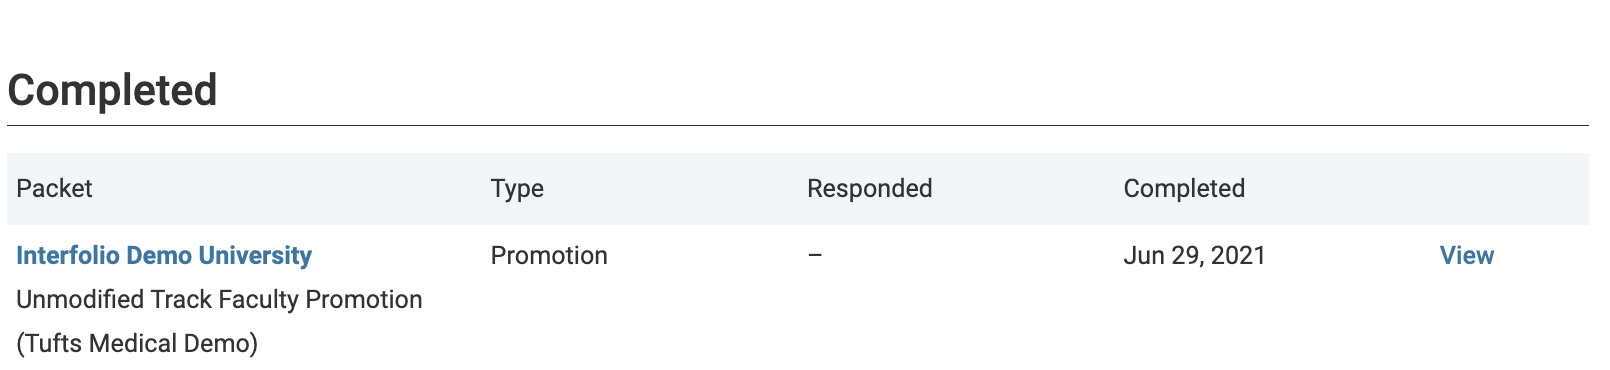
Note that you can Reuse Materials from Previous Packets in current reviews.
What happens after I submit my packet?
Once your packet is fully submitted:
- You cannot access or download your materials
- Your access depends on your institution’s policies
- Committee access and movement follow the institution’s workflow rules
If you need to make changes after submission, ask an administrator to unlock the relevant section.
How do I submit PDFs with signatures?
Check out this article About Adding a Letterhead or Signature to a Letter (For Letter Writers) for further guidance.
Can I download or print my packet?
No. Candidates cannot download or print their RPT packets.