A Candidate's Guide to Populating and Submitting a Packet Using Interfolio RPT
Are you new to using Interfolio for reviews? Check out our eLearning course for RPT Candidates and article on Getting Started with RPT
Populate/Submit Packet
1. Navigate to Your Packets
- Navigate to Your Packets from your Interfolio account or from the case initiation email sent when your case was created:
-
Interfolio Account: Select Your Packets from the navigation menu and then click the hyperlinked name of the Active Packet. Past packets can be viewed under the ‘Completed’ section.

If your case does not appear on Your Packets page, it may have not yet been initiated.
-
Case Initiation Email: Click View Case in the email.

-
Interfolio Account: Select Your Packets from the navigation menu and then click the hyperlinked name of the Active Packet. Past packets can be viewed under the ‘Completed’ section.
- If you already have an Interfolio account, The Packet Overview page will display, showing each section requirement and the progress in fulfilling each of the requirements. If you don't have an account, you will be prompted to create a password to generate your Interfolio account for collecting and submitting materials.

2. View Instructions and Fulfill Requirements
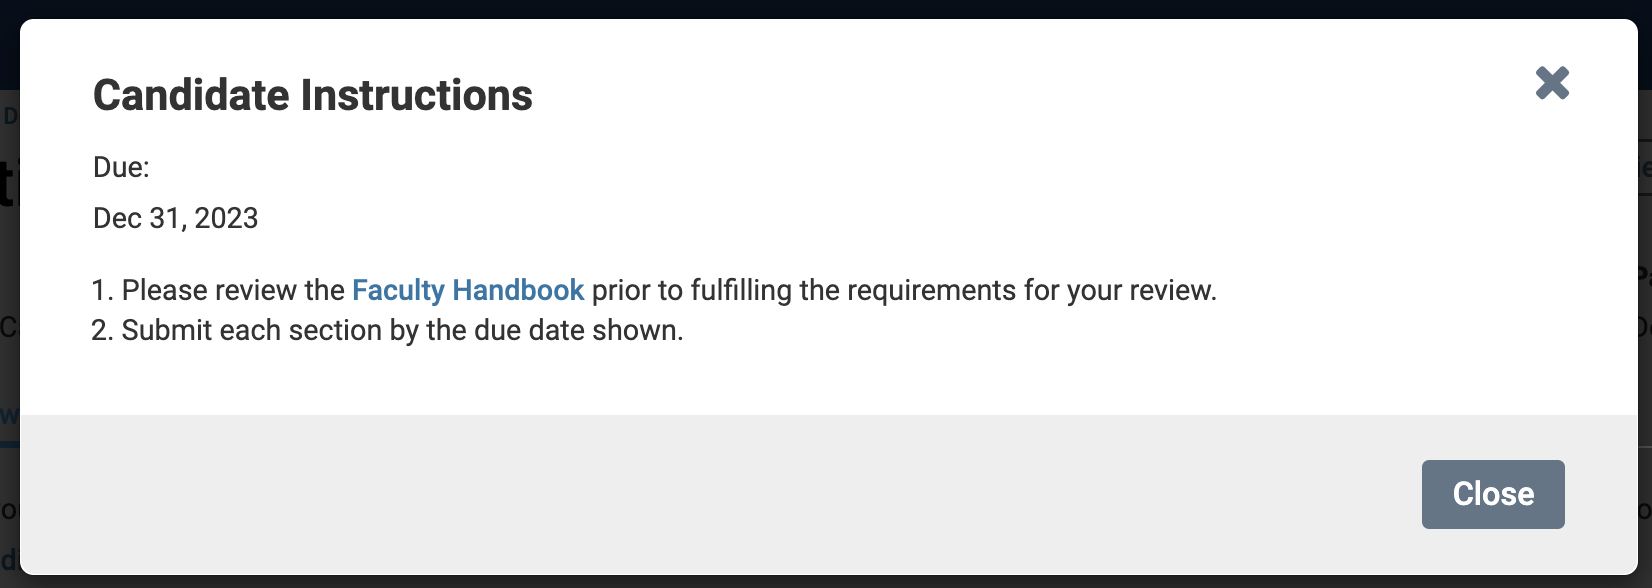
- Before taking any action, click View Instructions in the upper right-hand corner to see important details on requirements, policies, and processes. These will appear in the ‘Candidate Instructions’ window.

- To continue fulfilling requirements or to complete/submit a section, click Edit within the section.

- You will navigate to the applicable section within the Packet tab where you can view the requirement details, number of required files, and number of uploaded (added) files.

A section cannot be submitted until all requirements are met.
- Click the Add button to satisfy packet requirements from existing materials (including Existing Collections or Existing Packets).
Before uploading files, give them meaningful titles because reviewers will see these titles as bookmarks during review.
If your file is not uploading, make sure it follows the accepted file types.
3. Preview Packet and Make Any Changes
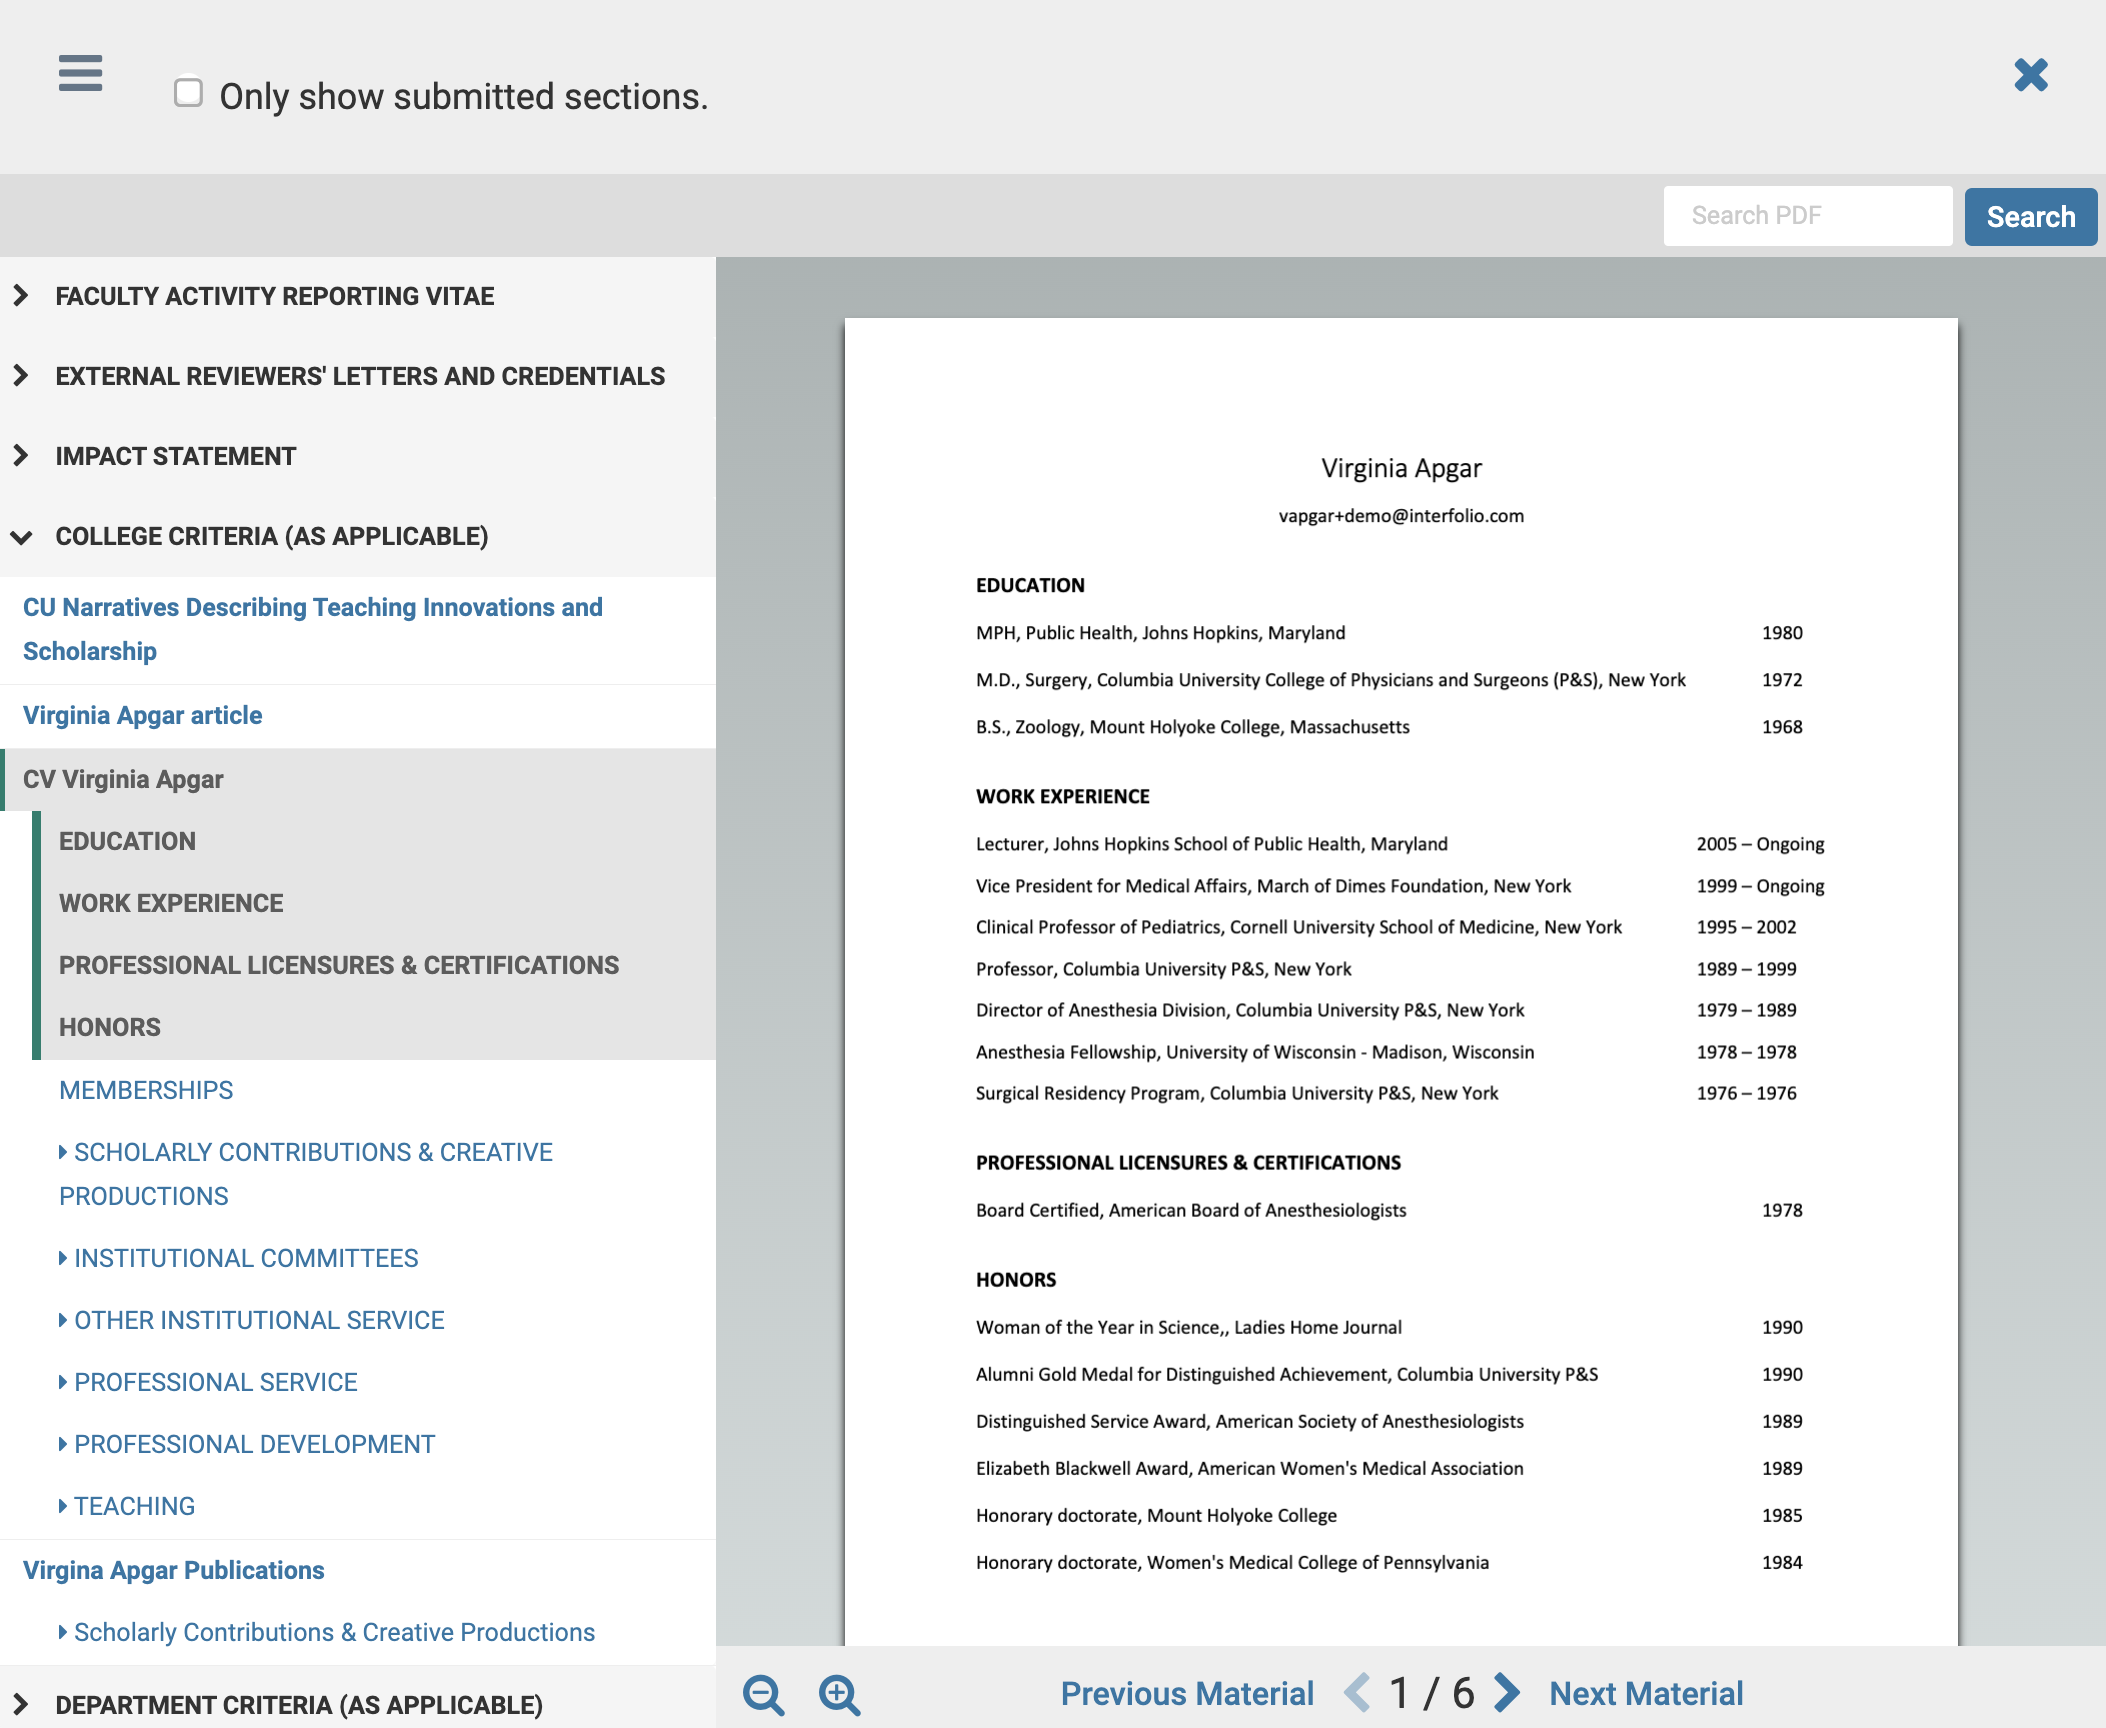
It is recommended to Preview Packet in the upper right-hand corner before submitting sections. The preview shows exactly how the packet will appear to the committee in the document reader.
-
Edit Files: Click the ‘Edit’ hyperlink under the ‘Actions’ column on the ‘Packet’ tab to change the title.

Responses to committee files cannot be deleted.
-
Rearrange Files: If you add a file to the wrong section, you can move it by dragging and dropping it into the correct section.

-
Add Section: If enabled by a Unit Administrator, users can add sections to the packet using the ‘Add Section’ button at the top of the Packet tab.

-
Submit Candidate Forms: Click ‘Fill Out Form’ (or Edit Form if already started) within the desired section under the ‘Packet’ tab.

The form will appear as completed but not yet submitted until the submit button for the section is pressed. After submission, edits can no longer be made.
- Complete FAR Vita Section: Manage and Submit a FAR Vita as part of your packet.
4. View and Respond to Shared Files
Unit Administrators or Case Managers can add files, which will appear as "Suggested by [Name]." The user can then choose to keep or remove the file.
5. Submit Your Packet
Check out this article on How to Submit Your Packet for Review more information.
FAQs
How do I unlock a section to make changes after submission?
After submitting a section, it will lock, and only a case administrator can unlock it for changes. Contact an administrator at your institution to request a section to be unlocked.
How do I review a previous cycle's packet?
Navigate to Your Packets from the navigation menu and scroll down to the Completed section. Select the desired previous packet to review.
Note that you can Reuse Materials from Previous Packets in current reviews.
Where can I find the reviews of my packets?
Candidates do not automatically have access to the results of their reviews in the Review, Promotion, and Tenure (RPT) process. The confidentiality of review packets is maintained, and only those directly involved in the review and administration of a candidate’s tenure or promotion packet can view them. Once a committee or individual completes a review at a specific step, they lose access to all materials as soon as the packet progresses to the next step in the process.
If you wish to know who had access to your materials or obtain the results of your review, please reach out to your department administrator for assistance.
What is the time zone for the application timestamp?
The displayed timestamp for candidates is shown in UTC, not adjusted to their local time zone.
Is there a size limit for RPT packets?
Yes, there is a 5GB limit.
A PDF displays correctly for PC users but not for Mac users in the RPT Document Reader. What could be causing this?
This issue is often caused by PDFs that contain form fields or embedded signatures. The RPT Document Reader, which uses an older rendering library, does not fully support displaying these elements, especially in certain browsers or on macOS.
To ensure compatibility:
- Open the original PDF.
- Print to PDF using your system’s print dialog.
- Upload the newly saved version, which should now have form field data flattened into static text.
How do I download or print my packet?
Candidates cannot download or print packets.
How to Submit PDFs with Retained Signatures
Check out this article About Adding a Letterhead or Signature to a Letter (For Letter Writers) for further guidance.
