
Load Data in Bulk to Lifecycle Management
This article explains how to perform data uploads to Lifecycle Management (LM). All data can be imported to the application using CSV files during the set up process. Interfolio provides the downloadable CSV templates needed for each load type. Once uploaded, the information will be populated into the correct area for users to begin using right away. The types of data that can be uploaded include Workloads, Series, Professional Journeys, Ranks, Rank Events, Faculty Profiles, and Appointments.
Data types may appear with different words than displayed if the organization has set custom terminology.
Load Data in Bulk
1. Navigate to New Upload under Administration
Navigation: Administration > Load Data > New Upload
- Click Administration on the navigation menu.
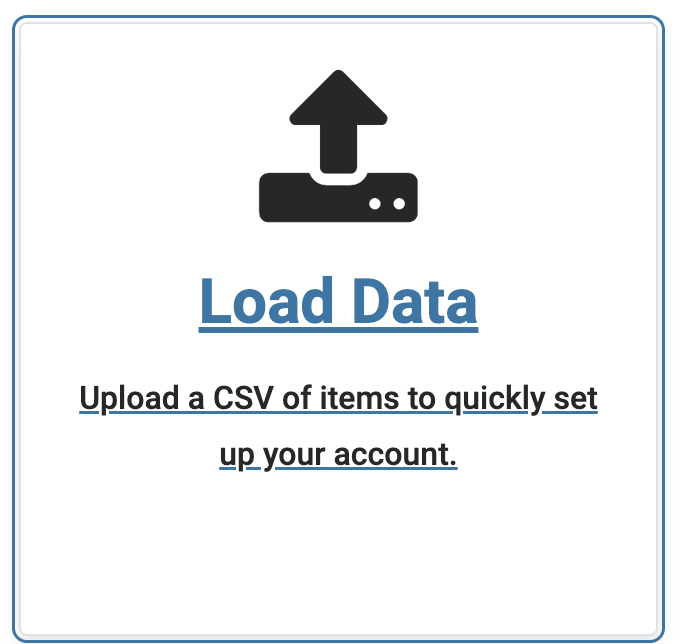
- Click the Load Data tile on the Administration page.
- Click the New Upload button in the upper right-hand corner.
2. Upload items using the File Upload Process
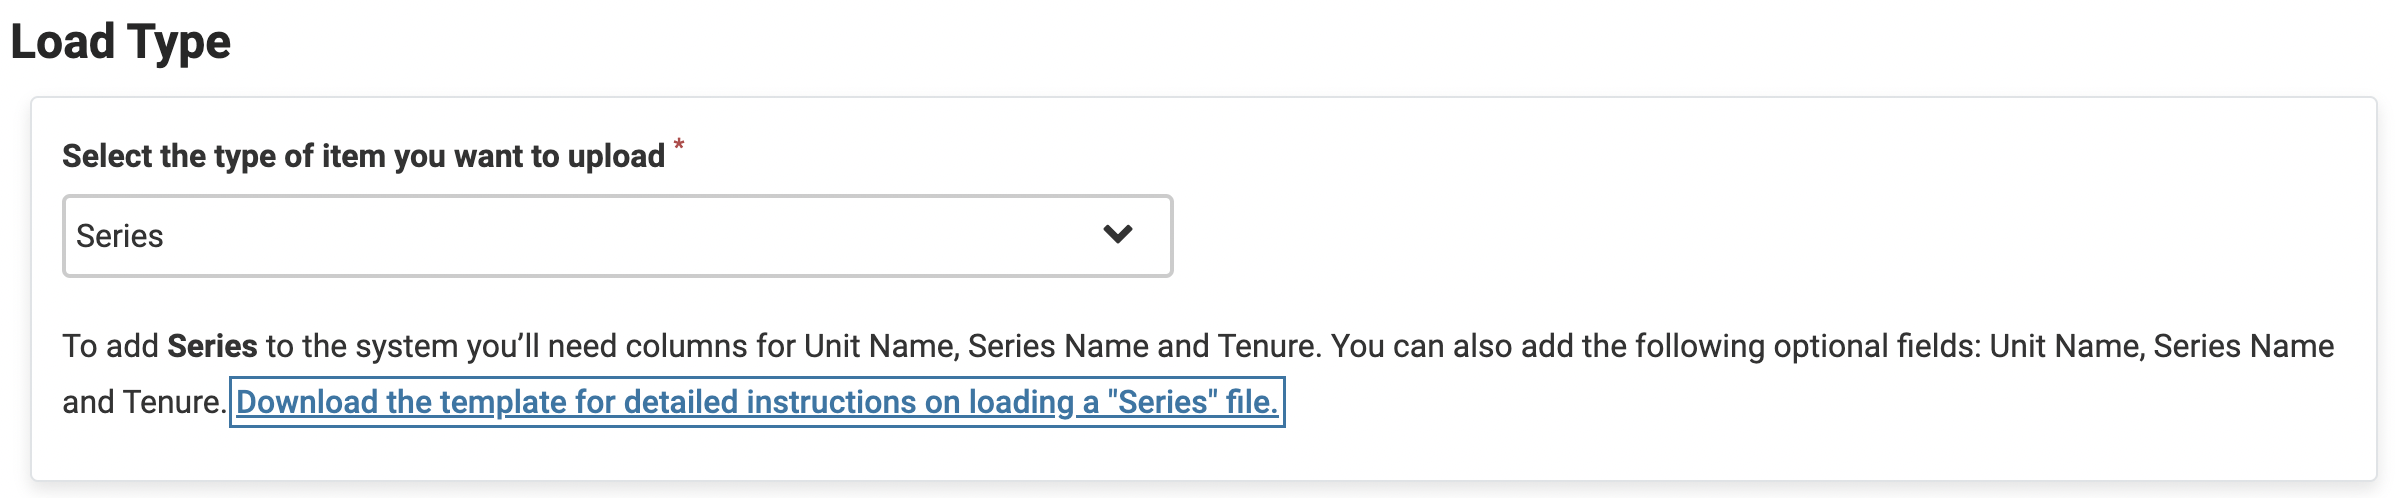
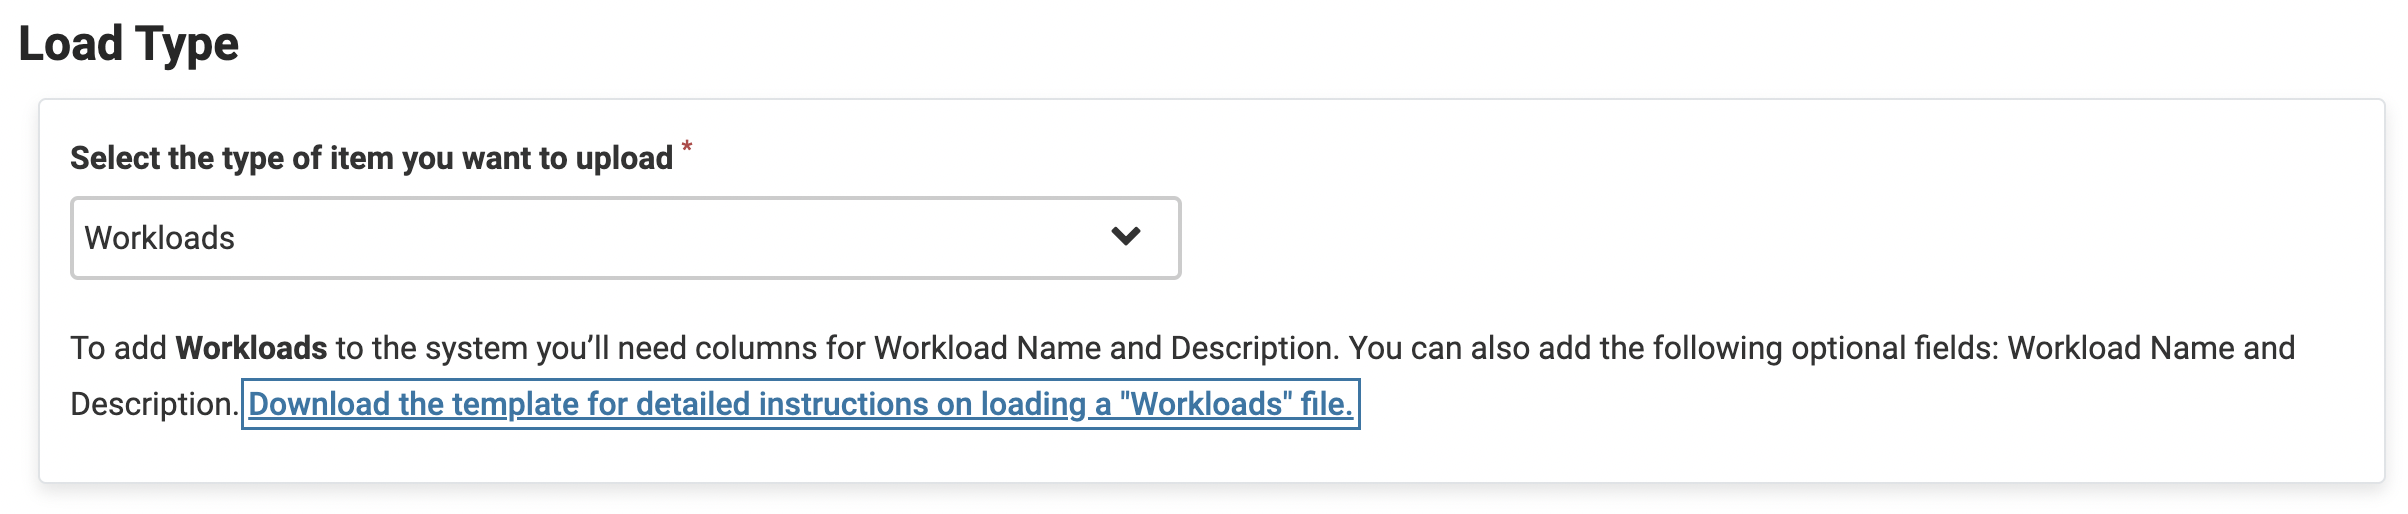
- Select the Type of item to upload using the dropdown. File uploads must be loaded in this sequence
- Series
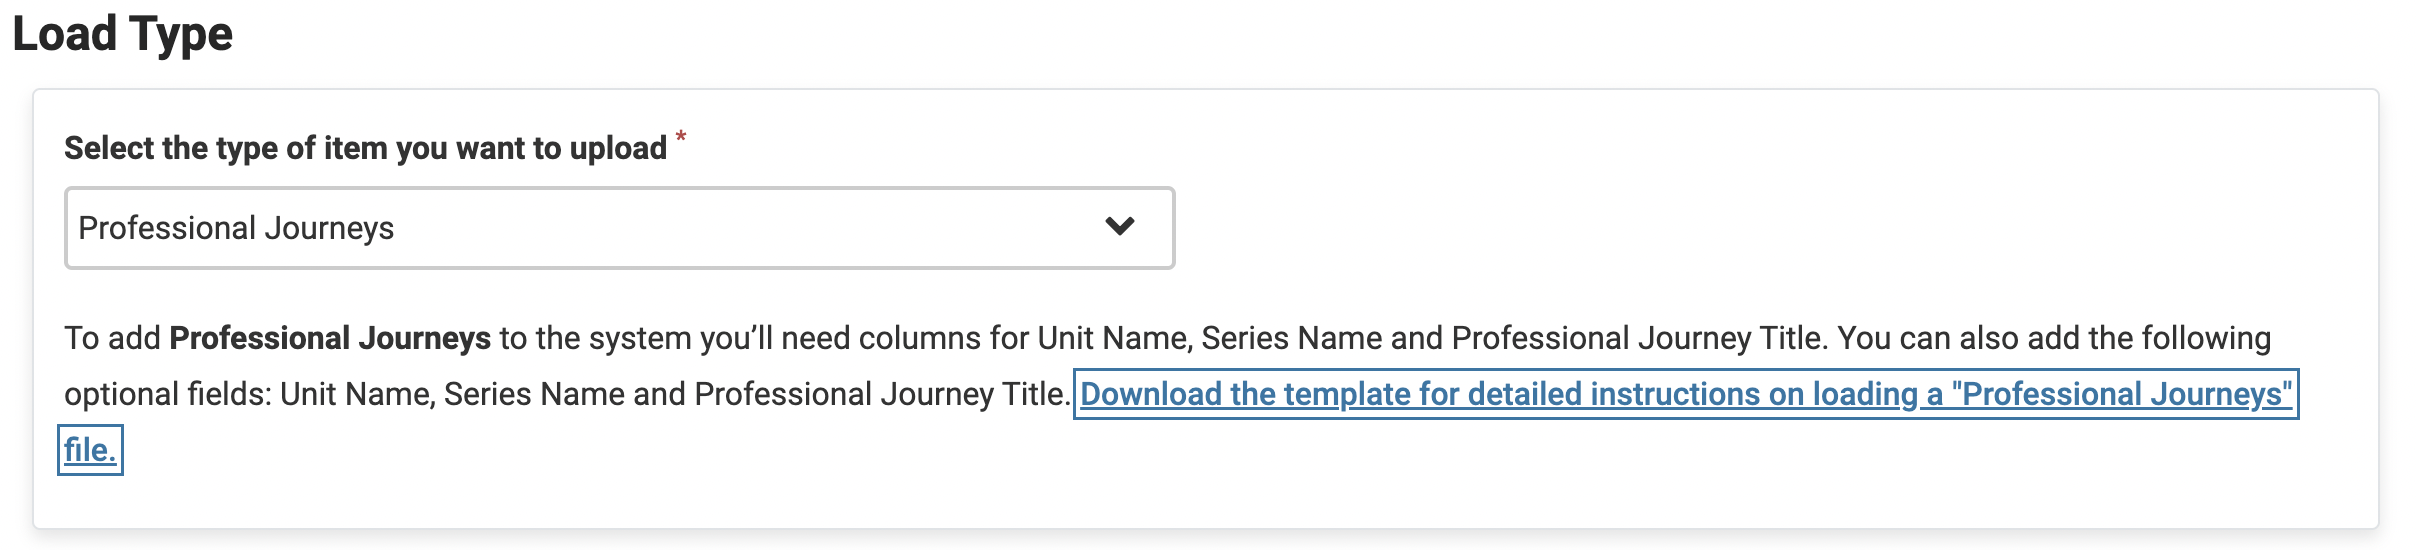
- Professional Journeys
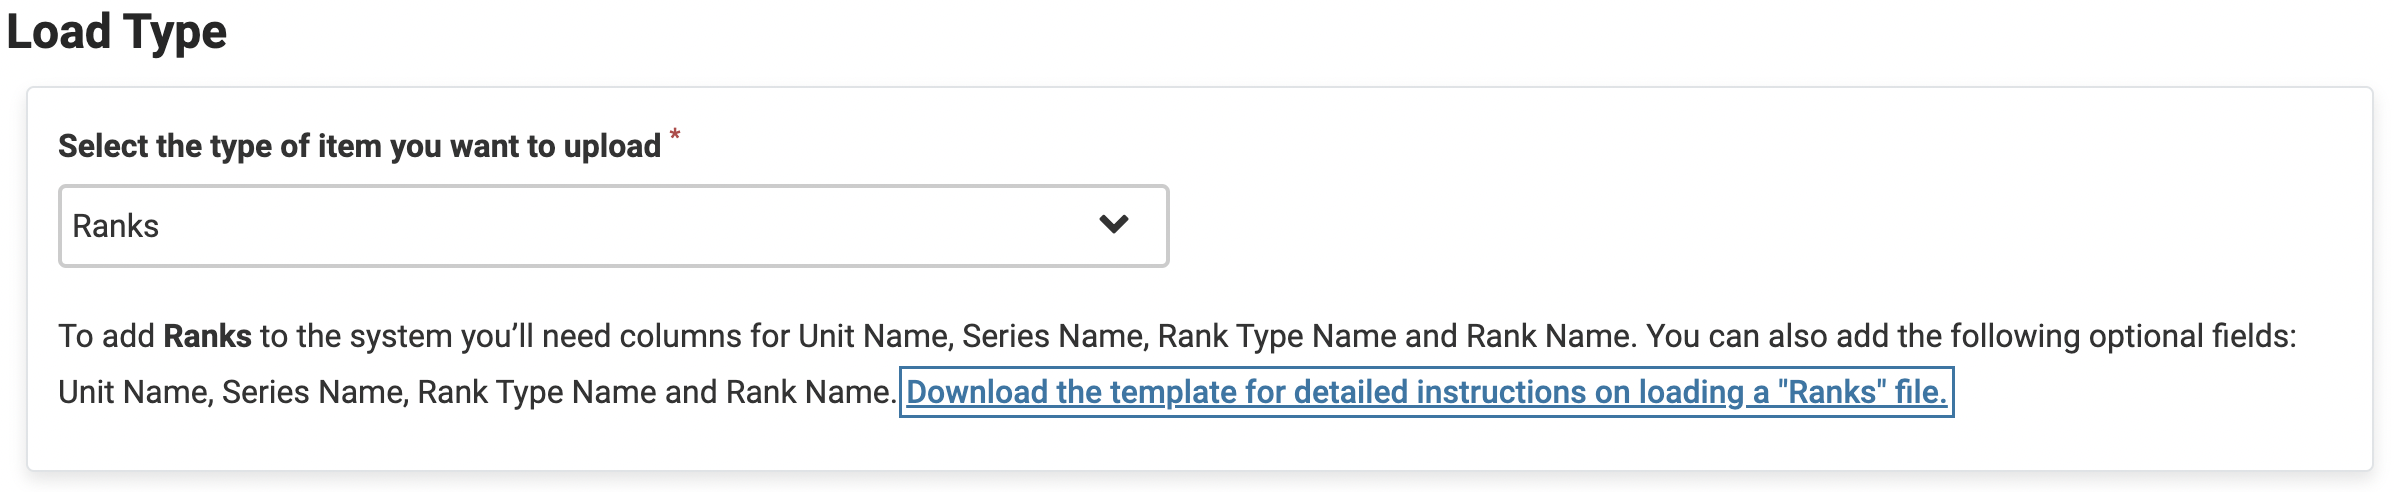
- Ranks
- Rank Events
- Faculty Profile
- Appointments
- Title (required)
- Past Events (optional)
- Workload (optional)
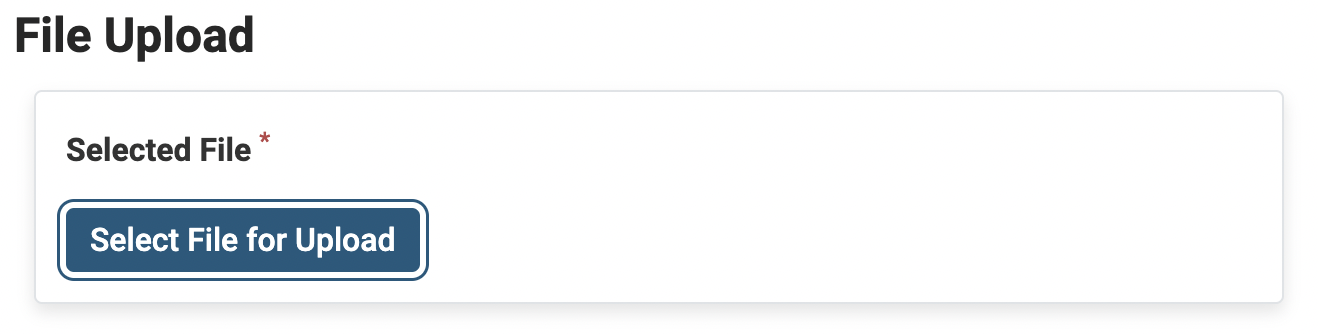
- Click Select File for Upload to select desired file to upload.
- Click Continue & Process when finished.
| Manual Setup Process |
Manual setup must be loaded in this sequence
|
|---|---|
| Detailed Information about each upload type |
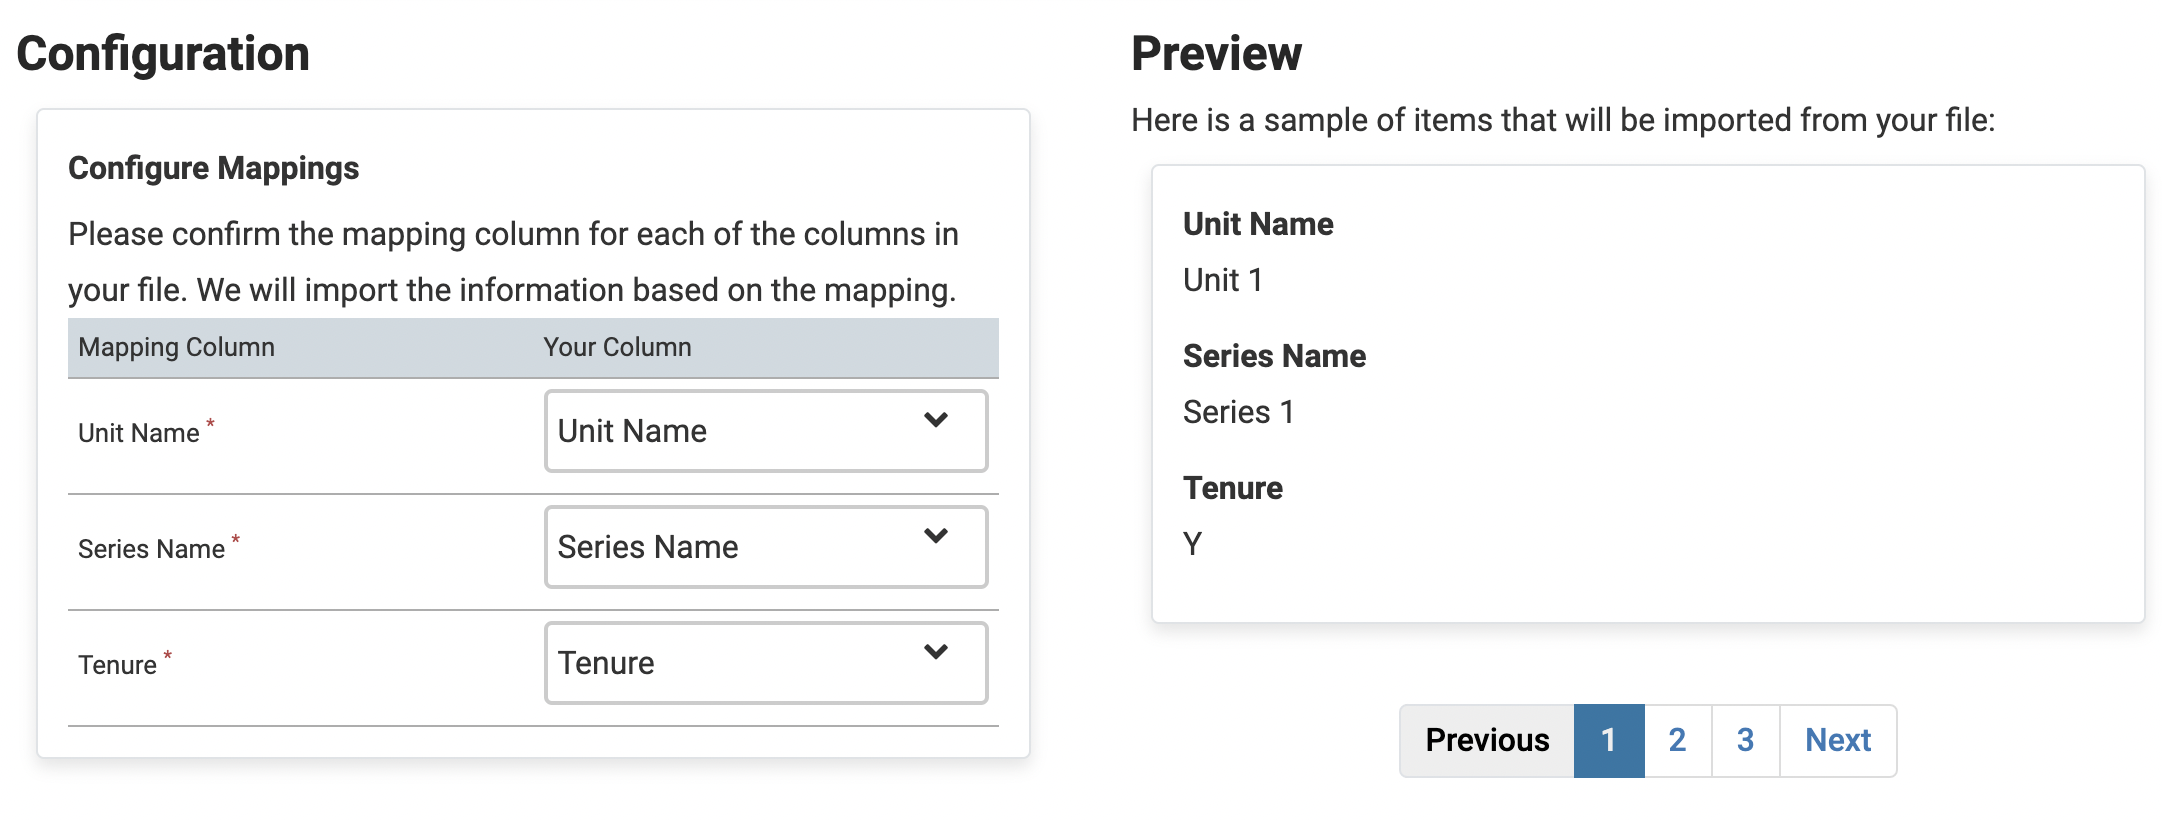
Series1. Click the Download the template for detailed instructions on loading a "Series" file link to download a CSV template with the required fields already set up. 2. Open the downloaded CSV template. 3. Read the Instructions tab, and the Data_Sample tab. The Data_Sample tab provides an example of the data format that will be used. The Unit Name column lists the administrative unit such as a university, college, or department. The Series Name column lists series pathways such as "Adjunct Professor" or “Associate Professor.” Note that the instructions ask to create a file using the required columns. These are listed under the Field column on the Instructions tab of the CSV template.
Most spreadsheet applications will change the filetype of the downloaded spreadsheet to their native file format. It is necessary save the completed file with the CSV filetype before it can be uploaded. No other file format can be accepted. 4. Enter the appropriate values on the Series_Template tab. 5. Save the file as a CSV file. Before saving the file, if the file was built by entering data into the the template, Delete the Instructions and Data_Sample tab. 6. Click Select File for Upload when finished saving the template. 7. Check the Configuration box and the Preview to confirm the mapping for each column in the uploaded file. 8. Click through the rows of the file using the Previous and Next button to make sure the data is accurate. 9. Click Continue & Process when finished. Workloads1. Click the Download the template for detailed instructions on loading a "Workloads" file link to download a CSV template with the required fields already set up. 2. Open the downloaded CSV template. 3. Read the Instructions tab, and the Data_Sample tab. The Data_Sample tab provides an example of the data format that will be used. Note that the instructions ask to create a file using the required columns. These are listed under the Field column on the Instructions tab of the CSV template.
Most spreadsheet applications will change the filetype of the downloaded spreadsheet to their native file format. It is necessary save the completed file with the CSV filetype before it can be uploaded. No other file format can be accepted. 4. Enter the appropriate values on the Workloads_Template tab. 5. Save the file as a CSV file. Before saving the file, if the file was built by entering data into the the template, Delete the Instructions and Data_Sample tab. 6. Click Select File for Upload when finished saving the template. 7. Check the Configuration box and the Preview to confirm the mapping for each column in the uploaded file. 8. Click through the rows of the file using the Previous and Next button to make sure the data is accurate. 9. Click Continue & Process when finished. Professional Journeys1. Click the Download the template for detailed instructions on loading a "Professional Journeys" file link to download a CSV template with the required fields already set up. 2. Open the downloaded CSV template. 3. Read the Instructions tab, and the Data_Sample tab. The Data_Sample tab provides an example of the data format that will be used. Note that the instructions ask to create a file using the required columns. These are listed under the Field column on the Instructions tab of the CSV template.
Most spreadsheet applications will change the filetype of the downloaded spreadsheet to their native file format. It is necessary save the completed file with the CSV filetype before it can be uploaded. No other file format can be accepted. 4. Enter the appropriate values on the Professional_Journey_Template tab. 5. Save the file as a CSV file. Before saving the file, if the file was built by entering data into the the template, Delete the Instructions and Data_Sample tab. 6. Click Select File for Upload when finished saving the template. 7. Check the Configuration box and the Preview to confirm the mapping for each column in the uploaded file. 8. Click through the rows of the file using the Previous and Next button to make sure the data is accurate. 9. Click Continue & Process when finished. Ranks1. Click the Download the template for detailed instructions on loading a "Ranks" file link to download a CSV template with the required fields already set up. 2. Open the downloaded CSV template. 3. Read the Instructions tab, and the Data_Sample tab. The Data_Sample tab provides an example of the data format that will be used. Note that the instructions ask to create a file using the required columns. These are listed under the Field column on the Instructions tab of the CSV template.
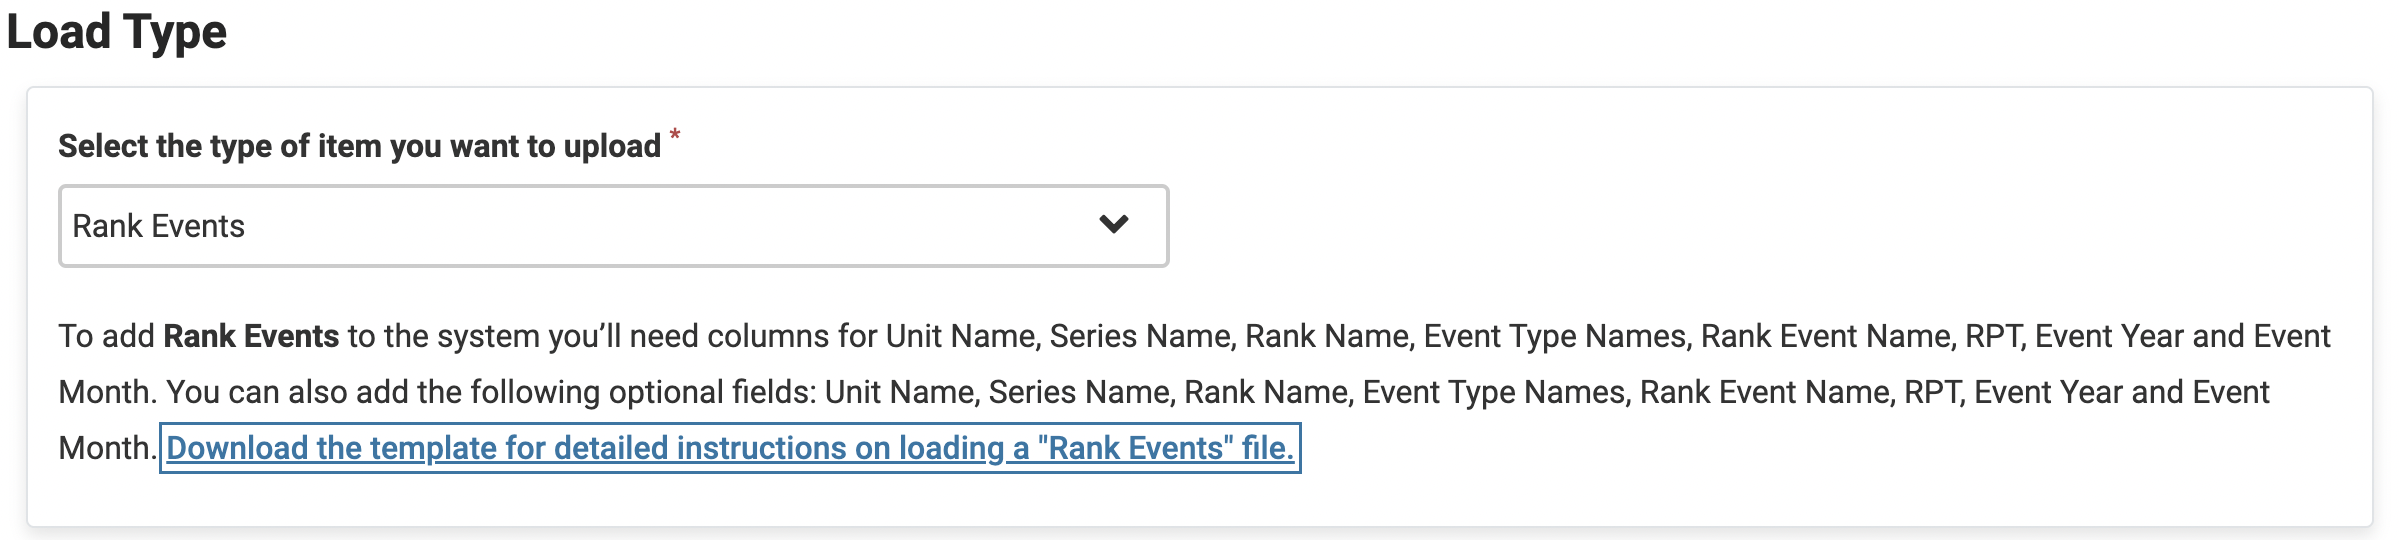
Most spreadsheet applications will change the filetype of the downloaded spreadsheet to their native file format. It is necessary save the completed file with the CSV filetype before it can be uploaded. No other file format can be accepted. 4. Enter the appropriate values on the Ranks_Template tab. 5. Save the file as a CSV file. Before saving the file, if the file was built by entering data into the the template, Delete the Instructions and Data_Sample tab. 6. Click Select File for Upload when finished saving the template. 7. Check the Configuration box and the Preview to confirm the mapping for each column in the uploaded file. 8. Click through the rows of the file using the Previous and Next button to make sure the data is accurate. 9. Click Continue & Process when finished. Rank Events1. Click the Download the template for detailed instructions on loading a "Rank Events" file link to download a CSV template with the required fields already set up. 2. Open the downloaded CSV template. 3. Read the Instructions tab, and the Data_Sample tab. The Data_Sample tab provides an example of the data format that will be used. Note that the instructions ask to create a file using the required columns. These are listed under the Field column on the Instructions tab of the CSV template.
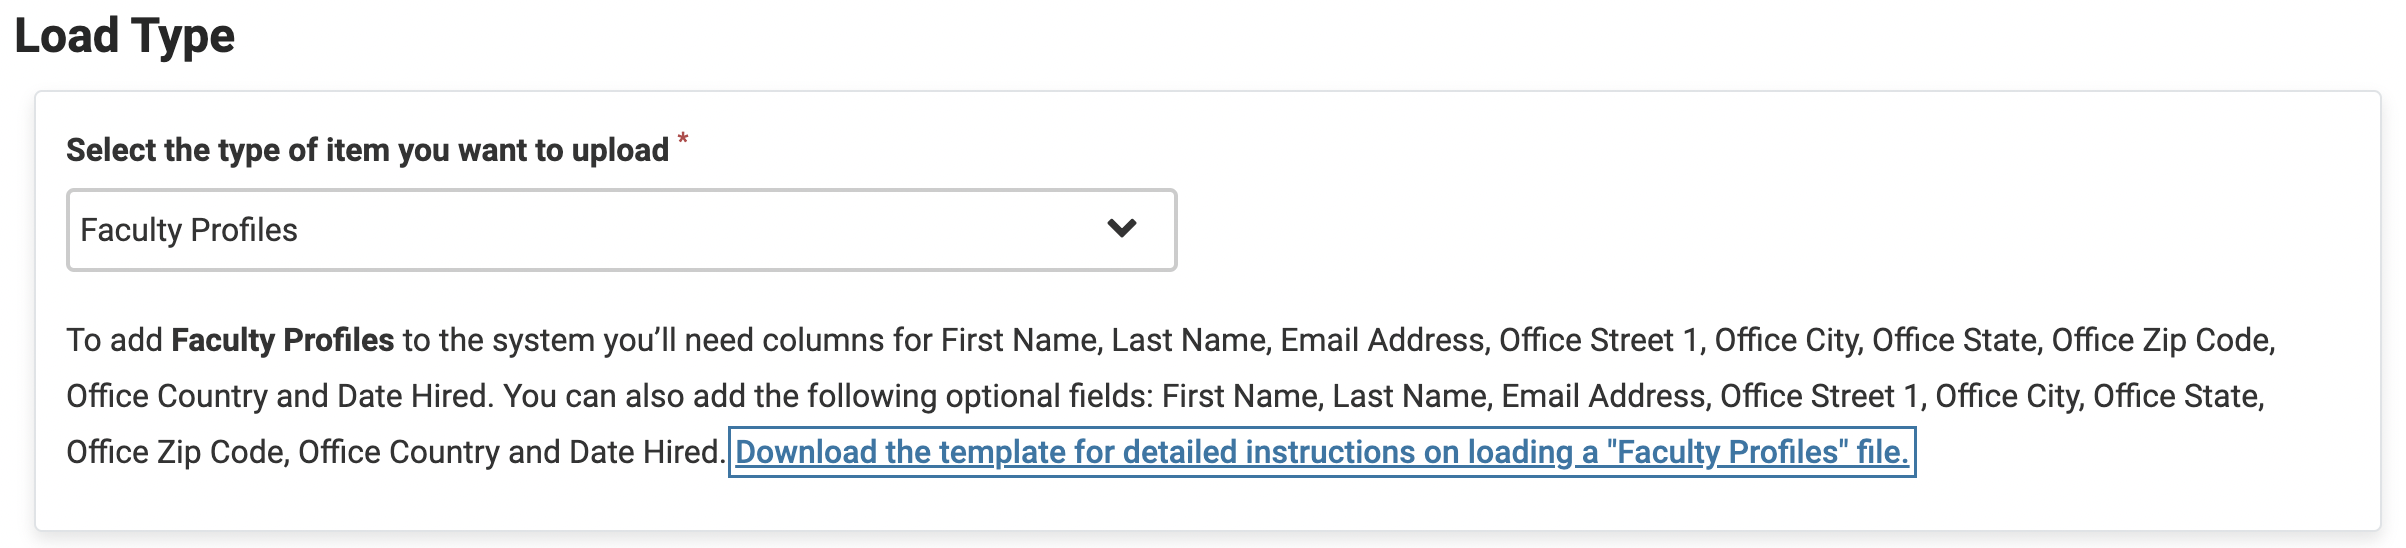
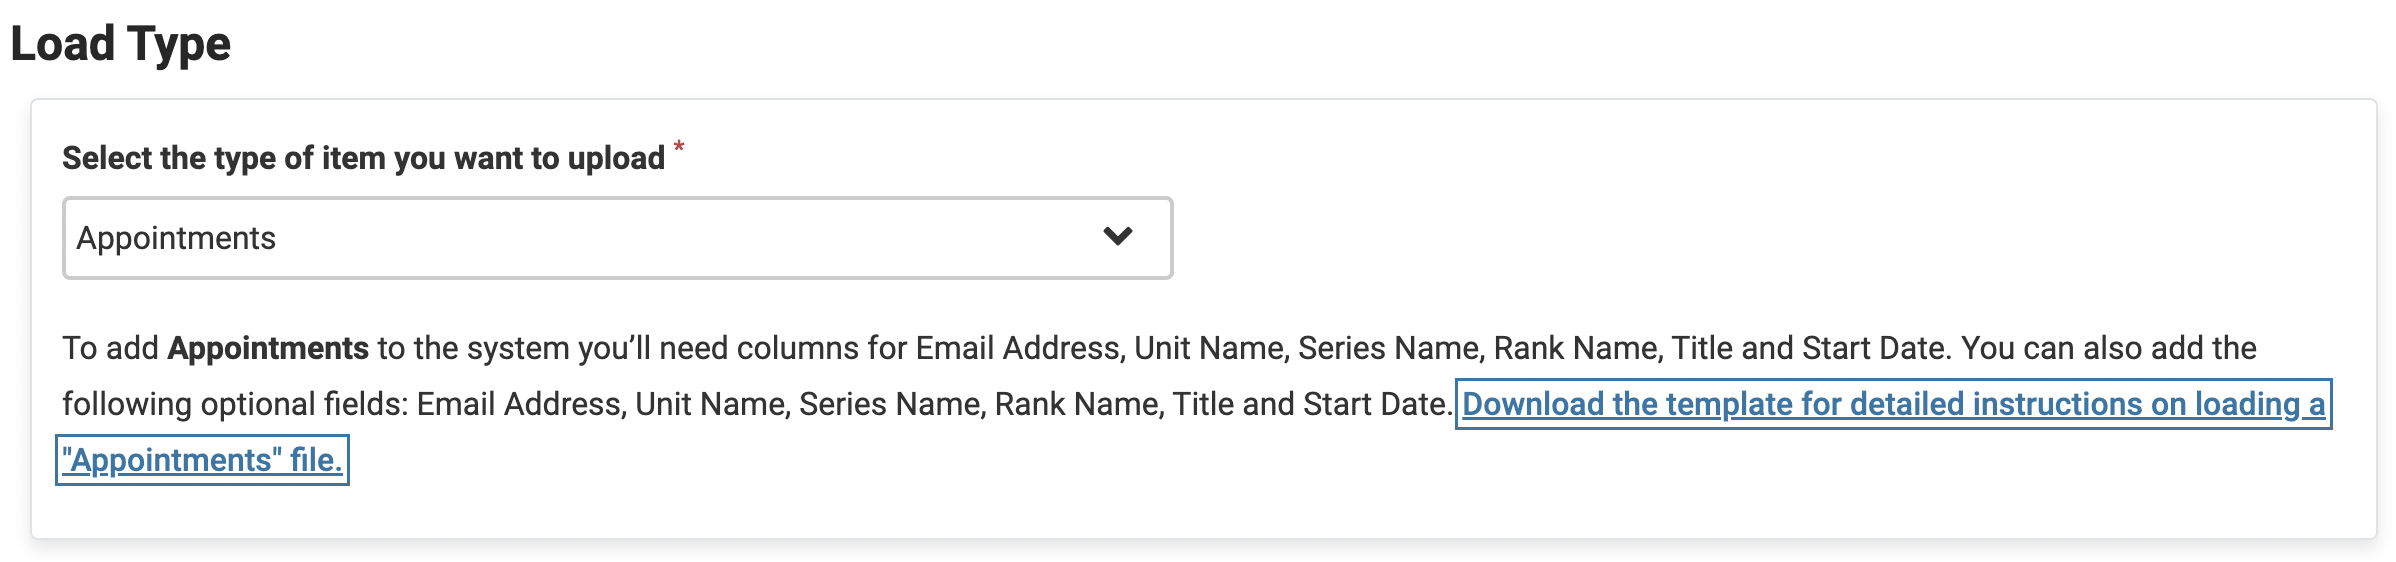
Most spreadsheet applications will change the filetype of the downloaded spreadsheet to their native file format. It is necessary save the completed file with the CSV filetype before it can be uploaded. No other file format can be accepted. Special Instructions: Event Type Names are standard event type names that exist in the program. One of the following values MUST be included: Appointment, Promotion, Reappointment, Review, Sabbatical, Tenure, Other. Multiple values MUST be delimited by a pipe | RPT: The instructions in this section ask users to indicate if they are using Lifecycle Management with our RPT product (Review, Promotion & Tenure). Please be aware that this product option is not yet available to users. Until further notice you can leave this column set at the default value of FALSE. 4. Enter the appropriate values on the Enter the appropriate values on the Rank_Events_Template . tab. 5. Save the file as a CSV file. Before saving the file, if the file was built by entering data into the the template, Delete the Instructions and Data_Sample tab. 6. Click Select File for Upload when finished saving the template. 7. Check the Configuration box and the Preview to confirm the mapping for each column in the uploaded file. 8. Click through the rows of the file using the Previous and Next button to make sure the data is accurate. 9. Click Continue & Process when finished. Faculty Profiles1. Click the Download the template for detailed instructions on loading a "Faculty Profiles" file link to download a CSV template with the required fields already set up. 2. Open the downloaded CSV template. 3. Read the Instructions tab, and the Data_Sample tab. The Data_Sample tab provides an example of the data format that will be used. Note that the instructions ask to create a file using the required columns. These are listed under the Field column on the Instructions tab of the CSV template.
Most spreadsheet applications will change the filetype of the downloaded spreadsheet to their native file format. It is necessary save the completed file with the CSV filetype before it can be uploaded. No other file format can be accepted. 4. Enter the appropriate values on the Faculty_Profiles_Template tab. 5. Save the file as a CSV file. Before saving the file, if the file was built by entering data into the the template, Delete the Instructions and Data_Sample tab. 6. Click Select File for Upload when finished saving the template. 7. Check the Configuration box and the Preview to confirm the mapping for each column in the uploaded file. 8. Click through the rows of the file using the Previous and Next button to make sure the data is accurate. 9. Click Continue & Process when finished. Appointments1. Click the Download the template for detailed instructions on loading a "Appointments" file link to download a CSV template with the required fields already set up. 2. Open the downloaded CSV template. 3. Read the Instructions tab, and the Data_Sample tab. The Data_Sample tab provides an example of the data format that will be used. Note that the instructions ask to create a file using the required columns. These are listed under the Field column on the Instructions tab of the CSV template.
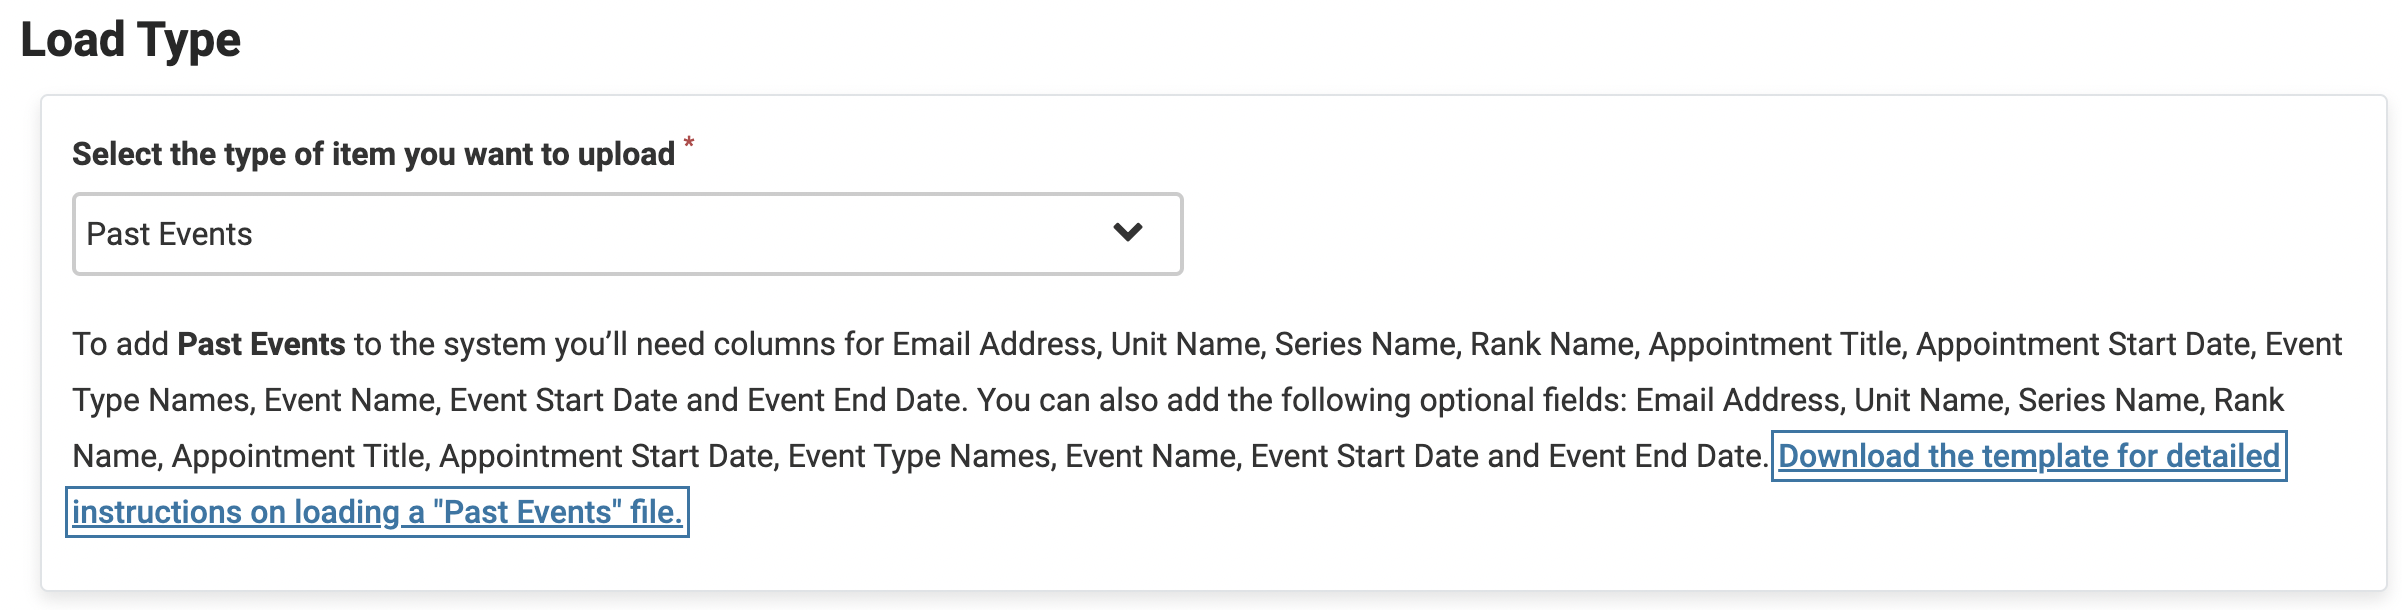
Most spreadsheet applications will change the filetype of the downloaded spreadsheet to their native file format. It is necessary save the completed file with the CSV filetype before it can be uploaded. No other file format can be accepted. 4. Enter the appropriate values on the Appointments_Template tab. 5. Save the file as a CSV file. Before saving the file, if the file was built by entering data into the the template, Delete the Instructions and Data_Sample tab. 6. Click Select File for Upload when finished saving the template. 7. Check the Configuration box and the Preview to confirm the mapping for each column in the uploaded file. 8. Click through the rows of the file using the Previous and Next button to make sure the data is accurate. 9. Click Continue & Process when finished. Past Events1. Click the Download the template for detailed instructions on loading a "Past Events" file link to download a CSV template with the required fields already set up. 2. Open the downloaded CSV template. 3. Read the Instructions tab, and the Data_Sample tab. The Data_Sample tab provides an example of the data format that will be used. Note that the instructions ask to create a file using the required columns. These are listed under the Field column on the Instructions tab of the CSV template. Most spreadsheet applications will change the filetype of the downloaded spreadsheet to their native file format. It is necessary save the completed file with the CSV filetype before it can be uploaded. No other file format can be accepted. 4. Enter the appropriate values on the Past_Events_Template tab. 5. Save the file as a CSV file. Before saving the file, if the file was built by entering data into the the template, Delete the Instructions and Data_Sample tab. 6. Click Select File for Upload when finished saving the template. 7. Check the Configuration box and the Preview to confirm the mapping for each column in the uploaded file. 8. Click through the rows of the file using the Previous and Next button to make sure the data is accurate. 9. Click Continue & Process when finished. |
3. Check for Errors
Check for errors in the # of Error Items column on the right-hand side.
If the data uploads with no errors, it will show up on the Load Data page as a successful upload with 0 errors listed in the # of Errors column to the right of the page.
If the data uploads with errors, follow the steps below to correct the processing errors.
- Click the Download error items link under the # of Errors column.
- View the processing errors on the downloaded file.
- Correct the processing errors on the CSV template from earlier and try the upload again.
If corrections are able to be made on the downloaded file, DELETE the Processing Errors column and save the file as a CSV before uploading it again.
FAQs
Will the file uploader accept any file regardless of the number of columns as long as the appropriate headers are indicated?
Yes, as long as the names of the header rows match the template, the file may contain additional columns.
How does the "update existing items" toggle work when loading a new file?
Optional fields can be updated (when using the update flag). Faculty not included on the list will not be removed from the system. When uploading Profile or Appointment files, rows may be left in the setup sheet of existing records already loaded to the system. These will be skipped. The Update flag is available on the Faculty Profile file and Appointment File. Currently, there are some required fields that can be changed. Fields that cannot be changed are those that are used to build the timeline.
The following fields cannot be changed:
Profile template:
- Email Address
Appointment template:
- Unit Name
- Series Name
- Journey Title
- Rank Name
- Start Date
The following fields can be changed:
Appointment template:
- Contract Expiration
- Title
- Position ID
- Compensation
- Employee type
- Workload Name
- Appointment Notes
- Past Appointment
Date Hired can be changed but this will not change the date of any existing timelines. To correct this, consider adding an exception event to the faculty member's timeline.
Which file should be loaded first?
It is recommended to load the Profile template before the Appointment template.
How should you use the position ID found on the Appointments file?
This field may be used to capture the faculty member's institutional position number. This is a text field so it can be repurposed for other needs as well.