Manage Case Settings for an Institution
This article explains how Institutional Administrators can manage case settings in Interfolio's Review, Promotion & Tenure (RPT) platform via the Administration page. Case settings include options such as the default deadline type, commenting features, and the ability to download materials at the institutional level.
Comments and Downloads
- Navigate to the Administration page. At the top of the ‘Case Settings’ tab, you will find the Comments and File Downloads sections. Here, you can enable or disable the ability for committee members to post and respond to comments, as well as to download files.

- Comments are specific to each committee. Members can only view comments made by others within their own committee. Comments do not carry over to subsequent steps when the case advances.
- When Downloads are enabled, download privileges can still be turned off for materials on the case page by Unit Administrators, Case Managers, and Committee Managers.
Interfolio cannot block screen capture tools or other means of saving documents outside of our program.
Deadline Settings
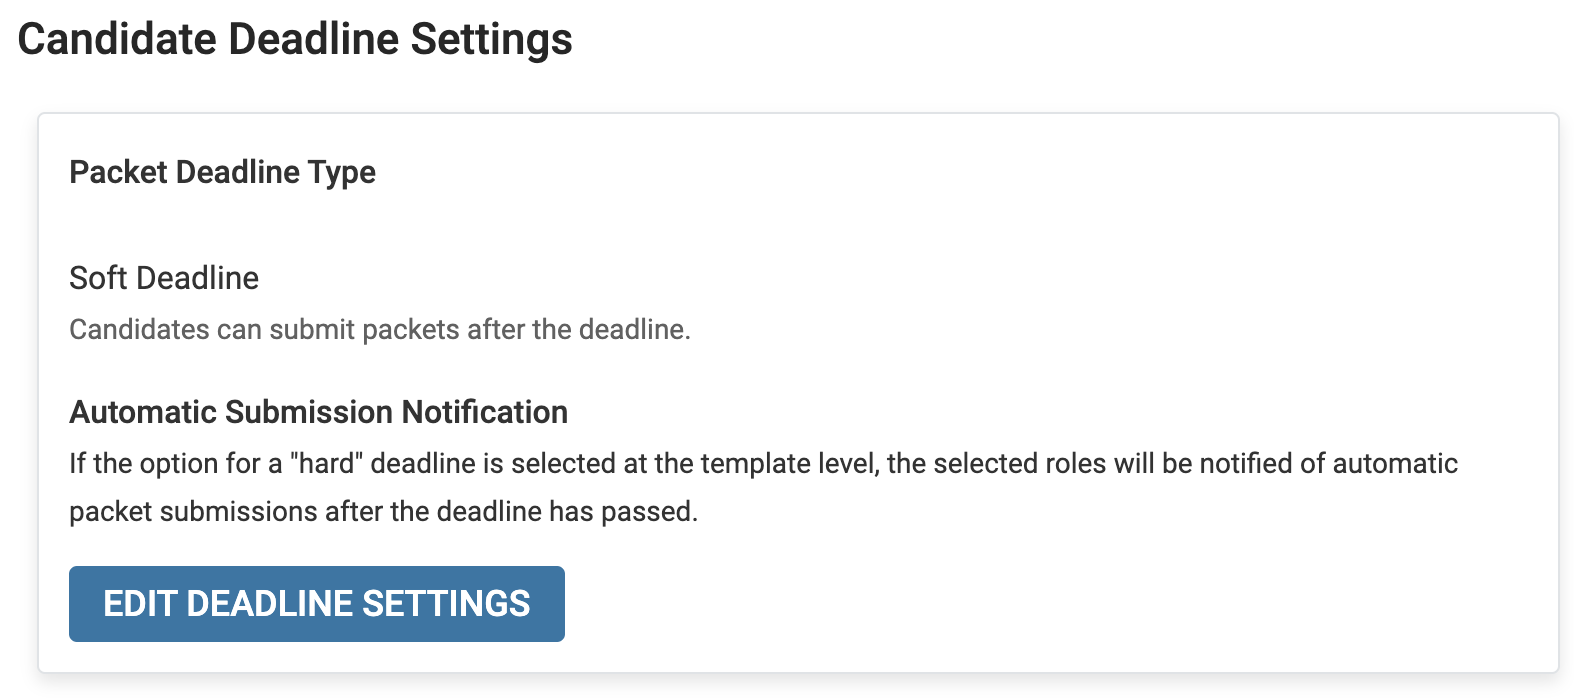
- Scroll to the bottom and click the Edit Deadline Settings button under the ‘Candidate Deadline Settings’ section.

- A window will appear on the right-hand side, allowing you to select the desired packet deadline type and specify which roles should be notified when a hard deadline passes. You can choose to notify either a Unit Administrator or a Case Manager. The selected roles will receive notifications regarding automatic candidate packet submissions after the deadline has passed.

The packet deadline type can be adjusted for all templates created at the institution when creating individual templates. If a hard deadline is selected as the default, you can indicate which users (Administrators and/or Case Managers) will receive notifications for automatic packet submissions related to the hard deadline.
Any materials in the packet, or the empty packet itself, will be sent to the first step of the review when the deadline has passed.
